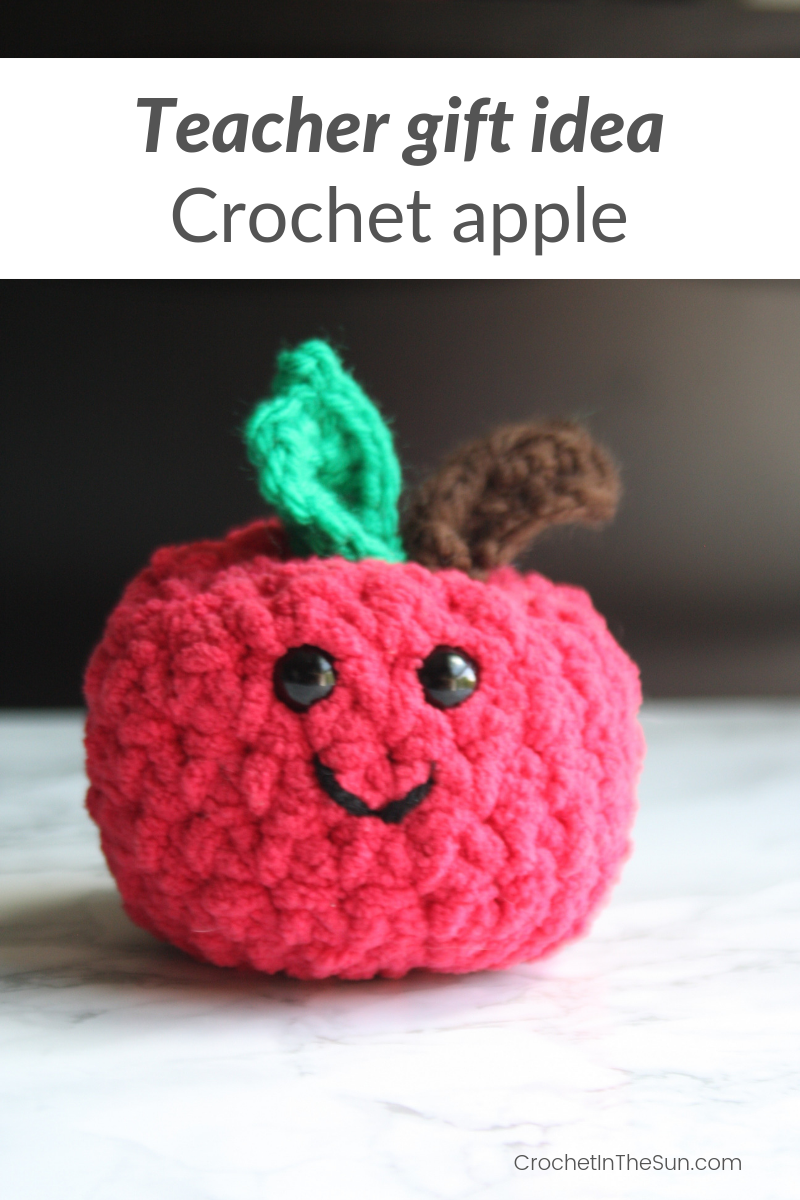
I’m sure you heard, “An apple a day keeps the teacher away.” Well, we’re making a crochet apple today to keep the teacher….happy 🙂
As the school year is coming to an end, I’m sure I’m not alone when I hop on Pinterest and search for “Teacher Gift Ideas“. This time, I searched for “crochet teacher gift ideas” this year, and came across some adorable ideas!
If you’re looking for a teacher gift to crochet that’s super cute and and easy, this is a great choice! It’s a perfect decoration to add to any teacher’s desk!
Difficulty level
Easy
Side note: If you don’t know how to crochet, or just want to brush up on the basics, we have a great resource for you: hop over to the Ultimate Beginner’s Guide to Crochet.
This breaks down the basics of what you need to learn, in what order, and links you directly to some great resources! And best of all, its FREE the blog. You can also purchase the inexpensive ad-free printable PDF of that Guide from my Etsy Shop.
Stitches used
- chain (ch)
- single crochet (sc)
- double crochet (dc)
- half double crochet (hdc)
If needed, refer to my Beginner’s Guide to crochet. Those stitch tutorials will walk you through how to complete the above stitches. If you need to convert from US to UK terms, have a look at this chart.
Useful crochet resources
- Crochet hook size conversion chart
- Yarn weight conversion chart
- Stitch conversation chart (US vs UK)
- Ultimate Beginner’s Guide to Crochet
Yarn


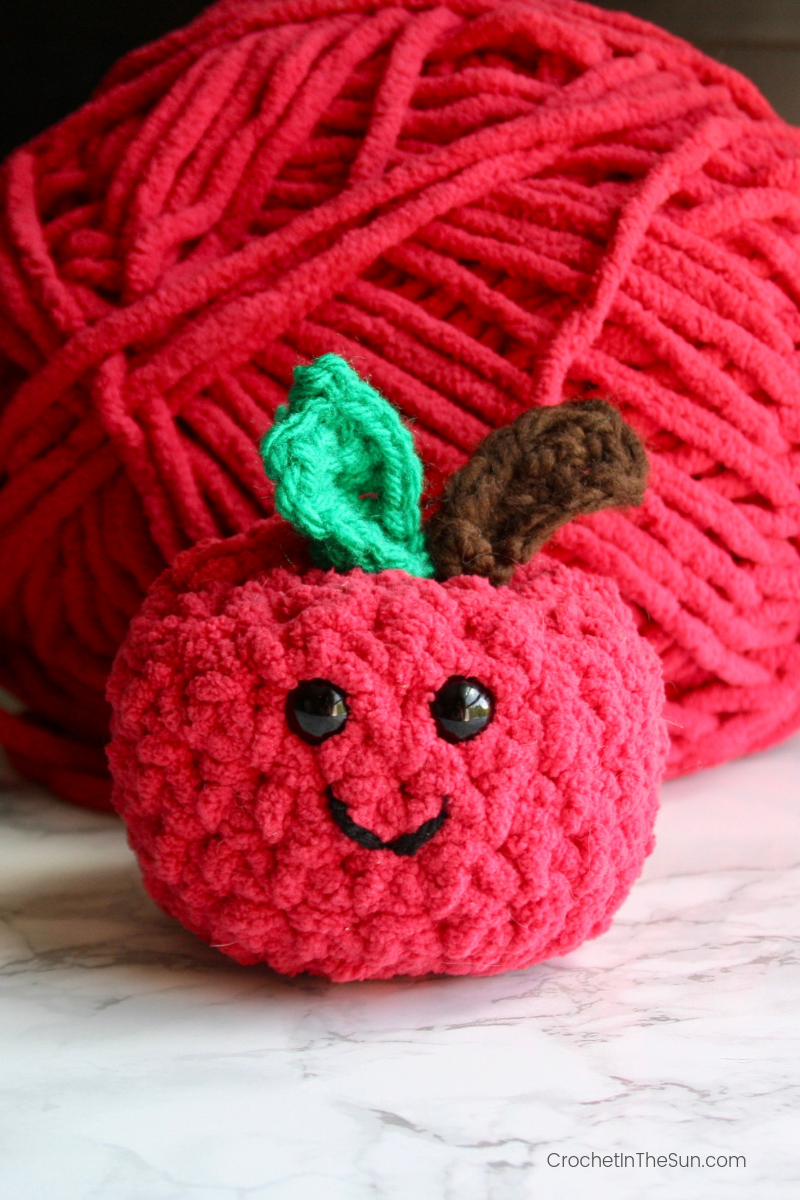
- Bernat Blanket Brights in Race Car Red
- Bernat Softee Chunky in Dark Taupe
- Loops & Threads Impeccable in Kelly Green
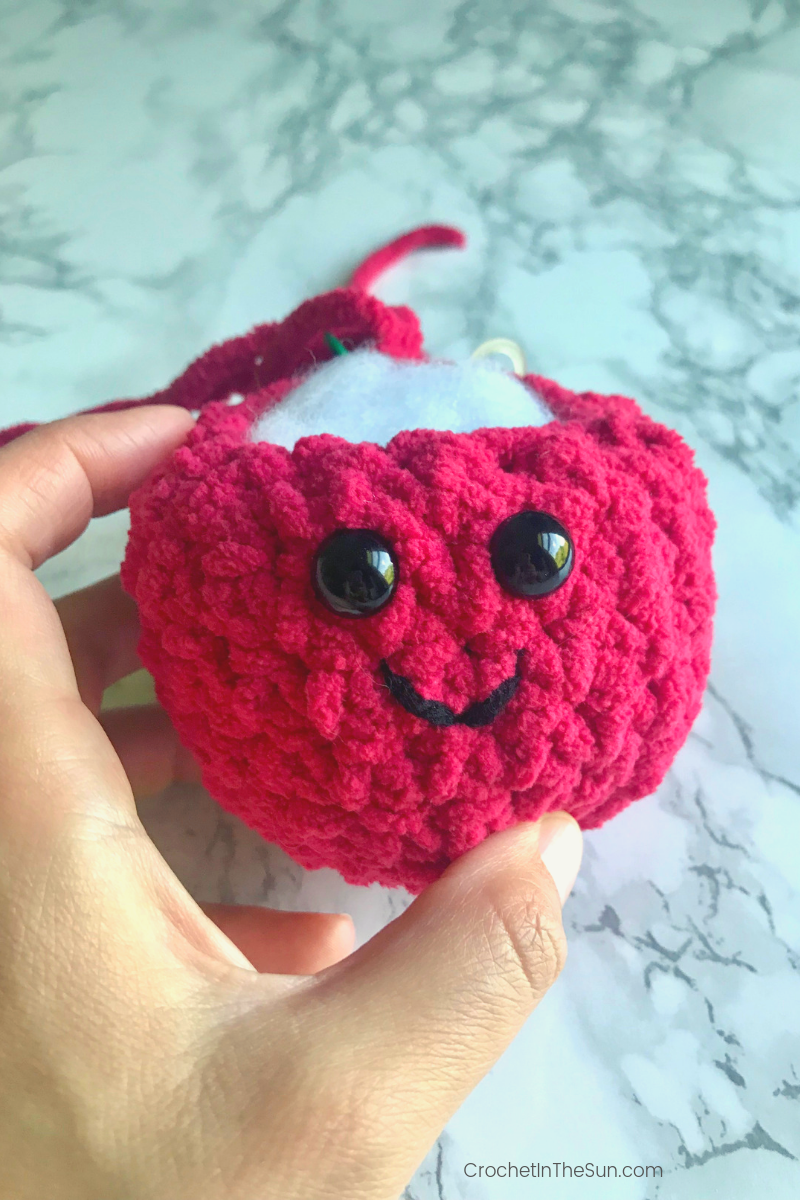
The first two yarns are exactly what Sarah used in her pattern, however I used a different yarn for the green. Overall, you don’t have to use exactly the same yarns if you can’t find them, or if you have something similar already in your stash. This is your creation – do what you want! 🙂
The great thing about this project is that it requires such a small amount of yarn. You can make SO many apples if you have a ball of each colored yarn. Don’t have a full ball? Totally fine, you can likely get away with using scraps for the leaf and stem!
Crochet hooks

- 8mm hook for the apple
- 6.5mm hook for the stem
- 5mm hook for the leaf
I use ‘Loops & Threads’ and ‘Boye’ ergonomic hooks. You can find a full hook set here if you’re starting out or need to stock up!
Again, if you use different yarn, make sure you adjust your hook size accordingly.
Other supplies


- Poly-fil stuffing – I used Fairfield Poly-fil extra loft
- Safety eyes – I used Fab Lab 12 mm from Joanne. Here is something similar from Amazon..this actually includes various size safety eyes.
- Yarn needle and scissors
Finished dimensions
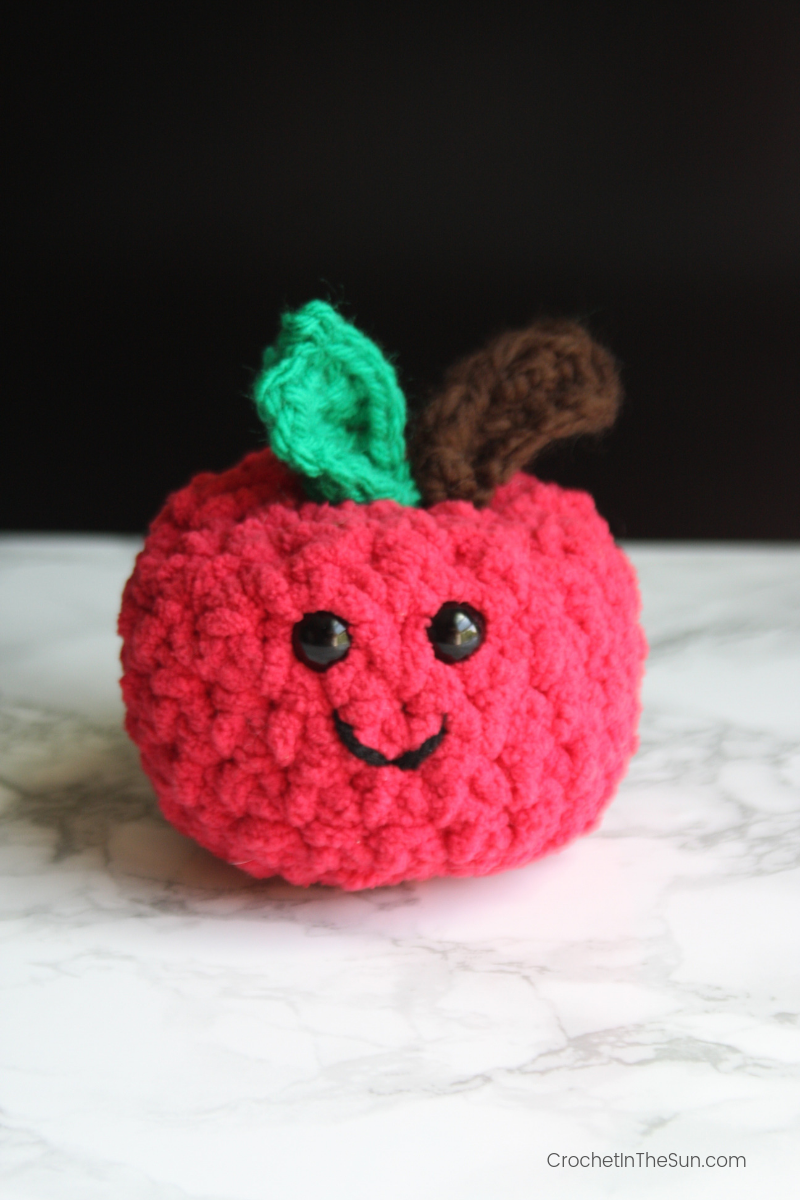
The finished apple, once stuffed and sewn together is:
- 3.5 inches wide
- 2.75 inches tall without the stem & leaf / 4.25 inches tall counting stem & leaf
My modifications and tips
When you finish the leaf, slip stitch your way 3/4 toward the non-pointy end of the leaf.
This will allow you to complete the step below, plus it ensures the loose end is by the non-pointy side, which is the side I sewed into the apple. (Alternative to slip stitches: Fasten off, attach yarn needle, and simply sew your way through the stitches to the non-pointy end)
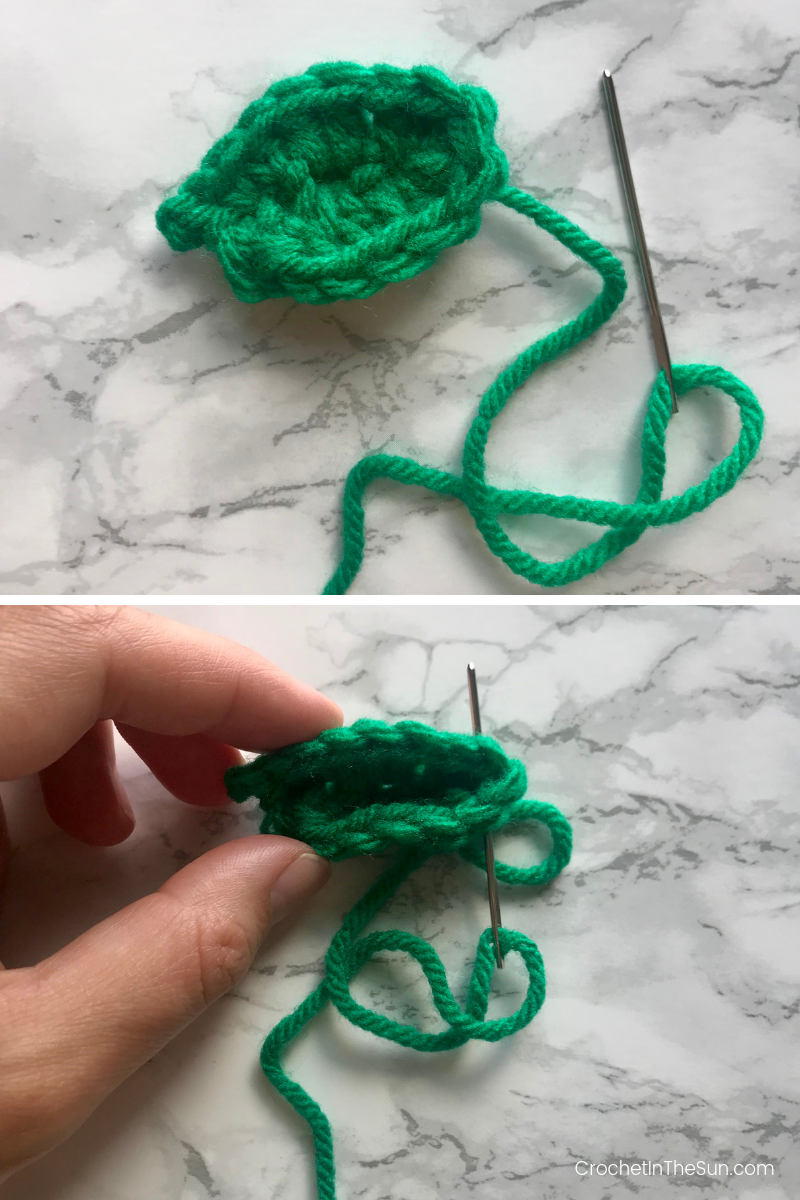
Pinch bottom of leaf
Fasten off leaving a long tail; attach tail to yarn needle. Here, I pinched the leaves at the bottom and loosely sewed them together. (Again, this is the NON-pointy end, the end which will attach to the apple). When I attached the leaf to the apple, it looked very realistic the way the leaf folded together!
Try a different placement for eyes and smile
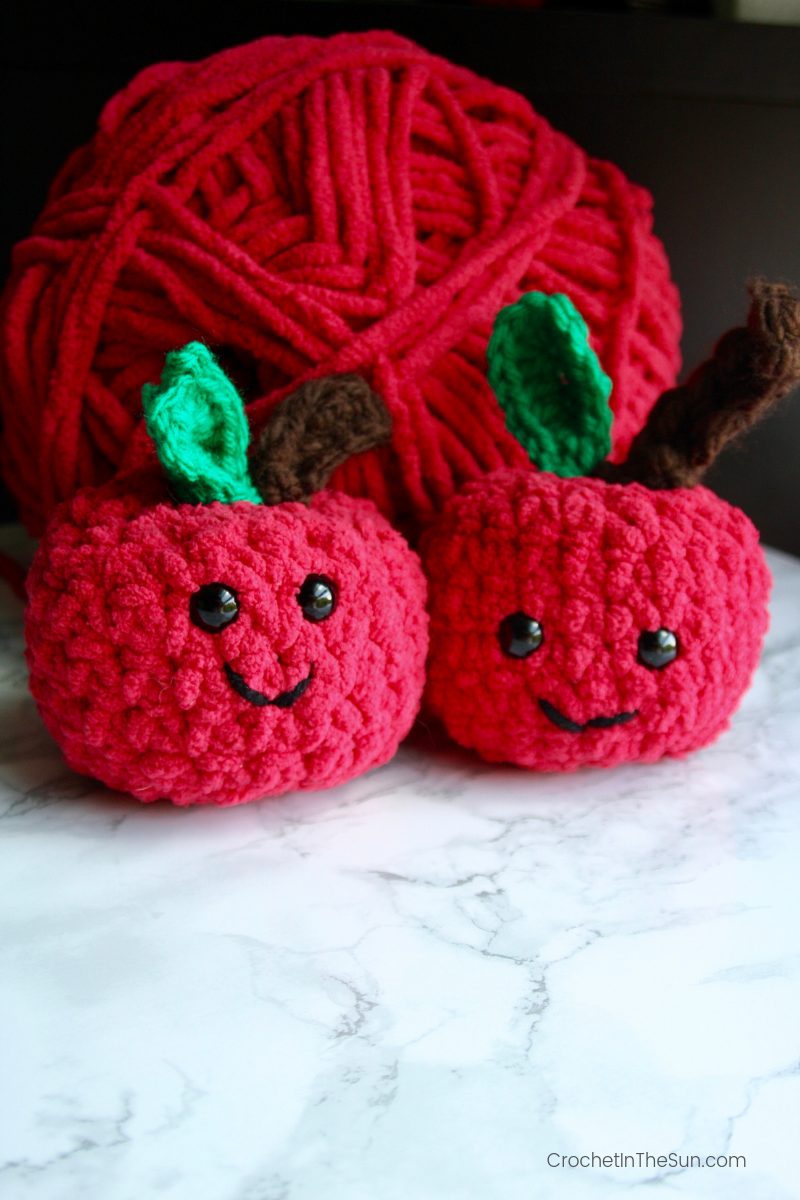
My 1st apple (on the right) had the eyes and mouth lower. I moved them both up and placed the eyes closer together on the 2nd apple (on the left).
Shorter stem
I modified the stem by working 1 or 2 less chains than the pattern called for, and also used a smaller hook (I used a 6.5mm compared to the 8mm hook the yarn called for). Why? The stem on the first apple I crocheted look a bit too big for the size of the apple; it apple almost looked like a cherry in some photo’s since the stem was so big 🙂 So the next time I shortened the chain and used a smaller hook – much better!.
Experiment tension on the leaf
Make 1 leaf as you normally would, and make another with tighter tension. I personally liked the way my smaller/tighter leaf looked, as it was in better proportion to the apple.
USE STITCH MARKERS!
Especially if you are new to crochet, this is a tip I would highly recommend. It can be difficult to see your stitches with blanket yarn, so you have to feel for them. However, life is much easier if you use a stitch marker for the 1st and last stitch of each row
Thanks for following along, and I hope you try out this crochet apple pattern!
Pattern
This pattern was created by the talented Sarah at Repeat Crafter Me. Check out her page for other crochet inspiration!
Looking for the finished product?
If you’re interested in buying the finished product, I’ve listed these apples in my Etsy store!
Pin for later
