
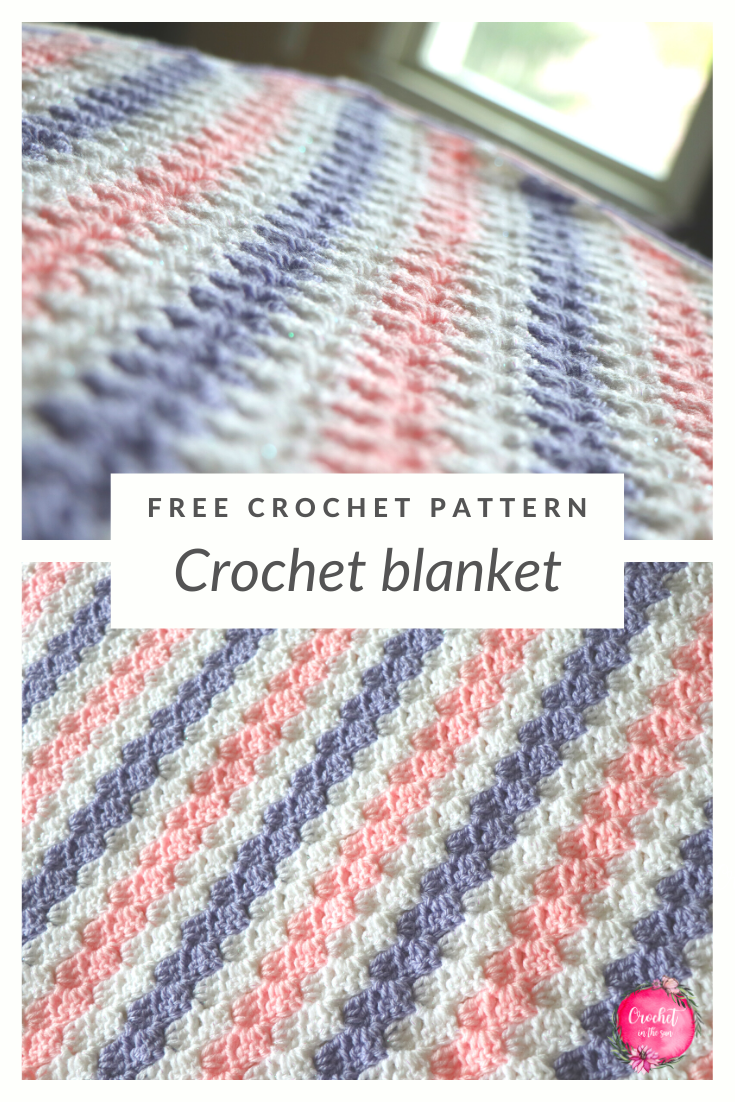
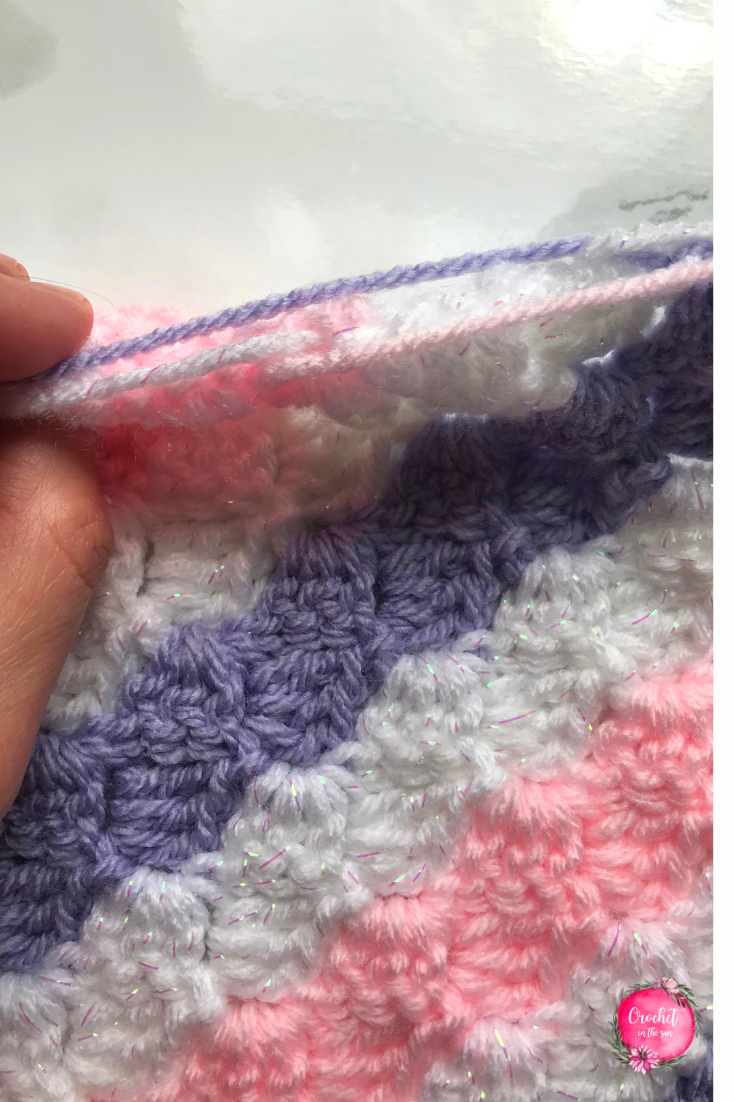
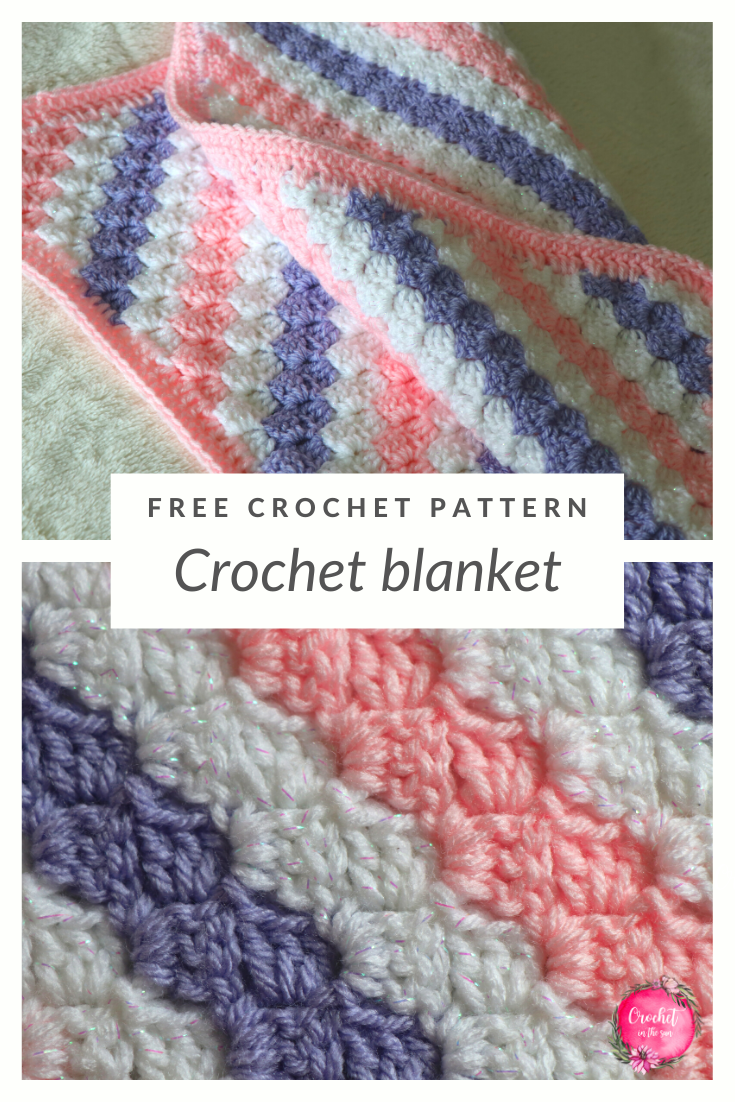
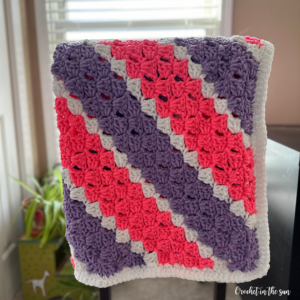
This might be my new favorite crochet blanket! As March seemed to drag on and on, I felt the need to create a super springy project to cancel out the fact that the forecast called for snow in Connecticut. One of my favorite color combinations is pink + purple, and these pastel shades are perfect to welcome spring! With a simple color repeat, this corner to corner striped blanket has quickly become our favorite to snuggle with!
What exactly is Corner to Corner?
With Corner to Corner crochet, you start your project in 1 corner and work blocks (or ’tiles’) in a diagonal fashion, ending in the opposite corner.
“The Blanket of 3’s“
Corner to corner, or C2C, continues to be an all-time favorite crochet project of mine. You can get somewhat lost in the soothing the repetitive motion of the C2C stitches. Once you learn how to complete your first two rows, you’re smooth sailing!
I think of it as the Big 3 pattern. Why? Because if you count out loud as you stitch, you might find yourself repeating, “1, 2, 3, 1, 2, 3…”.
Chain (1-2-3), (1dc, 2dc, 3dc), slip stitch, chain (1-2-3), (1dc, 2dc, 3dc), repeat.
So many possibilities
May sound cheesy, but it’s true with Corner to Corner. This stitch is so versatile. Once you get the basics down, you can tackle blankets, wall-hanging decor, pillow covers, and many other designs using this technique. Learning c2c will bring plenty of crochet projects in the future, trust me!
Don’t plan it out
Do you like to let your creativity guide your work and make changes on the fly? C2C lets you do just that.
The size of your c2c project is determined by when you start to ‘decrease’. The design will keep getting bigger in both width and height until you start to decrease on 1 and eventually both sides.
This is pretty cool because you don’t necessarily need to have the exact dimensions planned out ahead of time, you can make these decisions as you go! However, if you’re following a set pattern or graph, then follow the pattern as stated.
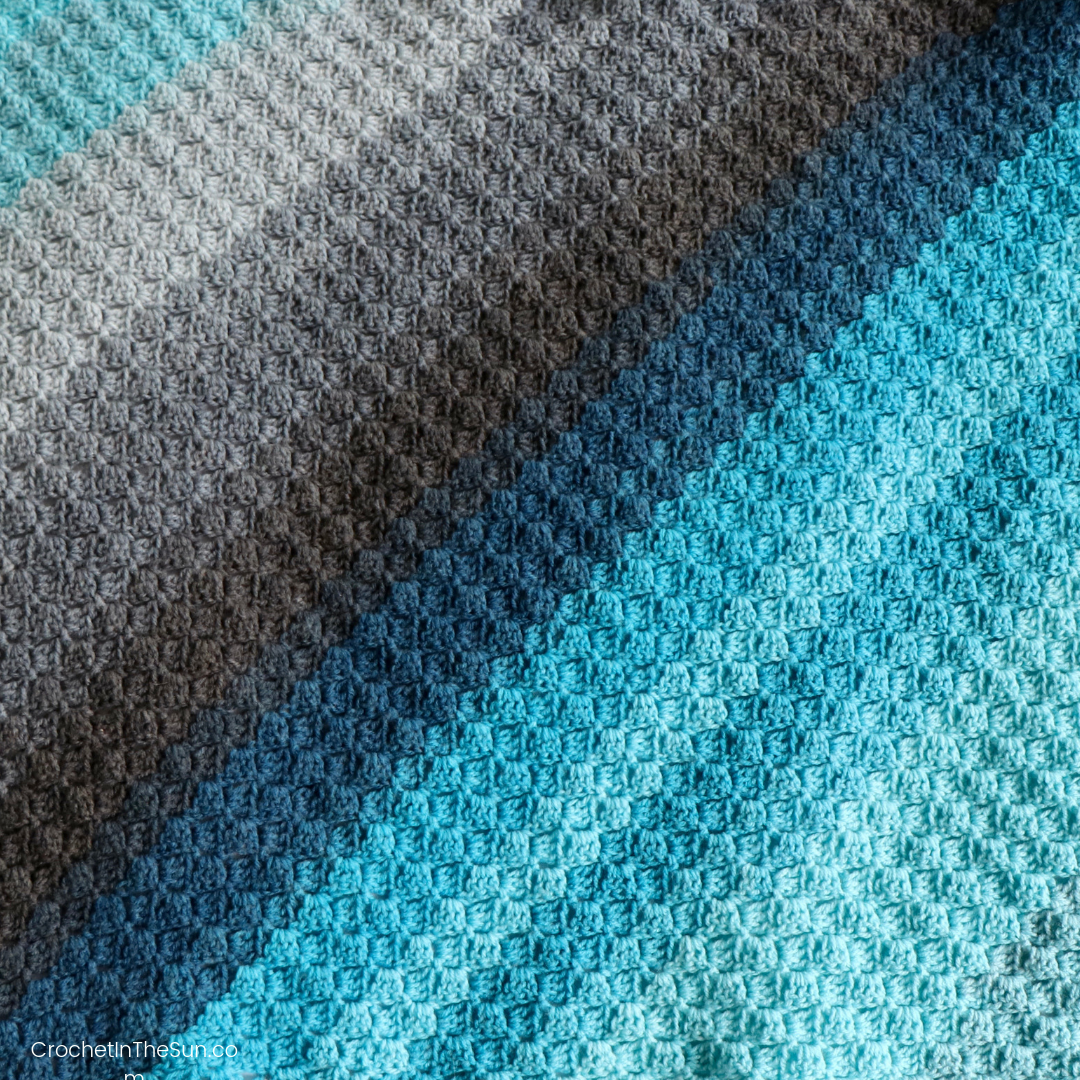
So for example, depending on how quickly the color changes are coming (especially if you use self-striping, as you can’t plan that out), or honestly how long you want to work on the project, you can decide when to start wrapping up the project. Once you start decreasing on both sides, the design gets smaller – and your project wraps up quite quickly!
Learn corner to corner crochet
When I first started crocheting, I had never heard of C2C. I remember I was searching for Disney crochet patterns (as I always do) and found a blanket with the Mickey Mouse ears pattern. That was what led me to realize you can make a picture or detailed design using C2C. I was so excited!
But soon after the excitement came a huge amount of confusion as to how the heck we actually work the stitches. At one point, I thought this was simply one aspect of crochet I wouldn’t tackle. But I promise it’s not nearly as tricky as it seems!! Once you learn the technique, you’re set – off and running with endless design possibilities!
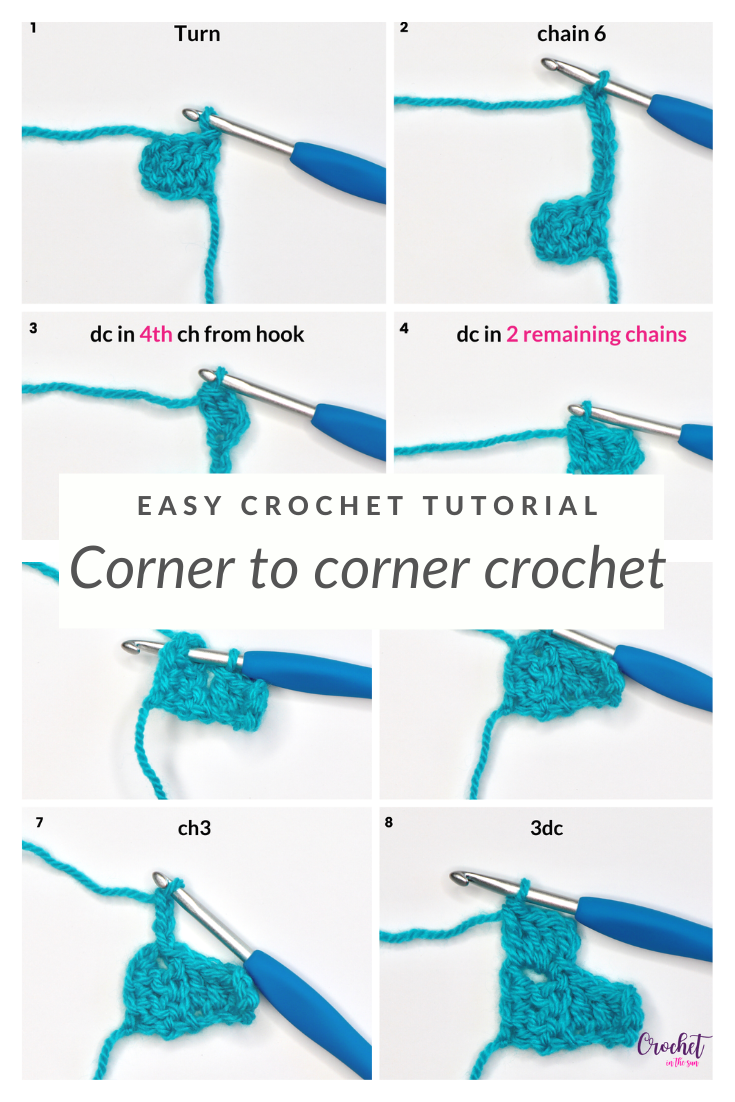
C2C Photo Tutorial
New to c2c? Learn how to corner to corner crochet with my step-by-step photo tutorial.
Skill level
Easy
Note: If you don’t know how to crochet, or maybe just want to brush up on the basics, we have a great resource for you!
Hop over to the Ultimate Beginner’s Guide to Crochet. This breaks down the basics of what you need to learn, in what order, and link you directly to some great resources! And best of all, it’s free! Enjoy 🙂
Yarn

- 1 skein Red Heart With Love Metallic in White (note this specific yarn has been discontinued, but you can substitute with Red Heart with Love in White or Caron Simply Soft Party in Snow Sparkle)
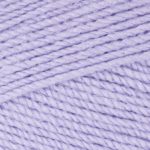
- 1 skein Paintbox Simply Aran in Pale Lilac or Dusty Lilac
- 1 skein Red Heart Super Saver in Baby Pink
Materials


- 4.5mm crochet hook (US-7) from the Clover hook set
- Tapestry needle (a blunt needle)
- Scissors
Stitches (US terms)
- double crochet (dc)
- half double crochet (hdc)
- chain (ch)
- slip stitch (sl st)
If needed, refer to my Beginner’s Guide to crochet. Those stitch tutorials will walk you through how to complete the above stitches. If you need to convert from US to UK terms, have a look at this chart.
Gauge
4 inches = 5.5 tiles x 5.5 tiles
A tile = 1 set of [turning ch3 + 3 dc], which count as 4dc. Overall, 4 inches is roughly ~22 dc’s
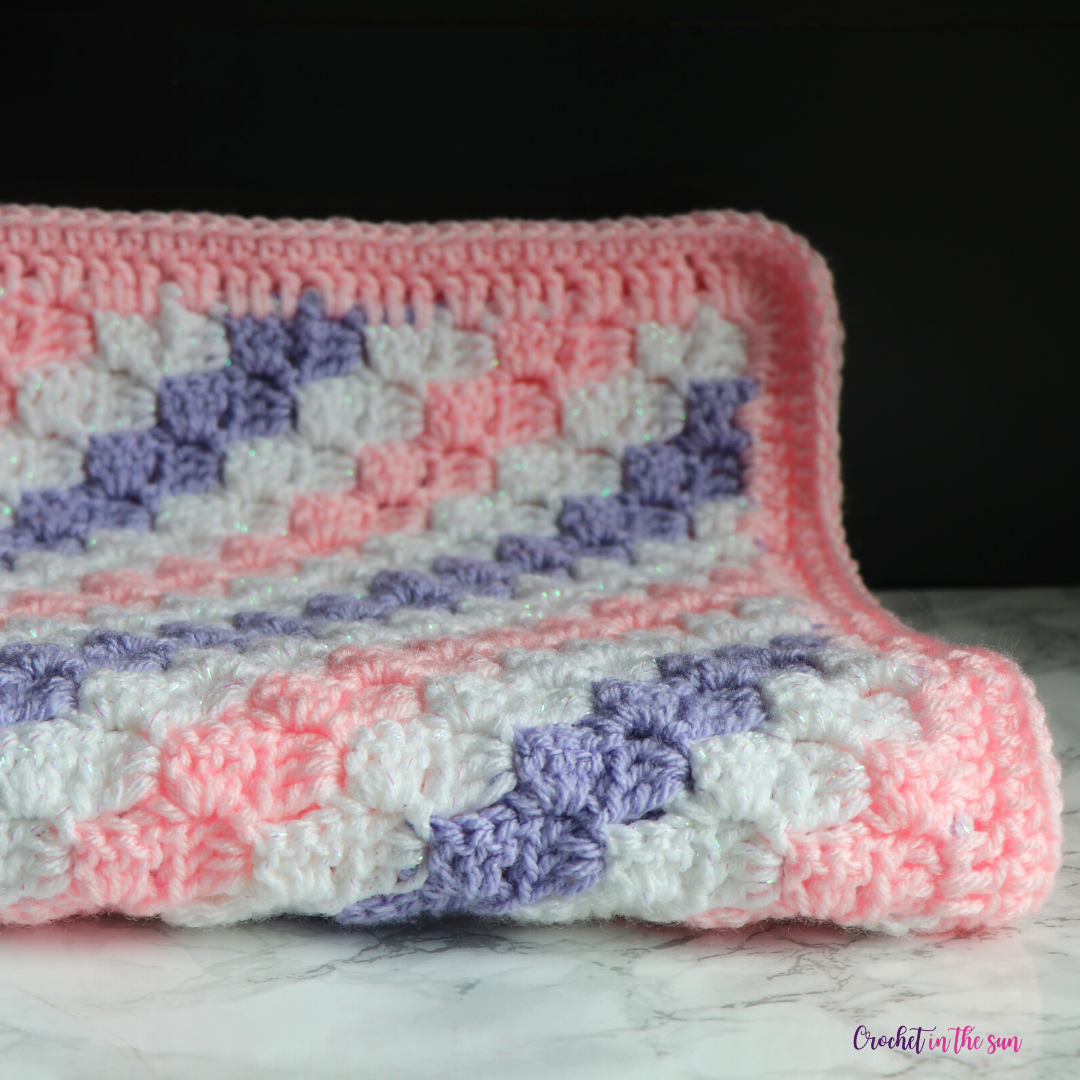
Finished measurement
24 x 24 inches including the border, not blocked. Ok, technically, it’s 24 x 23.5!
Useful crochet resources
- Crochet hook size conversion chart
- Yarn weight conversion chart
- Stitch conversation chart (US vs UK)
- Ultimate Beginner’s Guide to Crochet

Pattern Notes
- At the end of each row, you turn your work. Yes, it can get a bit messy when you have multiple balls of yarn attached, but please just be patient! Try and turn your work each time so “cancels” each other out e.g. turn right, turn left, turn right, turn left, etc.
- Size: To make this larger or smaller, simply start decreasing either sooner for a smaller blanket, or later for a larger blanket. This pattern is (almost) a square – 30 tiles wide and 29 tiles tall. There is no right or wrong size. It just depends on how much yarn you have, how much time you have, and how you plan to use the blanket!
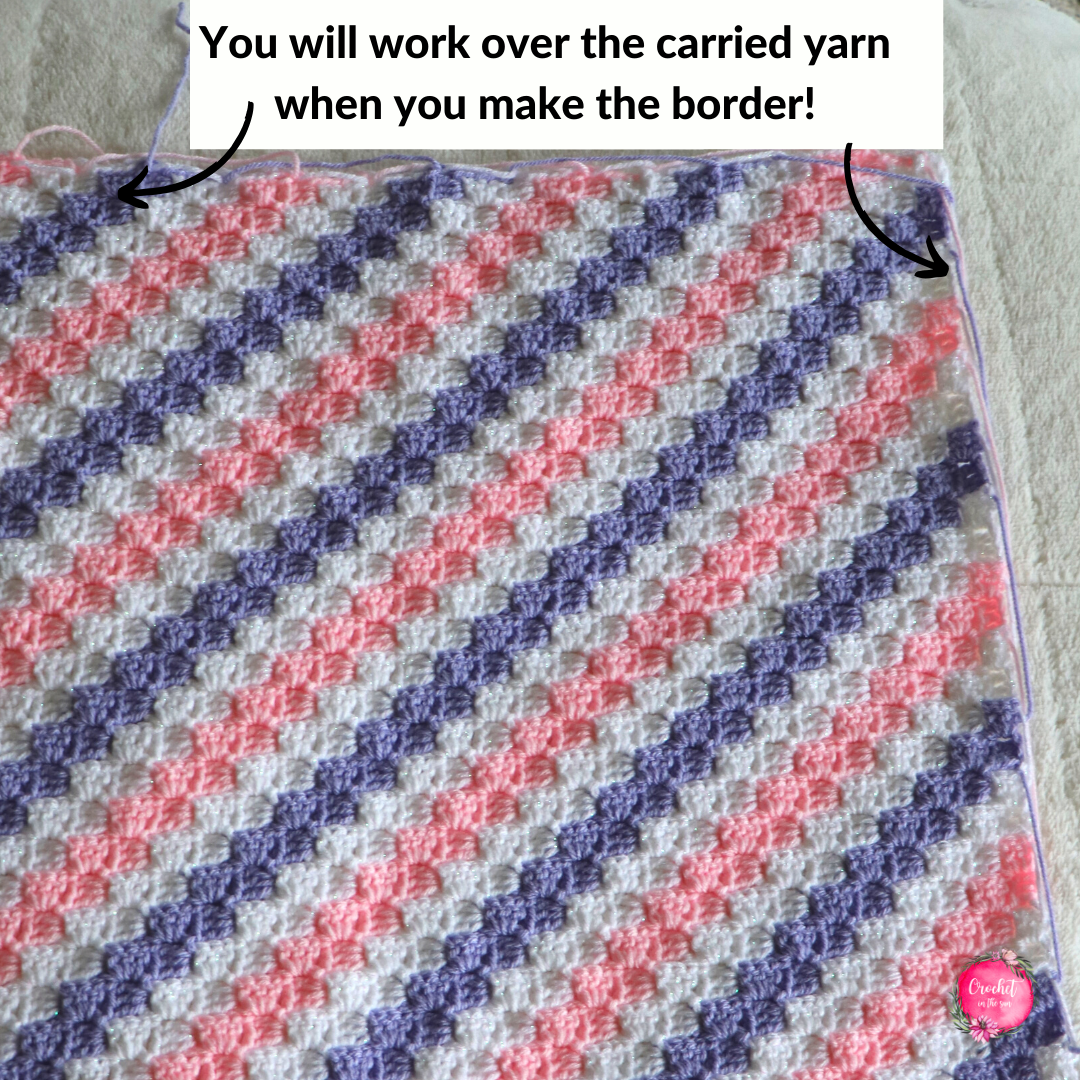
- Carrying yarn vs. fastening off during color changes:
We change colors quite often in this blanket, but since entire rows are different colors (as opposed to color changes within the same row), it’s quite easy to change rows at the end of each. And since we change colors every 2 rows, the yarn always ends up being carried on the same side. For example, if you changed colors every 3 rows, you would end up on the opposite side of your blanket.
When you switch colors, you can either carry your yarn up the side or fasten off (i.e. cut your yarn) and weave in the ends. Here are pro’s and con’s to each option:
Option 1: If you fasten off: You will have many ends to weave in at the end, however this does provide for a cleaner look as you can easily weave in the yarn end into the same color tile, so you can’t see the yarn peeking through.
To follow this method, you will always attach a new color each at the end/beginning of the row. The finished product won’t look any different, you will just have many more ends to weave in – that’s all!
Option 2: If you carry yarn: You will have to carry your yarn over 2 or 6 stitches (depending in the color), so you will have to work over the carried yarn when working your border. One downside is that you may see the yarn peeking through just a bit.
If you do carry your yarn, make sure you’re not pulling the carried yarn too tight, else it may cause the blanket to pucker in a bit. Simply keep the carried yarn as part of the project and work your stitches over it.
So, every time you change colors, let the old color fall behind and yarn over with the new color. Once its time to bring that old color back a couple of rows later, gently ‘carry’ it up the side.
Heads up: Make sure you’re not pulling the carried yarn too tight, else it may cause the blanket to pucker in a bit.
Where do I change colors in c2c?
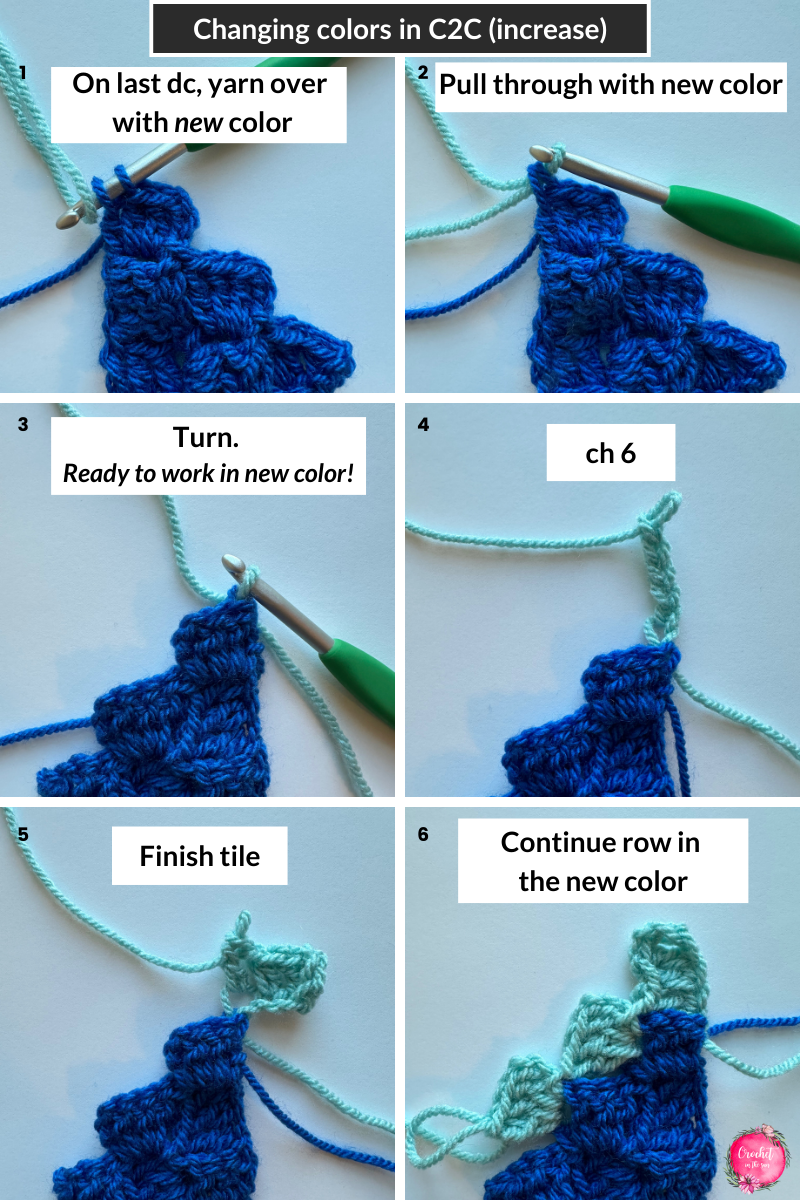
You change colors when you’re working the last dc of the last tile. That means you will complete your last yarn over with the new yarn on your 3rd and final dc.
If you’re increasing: You will change colors in the last yarn over of the last dc in the row. Turn, ch6, and continue the new tile in your new color. Continue the row with your new color.
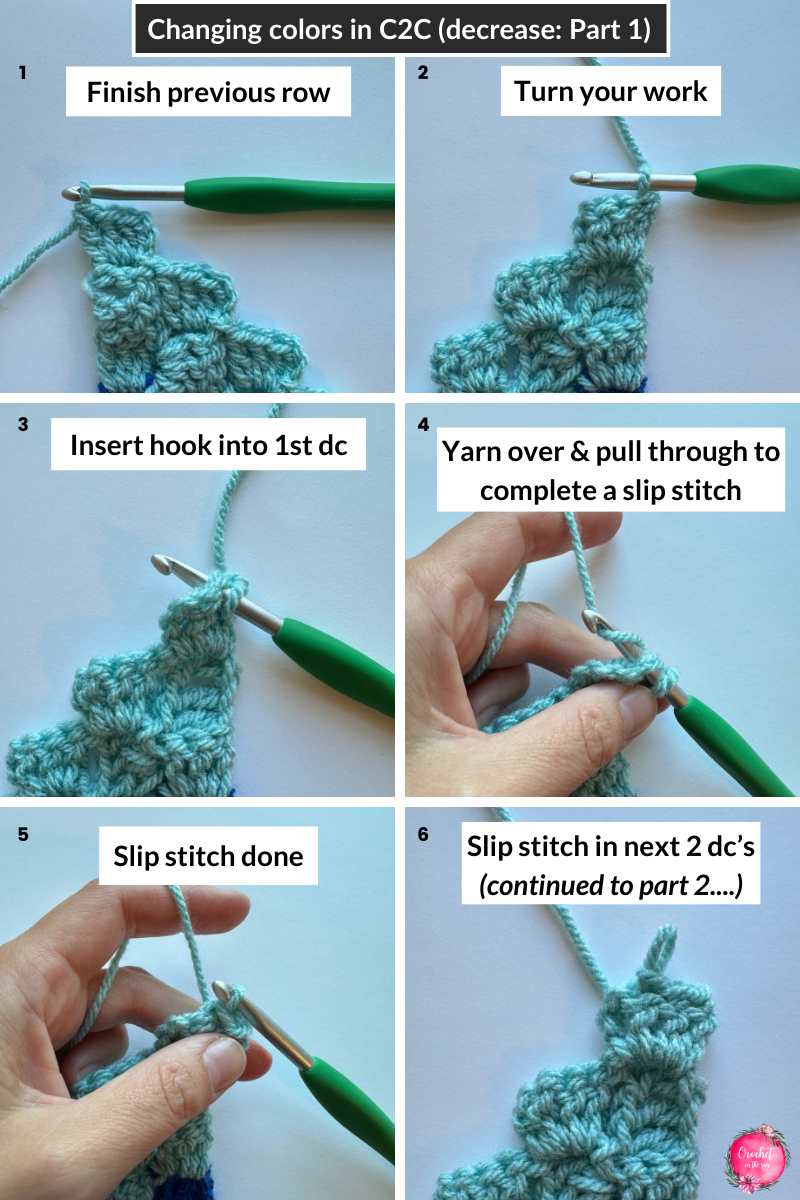
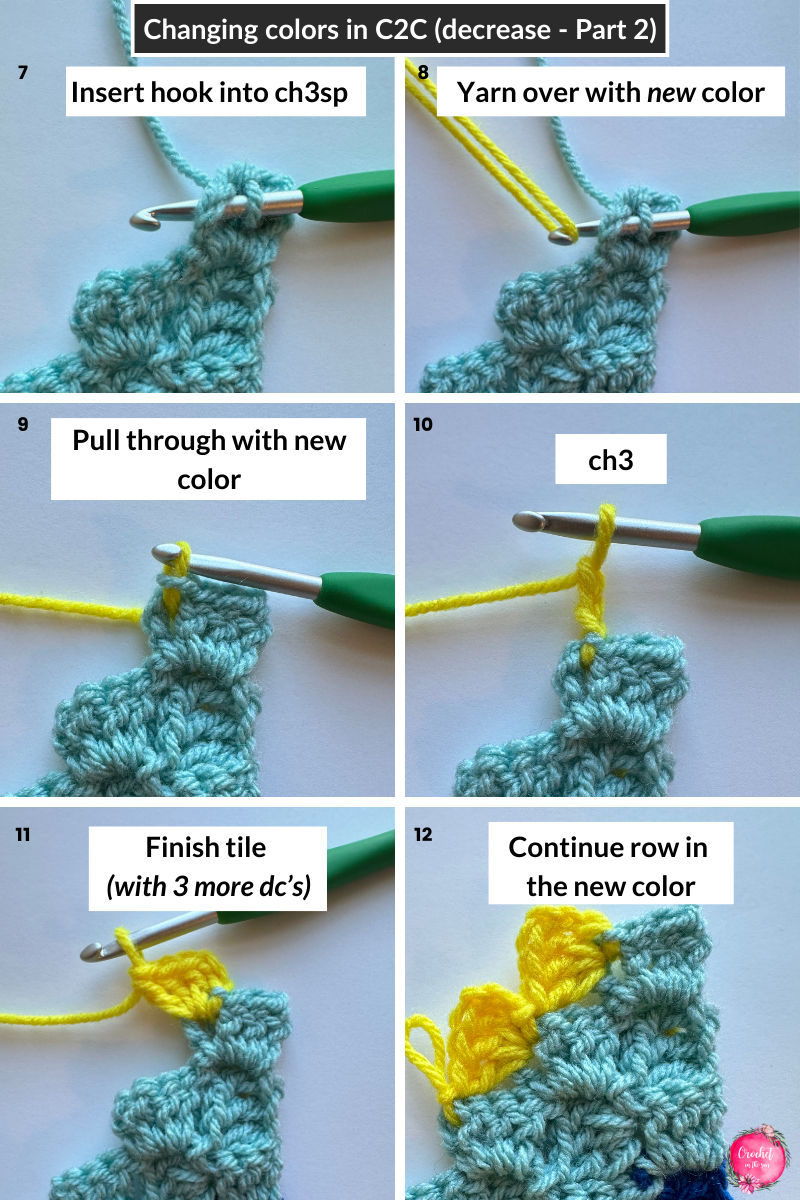
If you’re decreasing: Once you’ve finished your row, turn, slip stitch into 3 dc’s using current color, slip stitch into the ch3sp but complete the yarn over with the new color. Ch3 + 3dc to create the new tile in your new color tile. Continue the row with your new color. turn, slip stitch into those 3dc’s & into the space, then ch3 to start your new tile.
Why should I carry my yarn?
Simply put, to avoid having to weave in many, many ends! After each color change, you don’t need to cut your yarn.. that would leave you with TONS of ends to weave in. There’s simply no need for it with this blanket.
How do I cover the carried yarn?
Your border! Not only does the border provide a neat finish, but it also covers up the yarn you carried along the side since you’re literally stitching over that yarn. Your border is functional and pretty! 🙂
Note: If you don’t want to carry your yarn for whatever reason, you don’t have to though! You can always attach a new color each time to start the color changes. The finished product won’t look any different, you will just have many more ends to weave in – that’s all!
Pattern
- Get the inexpensive ad-free PDF printable from my Etsy Shop
- Pin this pattern to your Pinterest Boards
- Add this project to your Ravelry queue
- Buy directly below using Shopify
Main Blanket
IMPORTANT: Please refer to the C2C Photo Tutorial for a step-by-step photo tutorial for Corner to Corner, in general. You will follow those instructions but use the chart directly below to determine when to change colors and when to start decreasing.
The C2C chart is below. The way it is written, you start from the bottom right corner and end at the top left corner.
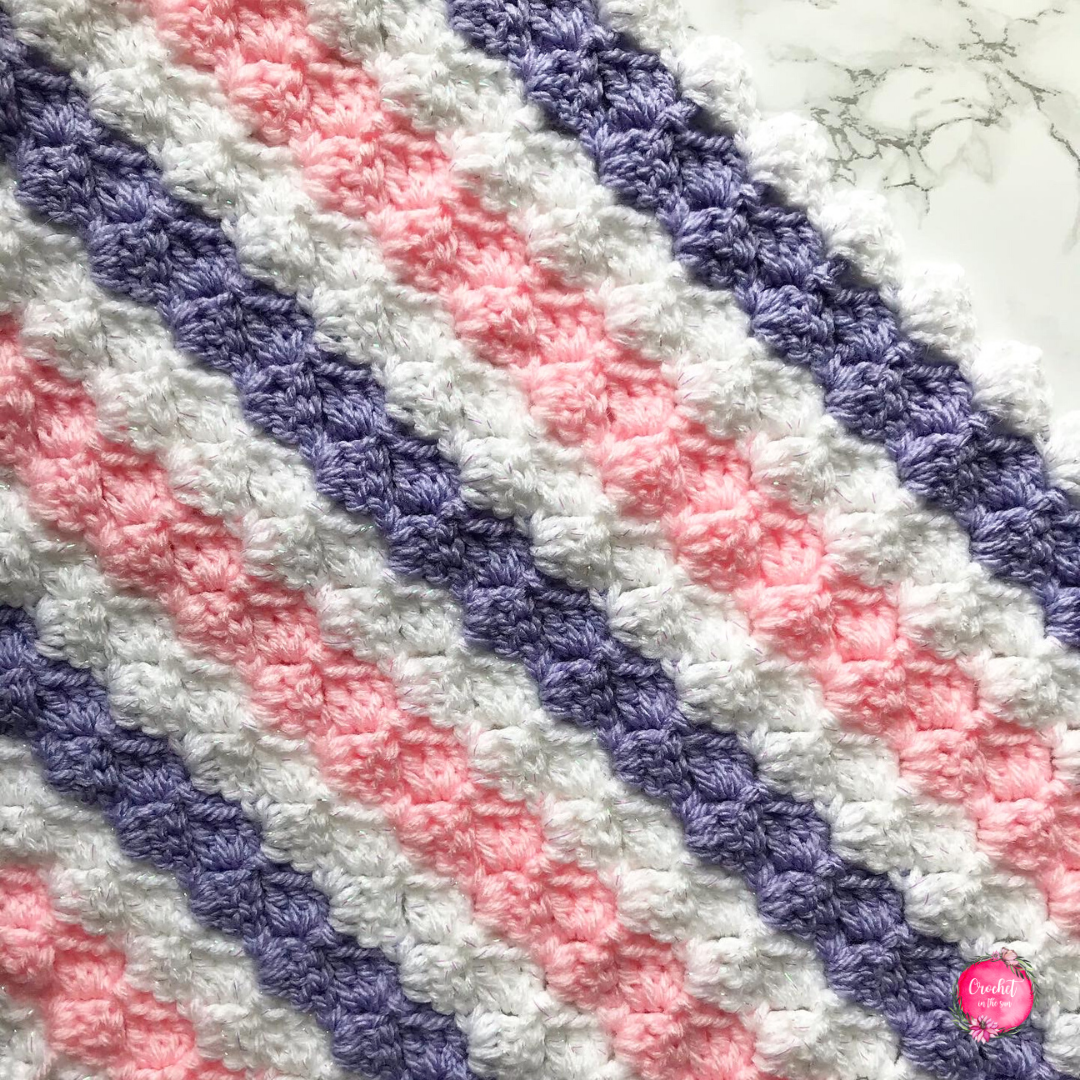
For this design, I started with white (my main color) then changed colors every 2 rows. I alternated with pink and purple.

Blanket border
Row 1: Repeat *3dc, 2dc* following the picture below.
As you see below, you are working 2dc into each horizontal tile (where the dc’s appear horizontal, going left to right), and work 3dc into each vertical tile (where the dc’s appear vertical, going up to down as you normally see them).

Row 1 corners: Work 3dc into each corner. Or, if 3dc seems to make the sides curve in a bit, work 4dc instead to make a looser corner.
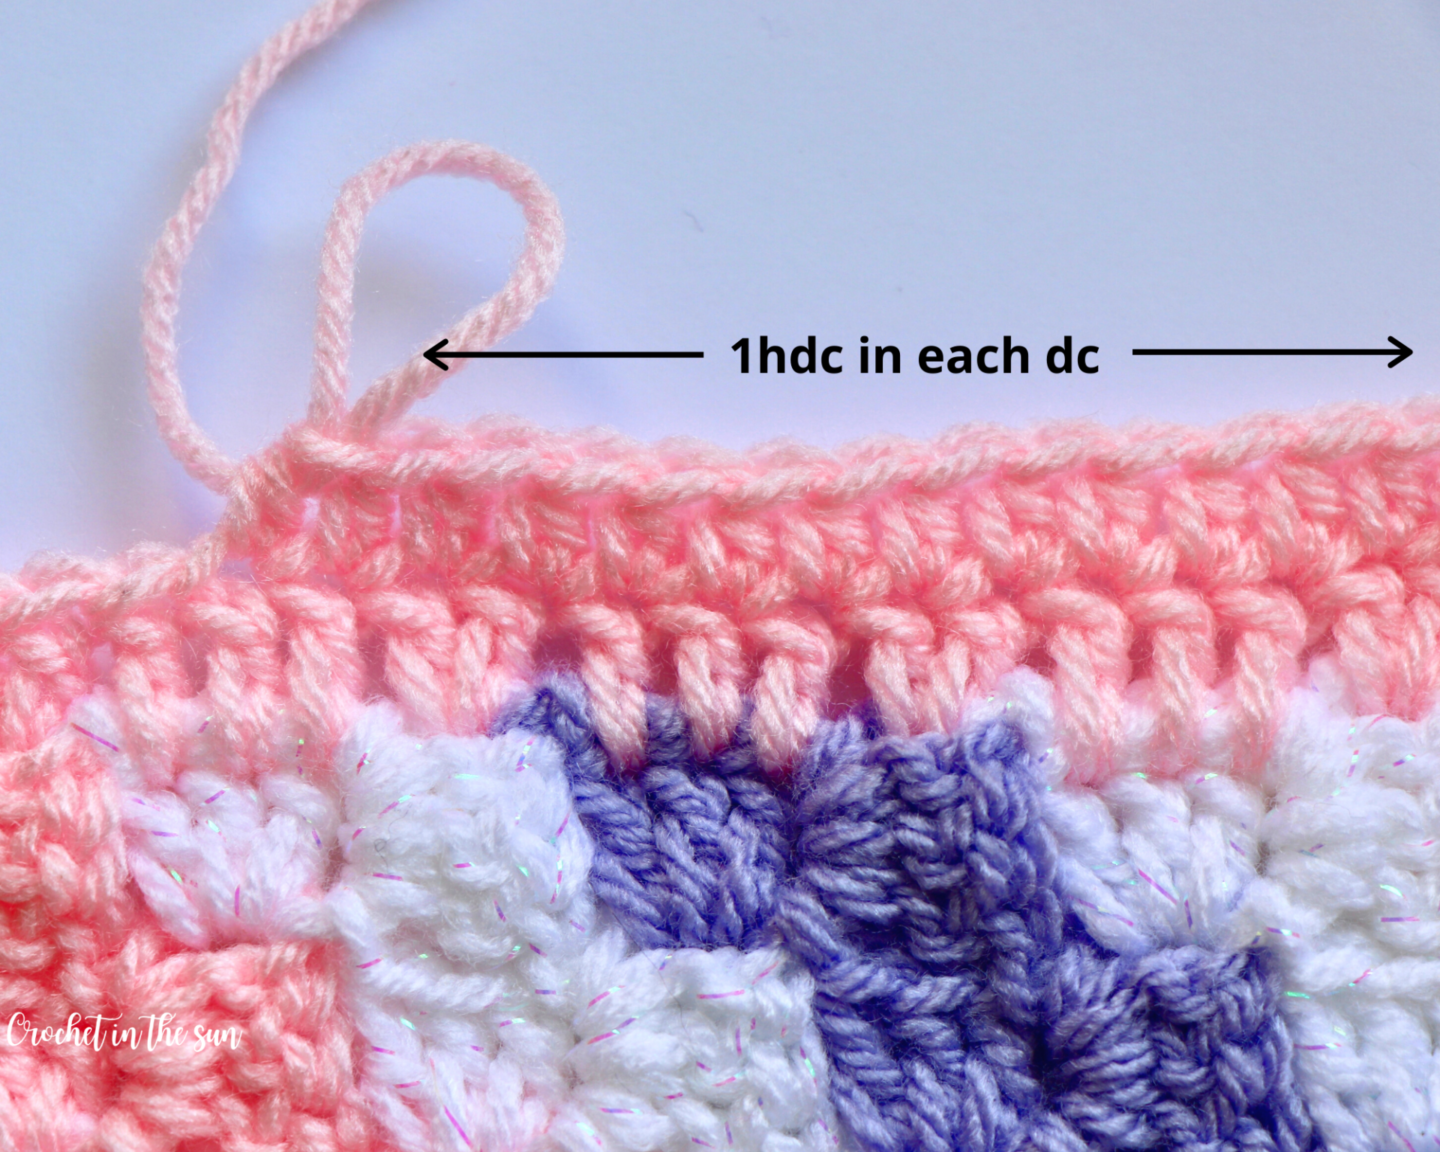
Row 2: Work 1 hdc into each dc.
Row 2 corners:
- If you worked 3 dc into the corner: dc, 2dc, dc. Fully written out, that is: 1dc in 1st st, 2dc in 2nd st, 1dc in 3rd st – for a total of 4dc in the corner.
- If you worked 4dc into the corner: dc, dc, 2dc, dc. Fully written out, that is: 1dc in 1st st, 1dc in 2nd st, 2dc in 3rd st, 1dc in 4th – for a total of 5dc in the corner.
Lastly, fasten off and weave in your ends. You may have worked over the ends in the main blanket, but if not, weave in those ends now as well.
All done!! Now you have a gorgeous blanket! Thanks for following along, I hope you enjoyed making this corner to corner striped blanket! I would love to see them!
If you make one and share on social media, go ahead and tag @crochetinthesun. I would love to see them! Also, please link back to my pattern/blog and provide credit for the pattern.
Plus, I would love to share your creation with the crochet community so we can see these pretty blankets come to life.
Happy crocheting,
Jennifer
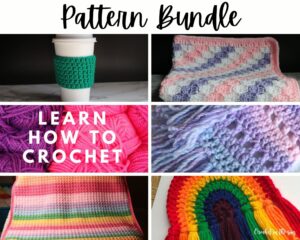
Looking for more crochet patterns? Have a look at my Crochet Pattern Bundle on Etsy. It includes some of my best sellers along with other new patterns!
Pin for later
Love Corner to Corner? Check out my other c2c crochet projects:
Sugar Plum Snuggles C2C blanket
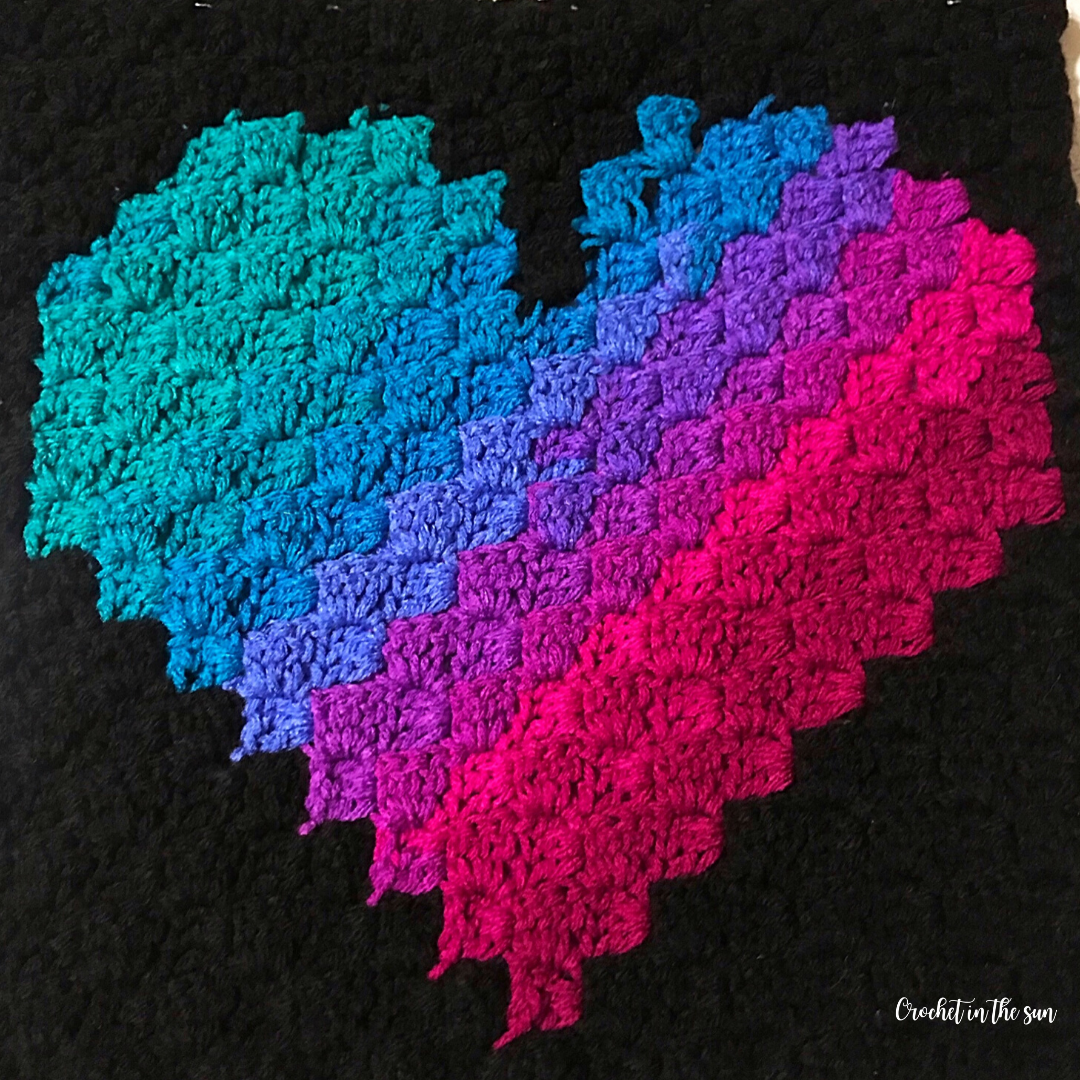
Corner to Corner Heart Wall Hanging Crochet


I ordered a written pattern, but all I got was the picture of a chart. I can’t follow without it written. So, it was only $2 but $2 thrown away. 🙁 How can I possibly get a WRITTEN pattern? )
Author
Hi Ramona, there were 3 files: 1 with the chart and 2 files with written details to explain how to work the corner to corner stitch and how to change colors. Is that what you’re looking for?
Regards,
Jennifer
how much yarn is needed for this project?
Author
Hi Terri, you just need 1 skein of each color.
Quick question in round 2 of the border shouldn’t it be HDC in the corners? Rather than DC?
Author
Hi Melissa! I did DC’s to give it a little more height, but HDC would work just fine as well! 🙂
Jennifer
Ahh ok! Got it!! That makes sense! Thank you!!!