
Ok, awesome – you’ve finished your crochet pattern! But then you realize…you have to weave in the ends! Gah! Not sure how to weave in your ends the best way, or just don’t like this step? These 3 tips will help make this process much easier (its not that bad, I promise!)
Ugh. Many crocheters dread this step. I actually avoided using multiple colors in my crochet projects when I first started crocheting simply to minimize the number of ends I had to weave in.
Sound familiar? Fear not! This photo tutorial breaks it down step by step and includes 3 tips guaranteed to make this a breeze!
What do I need?
Once you’ve finished your crochet project and have fastened off, this is ALL you need to weave in the ends:


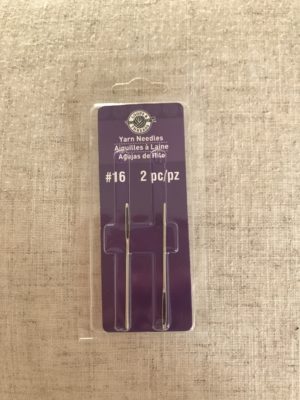
- Yarn Needle (tapestry needle – don’t want a pointy sewing needle)
- Scrap paper (1-2 inches is all you need)
- Scissors
Here I used Loops & Threads #16. Some prefer a metal needle while others use plastic – either will work. Just make sure the needle isn’t too big, else it may loosen your stitches.
Before we get started…If you don’t know how to crochet, or maybe just want to brush up on the basics, we have a great resource for you.
Hop over to the Ultimate Beginner’s Guide to Crochet.
This breaks down the basics of what you need to learn, in what order, and links you directly to some great resources! And best of all, it’s FREE on the blog. If you want something you can print and go, you can also purchase the inexpensive ad-free printable PDF of that Guide from my Etsy Shop.
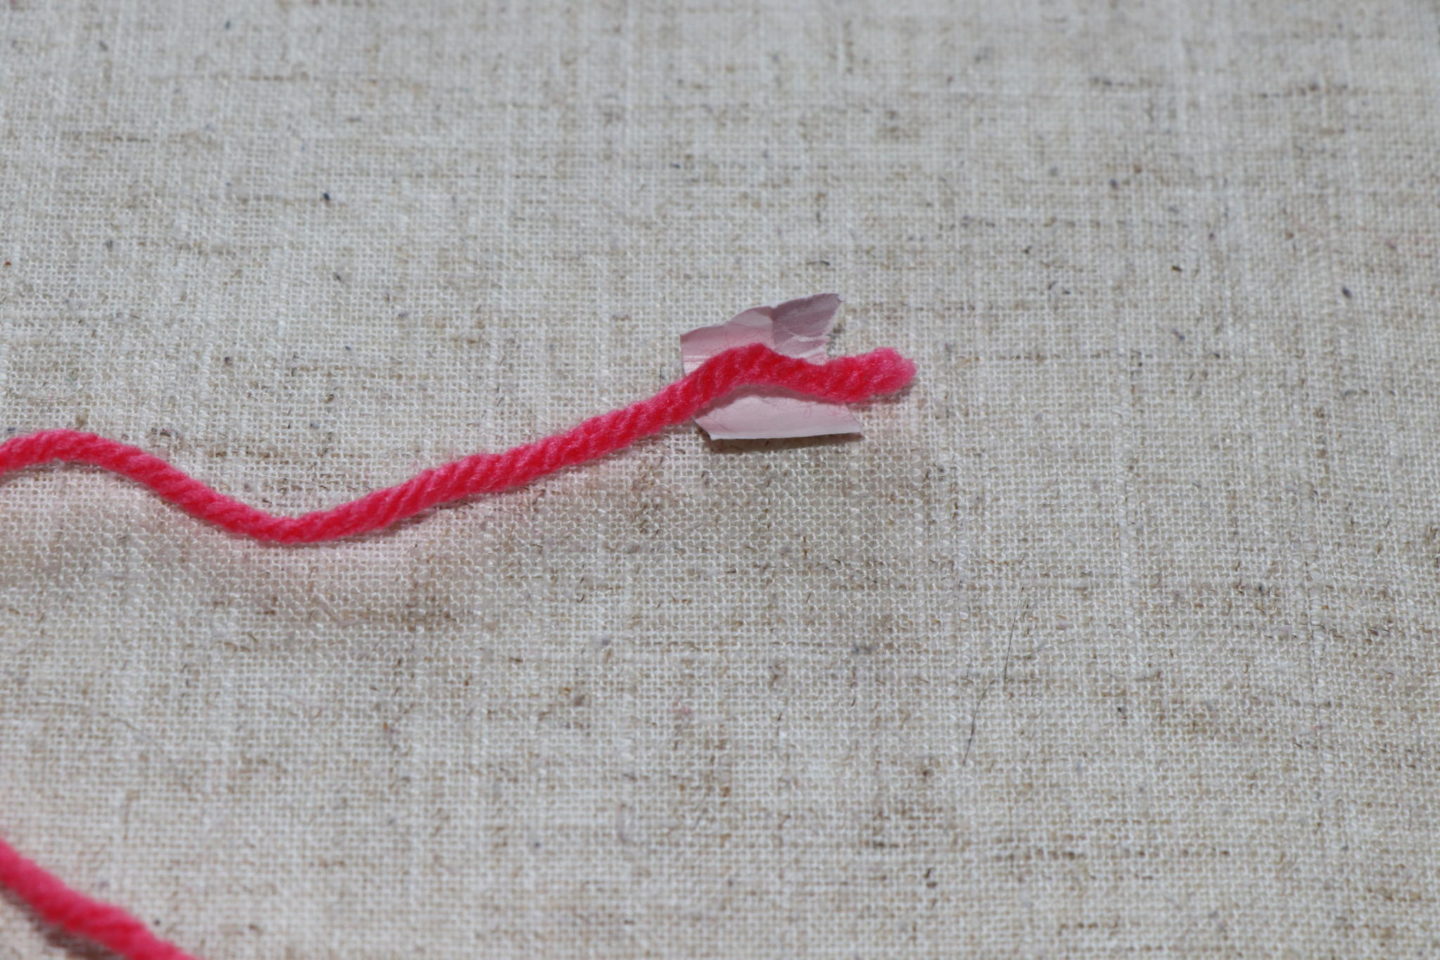
Tip #1
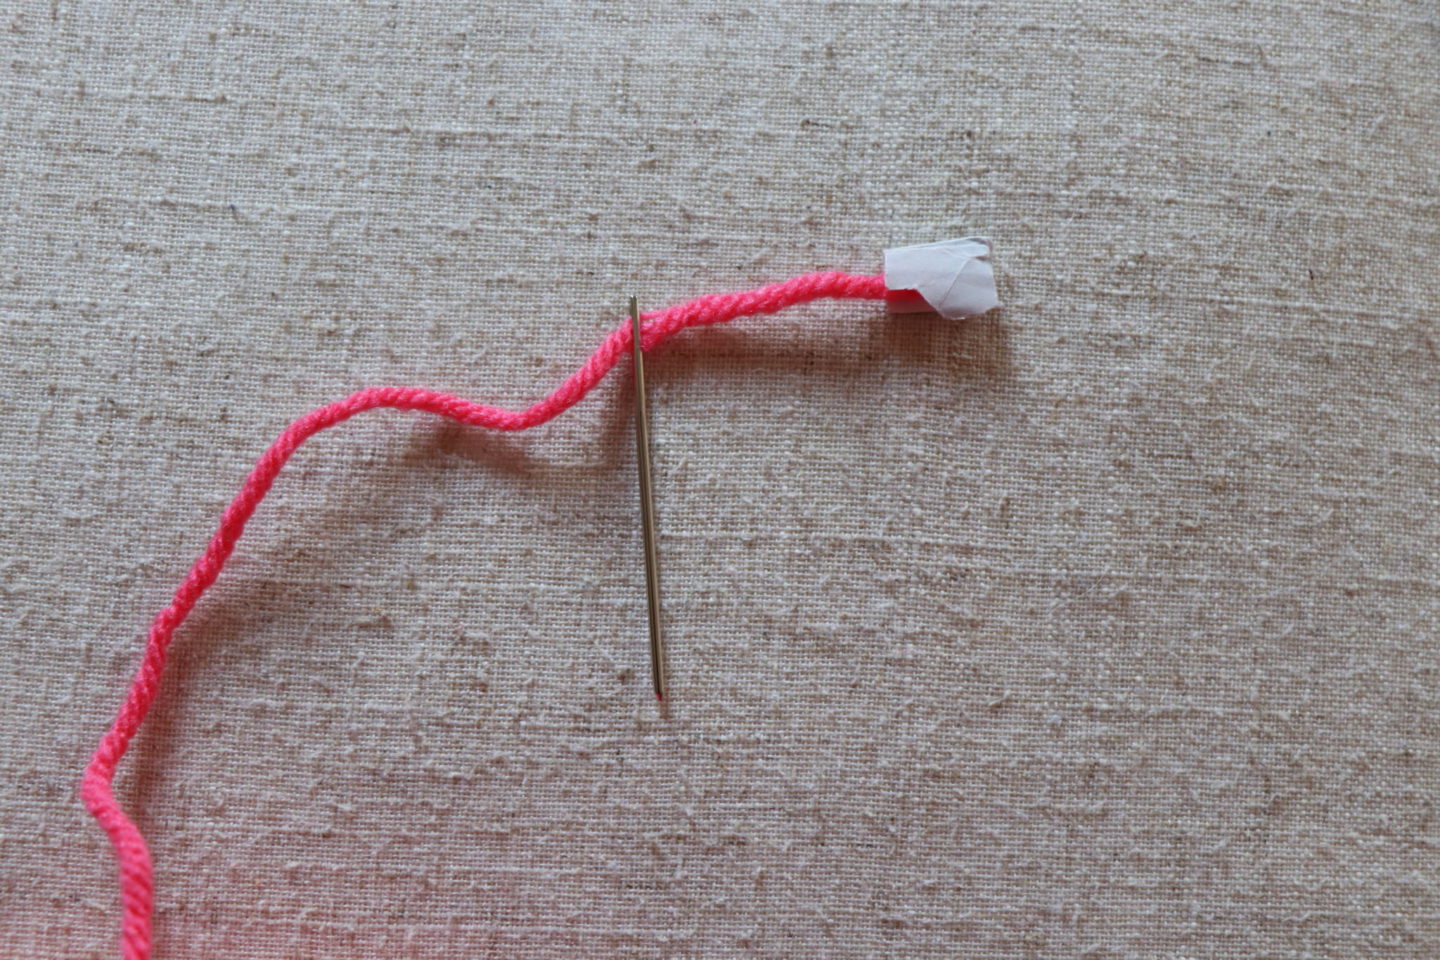
Fold a tiny bit of scrap paper in half. Take the yarn that needs to get woven in and lay the end over the creased paper.
Pinch the paper so the yarn is enclosed. Then slip the paper through the eye of the needle.
If you’re having a difficult time getting the paper through the needle, make sure the ends of the yarn aren’t sticking out. If they are, just slid the paper a bit so no yarn ends are peaking out.
Else, try using a thinner piece of paper.
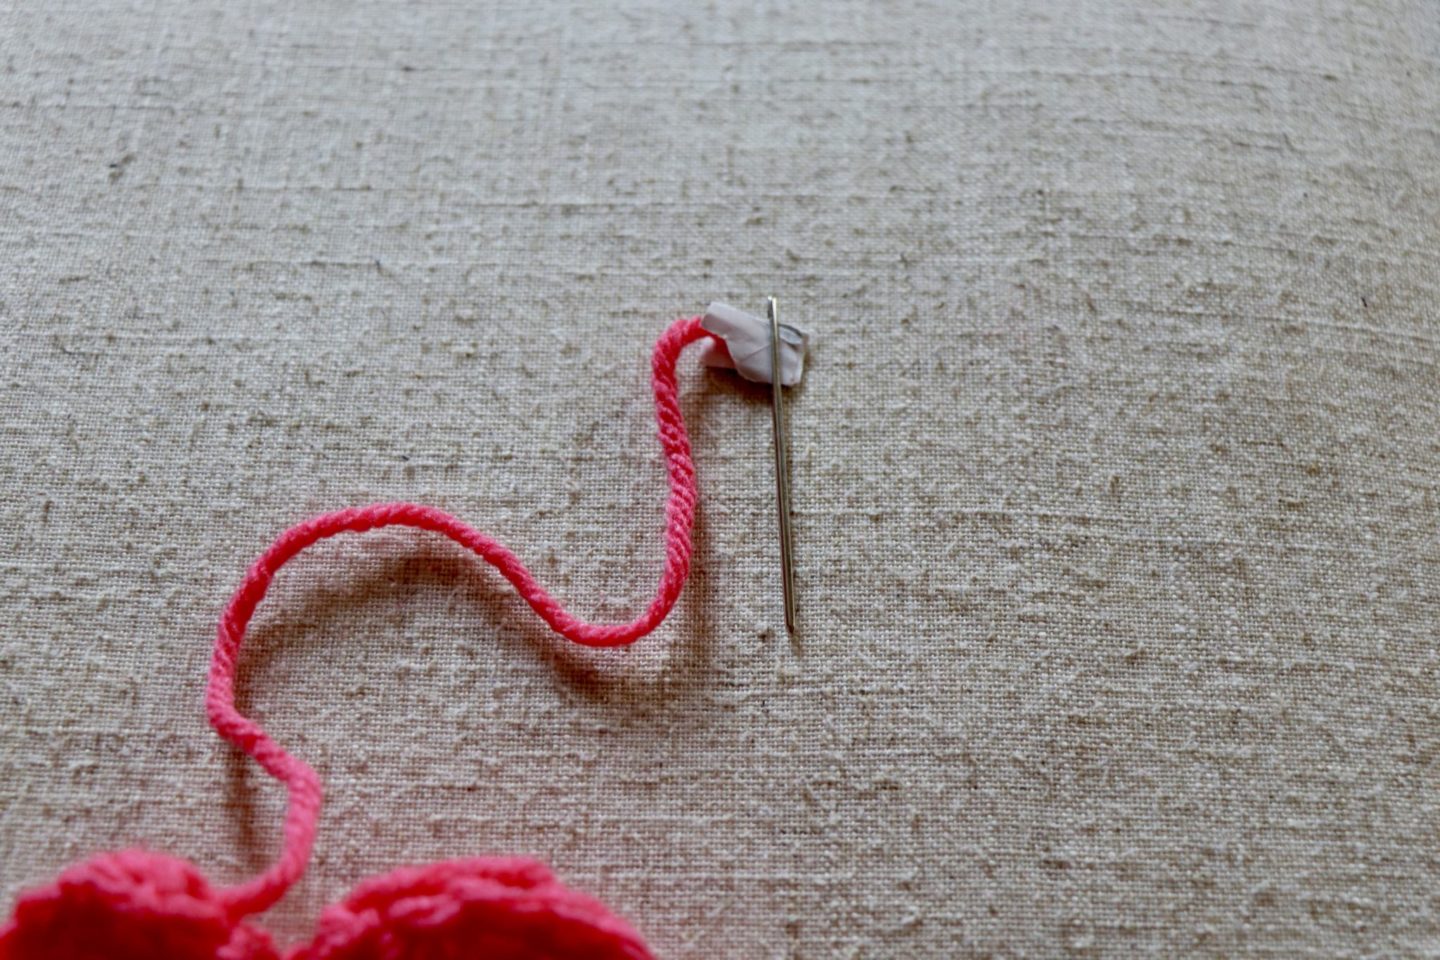
Once its through, it should look something like this:
Now for the weaving in part. You’ll see how simple this is…
First flip your piece of work over so you’re looking at the wrong side (WS).
To figure out where you should insert your needle, chose a group of stitches that have the same color as the yarn you’re weaving in. This will ensure the ends blend into the original stitches.
Tip #2
When you insert your needle, make sure you are going through the back stitches only. The needle should not be visible from the front.


Go ahead and insert the needle through a group of stitches. When I do this, I like to go into the entire group of stitches at once and pull through.
Alternatively, you can insert through 1 stitch, pull through, and repeat.
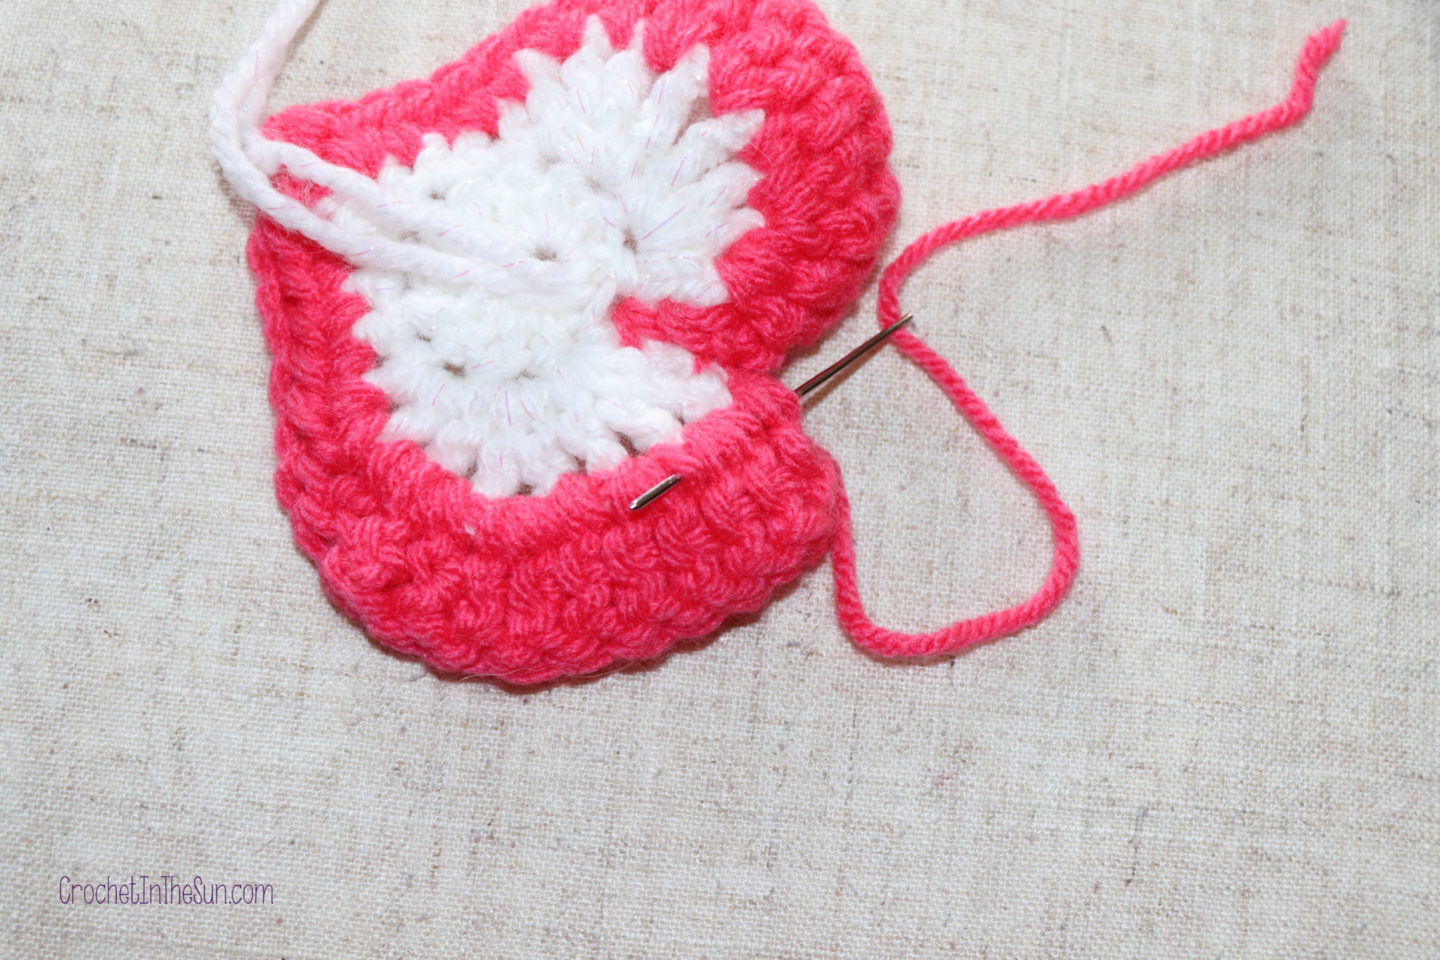
Once you weave through 4-5 stitches or so, pull your needle and yarn through.
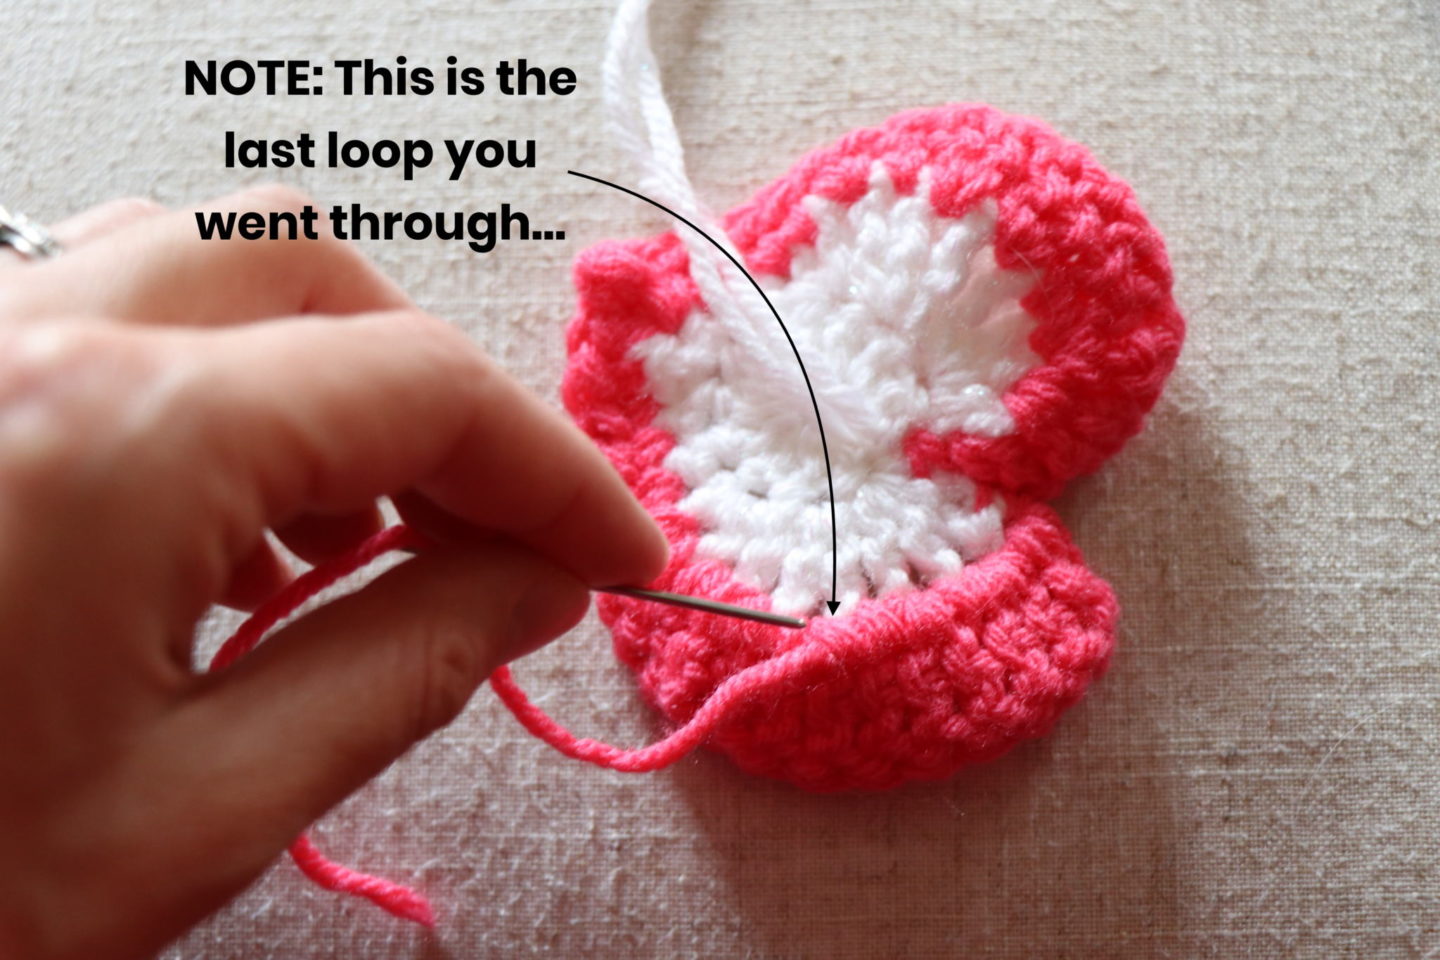
Next, you’re going to weave the needle back the other way in the same stitches, except you’re going to skip the very last stitch you went through.
Insert your needle and pull through to the other end.

You can continue weaving the end in until you feel it is secure. If you are weaving in through a lot of stitches, avoid going over one area more than twice, as that could leave it looking a bit puffy or uneven.
Before you snip the ends (there is usually a little tail left), see the last tip.
Tip #3
Give your work a gentle stretch before you cut your ends. This will ensure that your ends won’t come out or loosen up if your crochet piece gets stretched out.
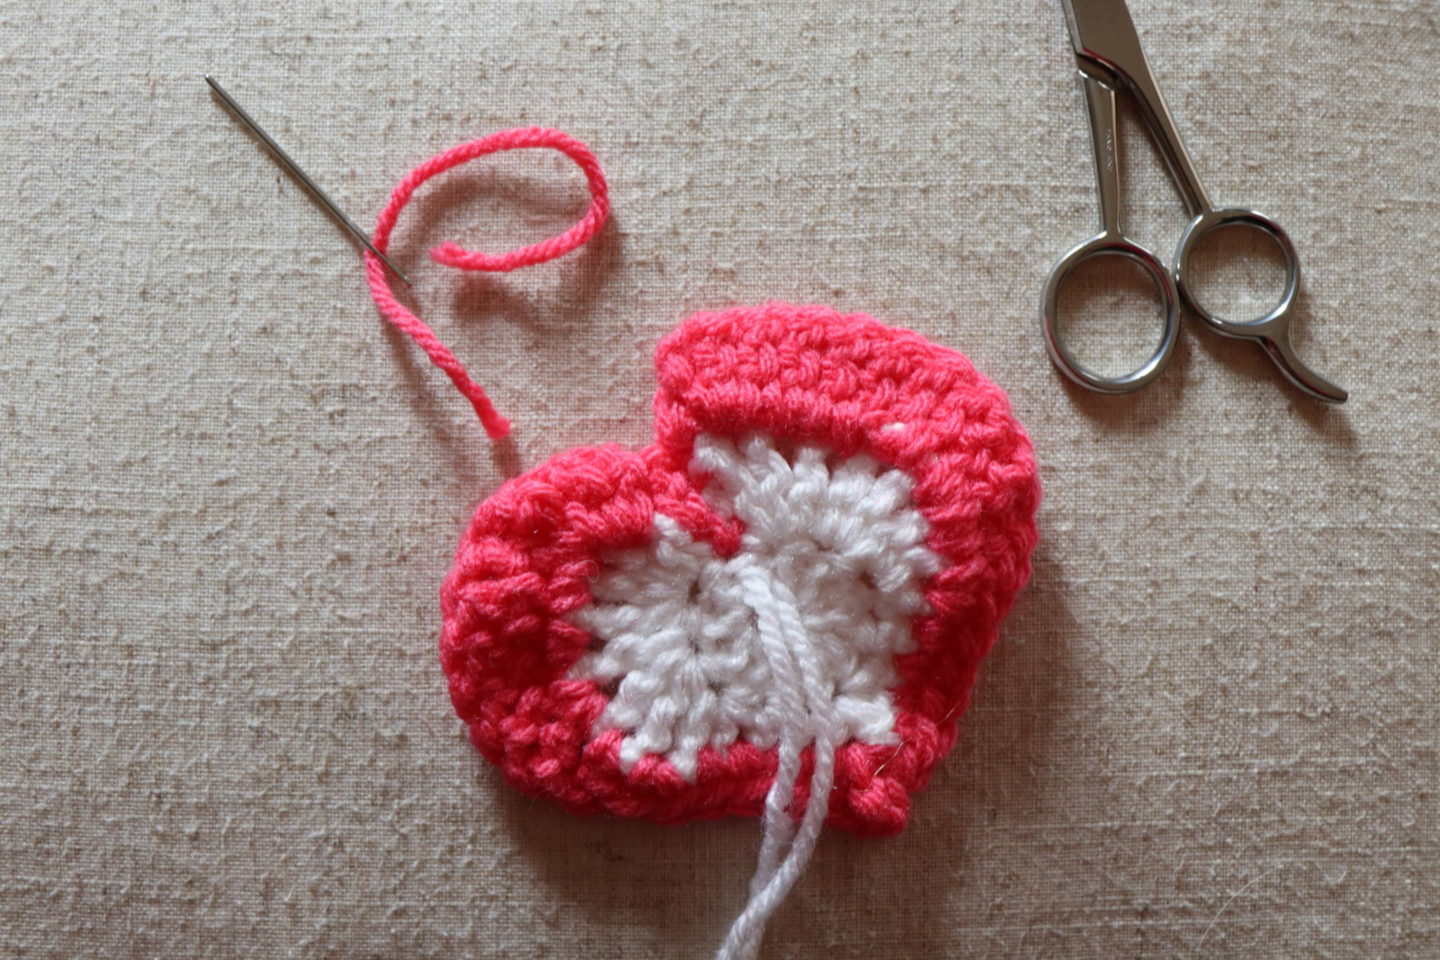
Finally, cut your yarn. You’re all done! That was pretty simply wasn’t it?!
Weaving in the tail of Magic Circle
If you started your project with a Magic Circle and want that center circle to become smaller or non-existent, makes sure you pull the tail as you are weaving in that end. You should notice the circle grow smaller and smaller. You will want to weave the tail through quite a few times to ensure it does not become loose.
Other useful crochet references
- Ultimate Beginner’s Guide to Crochet – This breaks down the basics of what you need to learn, in what order, and links you directly to some great resources! And best of all, it’s free the blog. You can also purchase the inexpensive ad-free printable PDF of that Guide from my Etsy Shop. Enjoy!
- Crochet hook size conversion chart – Since different sets of numbers and letters are used to classify crochet hooks, this chart easily brings it all together in 1 place.
- Yarn weight conversion chart – This links the US number and US category, ply (used in AUS and UK), and other terms commonly used to ensure you aren’t left guessing what weight of yarn you’re about to purchase!
Did this tutorial help you? Please leave a comment below if this helped you. I would love to hear!
Happy crocheting,
Jennifer
Pin for later


I found your internet site from Google and
I need to say it was a fantastic locate. Many thanks!
Hi Elliot,
Thank you!! I’m so happy to hear that the article helped you!
Kind regards,
Jennifer