Part 1 of the World Cup Blanket Series – a new country-inspired color palette & pattern drops every few days throughout the World Cup. See the full series here!
The 2026 FIFA World Cup is coming to North America – and with games being played across the USA, Mexico, and Canada, this summer is going to be one long, glorious watch party. 🌎⚽
We’re kicking off the World Cup Crochet Series with Team USA. Whether you’re rooting for the US team or just love this bold color palette, this is a great place to start. Pick up your crochet hook, grab your yarn, and let’s make your next favorite blanket! 🙂
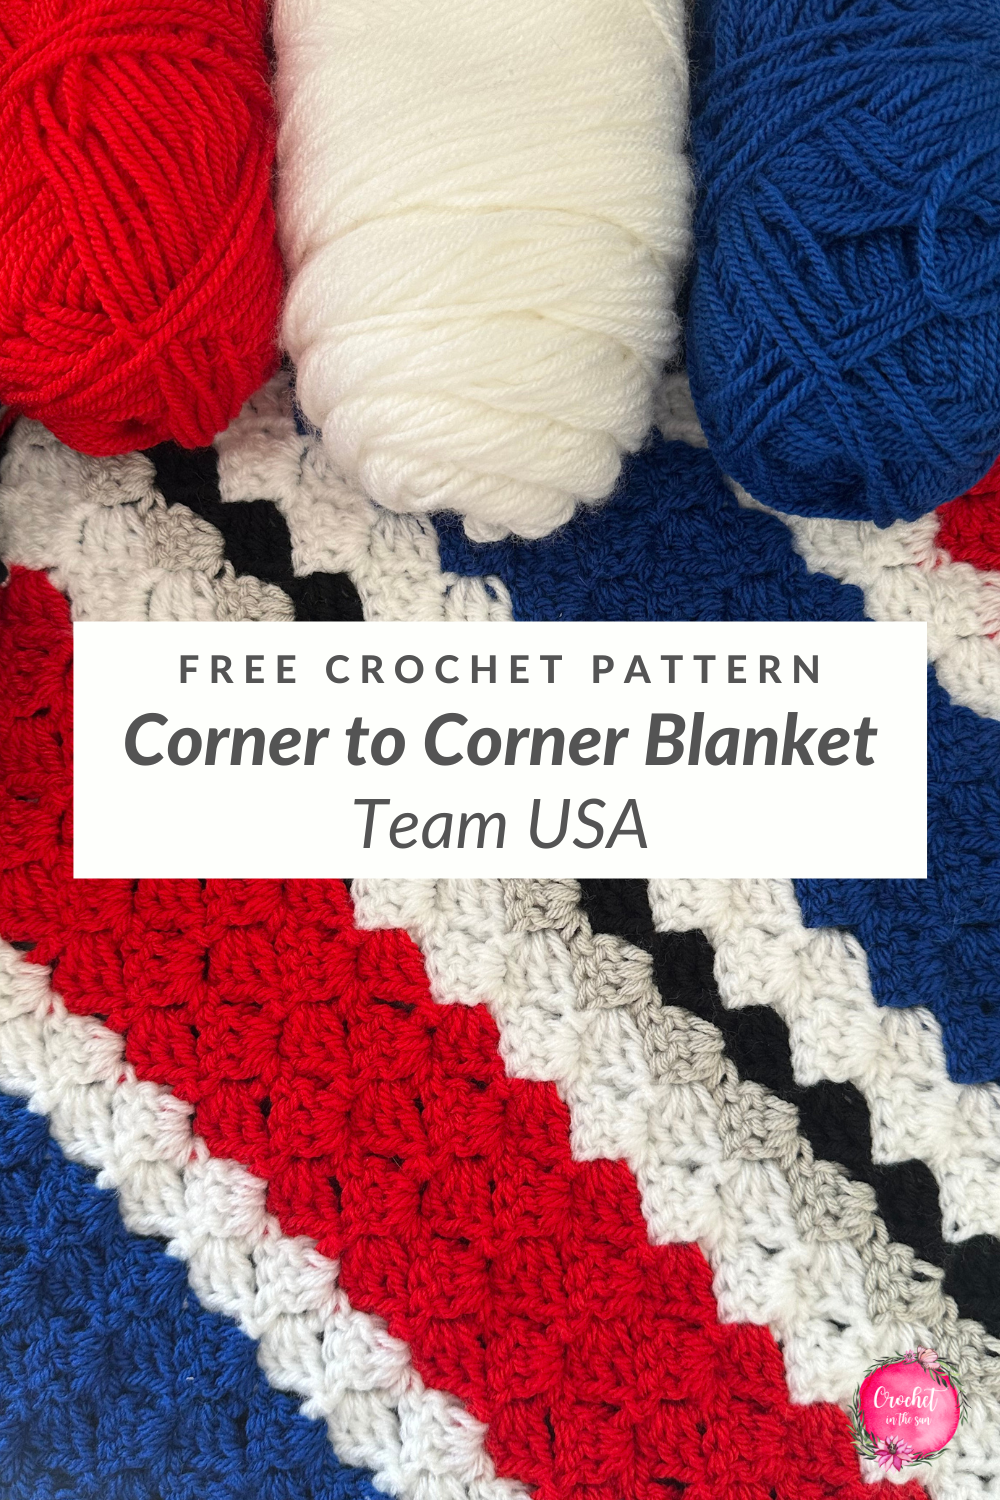
Meet the USA ‘World Cup Spirit’ Blanket
This is the 1st color palette of the C2C World Cup Spirit Blanket series! The full pattern is right here in this post, and the full series is where you’ll find the complete list of all the country’s blanket patterns as they drop throughout the tournament.
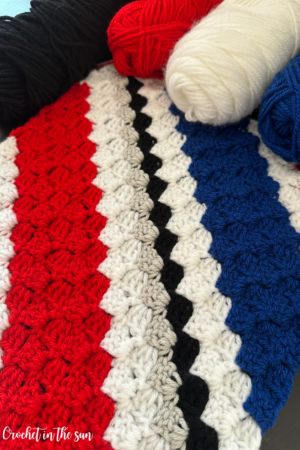
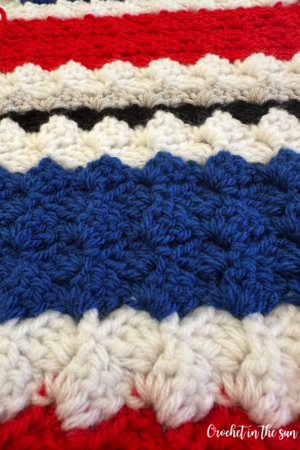
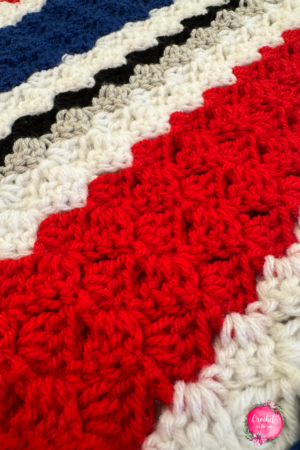
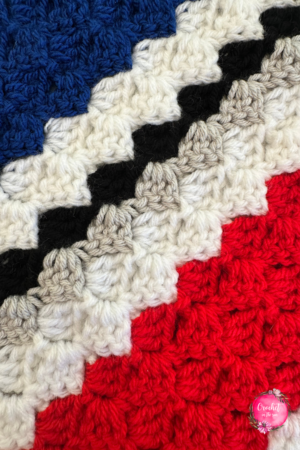
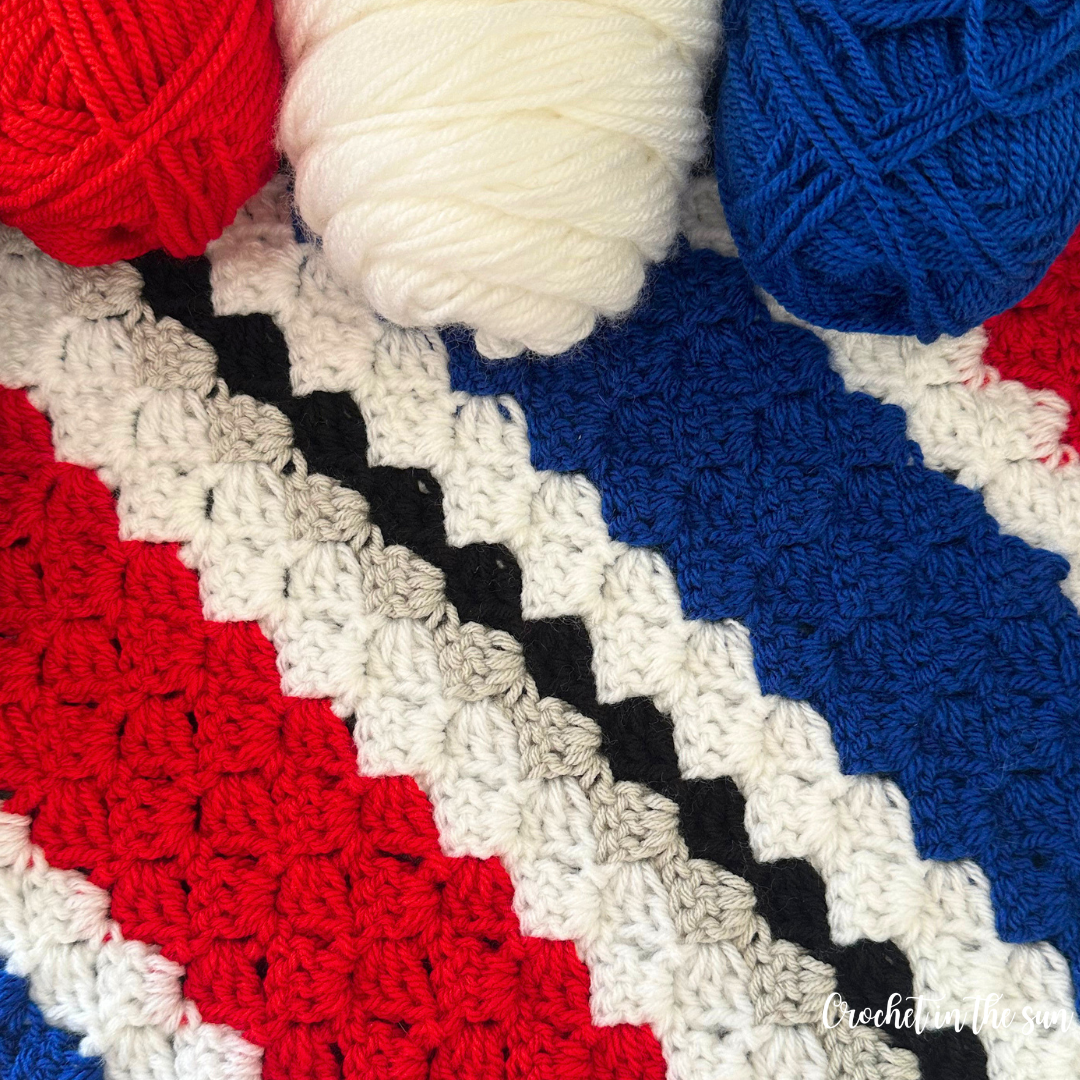
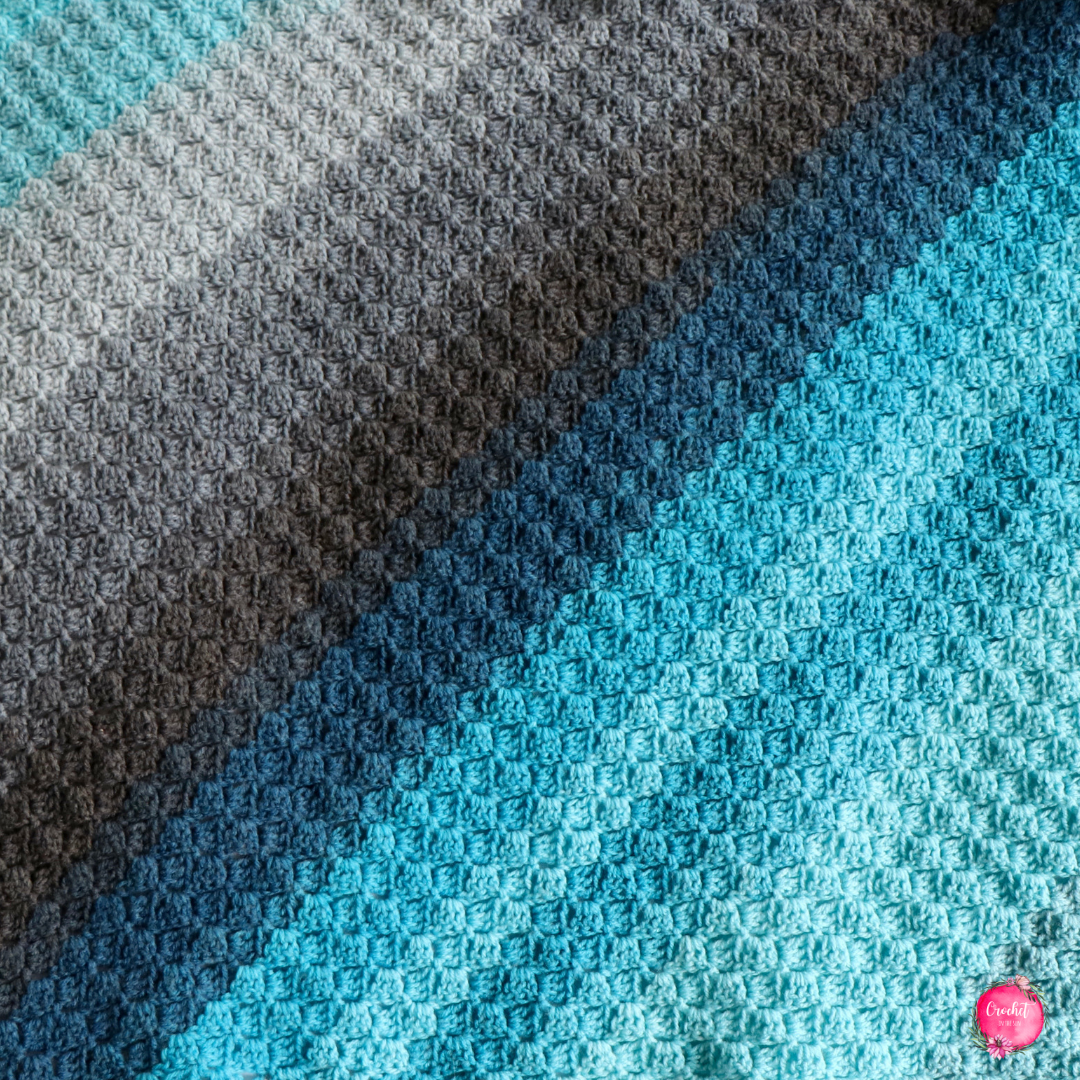
I really love this palette because red, white, and blue is obviously what you expect to see based on the US flag, but adding in the black and silver as a nod to their away jerseys makes the palette really stand out. These 5 colors look gorgeous in C2C diagonal stripes!
This is the pattern for you if:
- You want to rep your country in cozy, handmade style
- You’re looking for a beginner-friendly C2C blanket with bold and fun colors
- You want a project that works up fast enough to finish before the Finals
How the Team Colors will work
Not sure how to map the country’s colors to the actual blanket? Here’s a quick breakdown:
This is how your team’s colors will be used in the World Cup Spirit blanket:
- Pick 2 main colors. These are the main colors used in the blanket. This can be the 2 most dominant colors in the flag or their home jersey colors.
- Pick 2 alternating colors. These are used less often in the blanket. This can be other colors in the flag, or the colors of the away jerseys.
- Pick 1 coordinating/complimentary color. This is used to split up the colors. White or black usually works great here.
So here is they key you will use when reading the pattern:
- MC1 = Main Color 1
- MC2 = Main Color 2
- AC1 = Alternating Color 1
- AC2 = Alternating Color 2
- CC1 = Coordinating Color 1
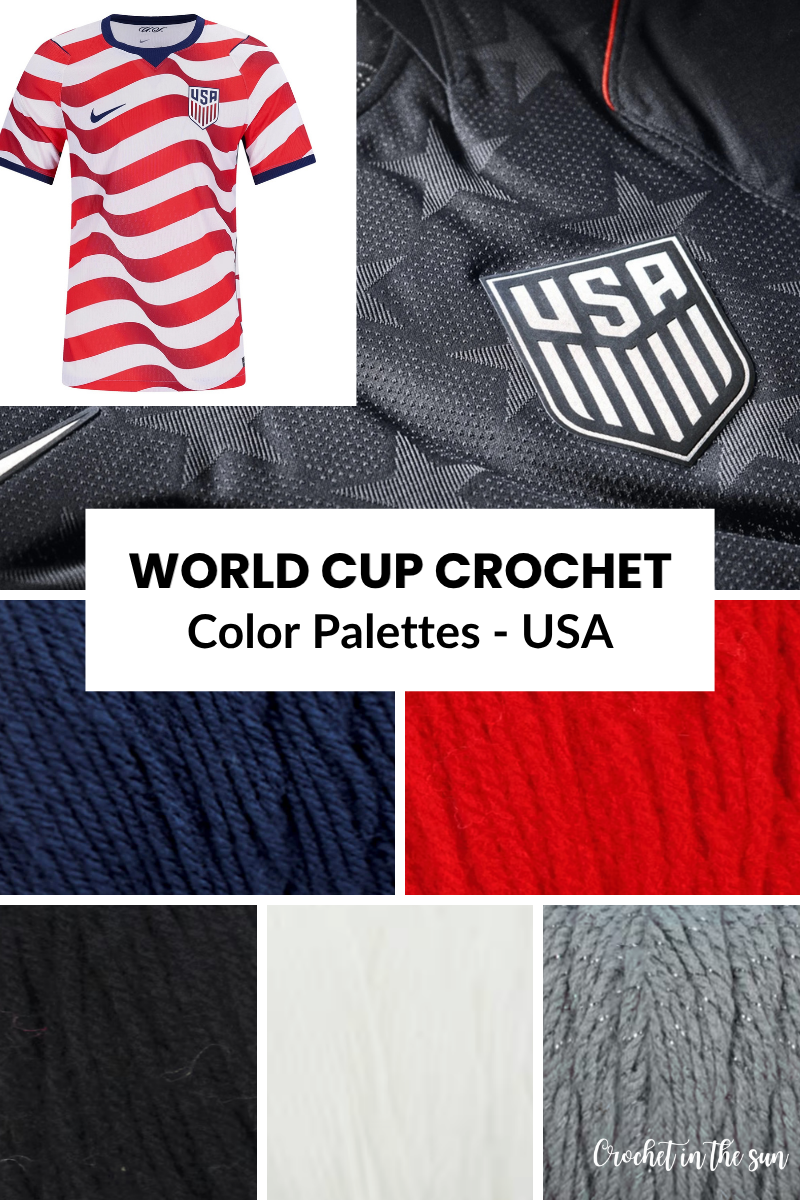
Now…the USA Color Palette
Drawing inspiration from the home and away jerseys as well as the flag, here are the 5 colors in this Corner to Corner blanket. Next to the color, you’ll see the abbreviation for how it will be used in the blanket.
Don’t worry, we have a C2C chart that will make the color work a breeze 🙂
- MC1 = Red
- MC2 = Blue
- AC1 = Black
- AC2 = Gray/silver
- CC = White
So the black and silver are used less frequently throughout the blanket, but they break up the typical red/white/blue so nicely, and adds a little intensity to the blanket. I hope I see that on the soccer field!! ⚽
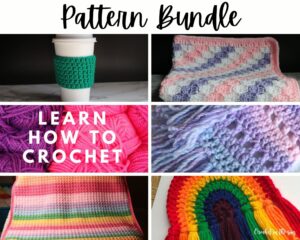
If you love this crochet blanket pattern, have a look at my Crochet Pattern Bundle on Etsy. It includes some of my best sellers along with other new patterns!
Skill Level
Easy
If you don’t know how to crochet, or maybe just want to brush up on the basics, we have a great resource for you!
Hop over to the Ultimate Beginner’s Guide to Crochet. This breaks down the basics of what you need to learn, in what order, and link you directly to some great resources! And best of all, it’s free! Enjoy 🙂
Yarn & materials
- Big Twist in Varsity Navy
- Big Twist in Varsity Red
- Big Twist in Black
- Big Twist Twinkle Yarn in Gray
- Big Twist in White
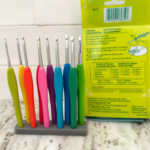
- Hook: 5mm crochet hook (H – 8). This is from the Clover Hook set I always use.
- Yarn needle and scissors
Along with Big Twist yarn, Red Heart Super Saver yarn and Paintbox Yarns have great options for this color palette as well.
Big Twist just tipped me over the edge when I saw the Metallic yarn in gray. That matches the stars on the away jersey perfectly!! Hard to pass that up.
Need to stock up on yarn or grab a new hook? Browse my Crochet Must-Have Items on my Amazon Storefront – it has a great selection of brands and colorways, especially if you can’t find what you need locally. As an Amazon Influencer, I may earn from qualifying purchases.
As mentioned above, also check out Lovecrafts.com! They have a huge selection of yarn brands and colorways – many of which are hard to find in the US. They are based in the UK but they do ship to the US, and their color range is hard to beat. I am a repeat customer of their Paintbox Simply Aran and Simply Chunky yarn for years now 🙂

Stitches (US Terms)
- chain (ch)
- single crochet (sc)
- double crochet (dc)
- half double crochet (hdc)
- slip stitch (sl st)
If needed, refer to the Beginner’s Guide to crochet. Those stitch tutorials will walk you through how to complete the above stitches.
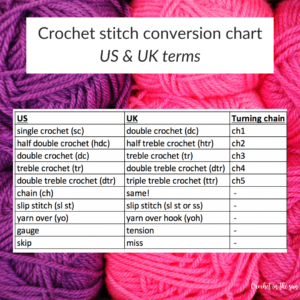
If you need to convert from US to UK terms, have a look at this chart.
Abbreviations
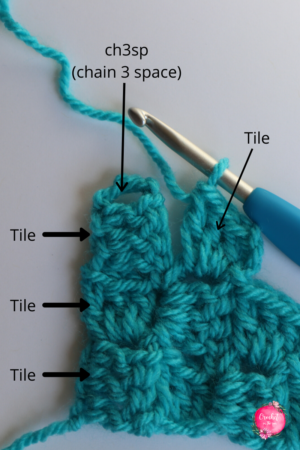
- A “tile” or block is a set of <ch3+3dc>
- ch3sp: In this pattern, the ch3sp (or chain 3 space) refers to the space between the ch3 and 1st dc of the tile you’re working into.
Below measurements were based on a blanket made with Chunky yarn and 6mm crochet hook. So if you’re using different yarn & hook, it is expected to vary. But again, this is not a problem!
Gauge
4 inches = 5 tiles x 5 tiles
Finished measurement
The original Game Day Blanket was made using chunky yarn and a 6mm crochet hook, and that measured ~55 inches x 56 inches. So if you are using a medium weight/worsted yarn, the measurement will be slightly less, around ~45 inches x 46 inches.
Feel free to try different yarn weights or fibers with this blanket. The pattern will hold true, but of course the size will vary a bit. But – it’s not a garment, it doesn’t have to be ‘perfectly’ sized!
Plus, you can measure as you go if you want it the blanket to end up a specific size (i.e. smaller or bigger).
Pattern notes
- The yarn tail from your initial slip knot is like an “anchor” for you in this project. It should always be on the bottom right when you’re working on the “right side” of the project.
- Once you get to row 2, it’s a simple repeat. However, rows 3 and 4 are explained as well though. Why? They’re all the same, but it’s worded slightly differently. You’ll see more abbreviations and less explanations as you approach row 4 just to simplify the wording. Row 4 is the instructions to follow for a normal (increase) row.
- At the end of each row, you turn your work.
- Refer to “Corner to Corner color change directions” section for the tutorial on how and where to change colors in this blanket.
- This pattern includes a chart as well as written instructions/table showing the colors for rows 1-110.
Carrying yarn vs. fastening off during color changes
In general, when you change colors in a crochet project, you can either:
a) fasten off (i.e. cut your yarn) & weave in your ends at each color change, or b) carry your yarn
We change colors quite often in this blanket, but since entire rows are different colors (as opposed to color changes within the same row), it’s quite easy to change rows at the end of each. Therefore, I recommend fastening off and weaving in your ends, as opposed to carrying your yarn up the side for this blanket.
If you’re still not sure….
In case you’re not sure, here are some considerations when deciding:
- Option 1: If you fasten off: You will have many ends to weave in, however this does provide for a cleaner look as you can easily weave in the yarn end into the same color tile, so you can’t see the yarn peeking through the different color tiles. To follow this method, you will always change colors by attaching a new color each at the end/beginning of the row. The finished product won’t look any different, you will just have more ends to weave in – that’s all!
- Option 2: If you carry yarn: You will have to carry your yarn over quite a few stitches each time, so you will have to be sure to work over the carried yarn when working your border. One downside is that you may be able to see the yarn peeking through just a bit, especially when you’re working over a dark yarn color with a light yarn color, or vice versa.
If you prefer a 100% clean look, you may prefer option #1 so you can weave the ends into the same color tiles.
Also, if you do carry your yarn, make sure you’re not pulling the carried yarn too tight, else it may cause the blanket to pucker in a bit. Simply keep the carried yarn as part of the project and work your stitches over it. Not only will the border provide a neat finish, but it also covers up the yarn you carried along the side since you’re literally stitching over that yarn. Your border is functional and pretty!

Full Blanket Pattern
This pattern includes ALL of the following to help you pick this up easily: a full photo tutorial with written pattern, color chart, and a table with colors per row! I find that representing the pattern in both visual and written ways helps everyone – because some people need the full written details, while others prefer visual. Either way, we have you covered 🙂
- Get the inexpensive ad-free PDF printable from my Etsy Shop – coming soon!
- Pin this pattern to your Pinterest Boards – coming soon!
- Add this pattern to your Ravelry queue – coming soon!
- Or, you can find the free pattern here!
Full Photo Tutorial and written pattern
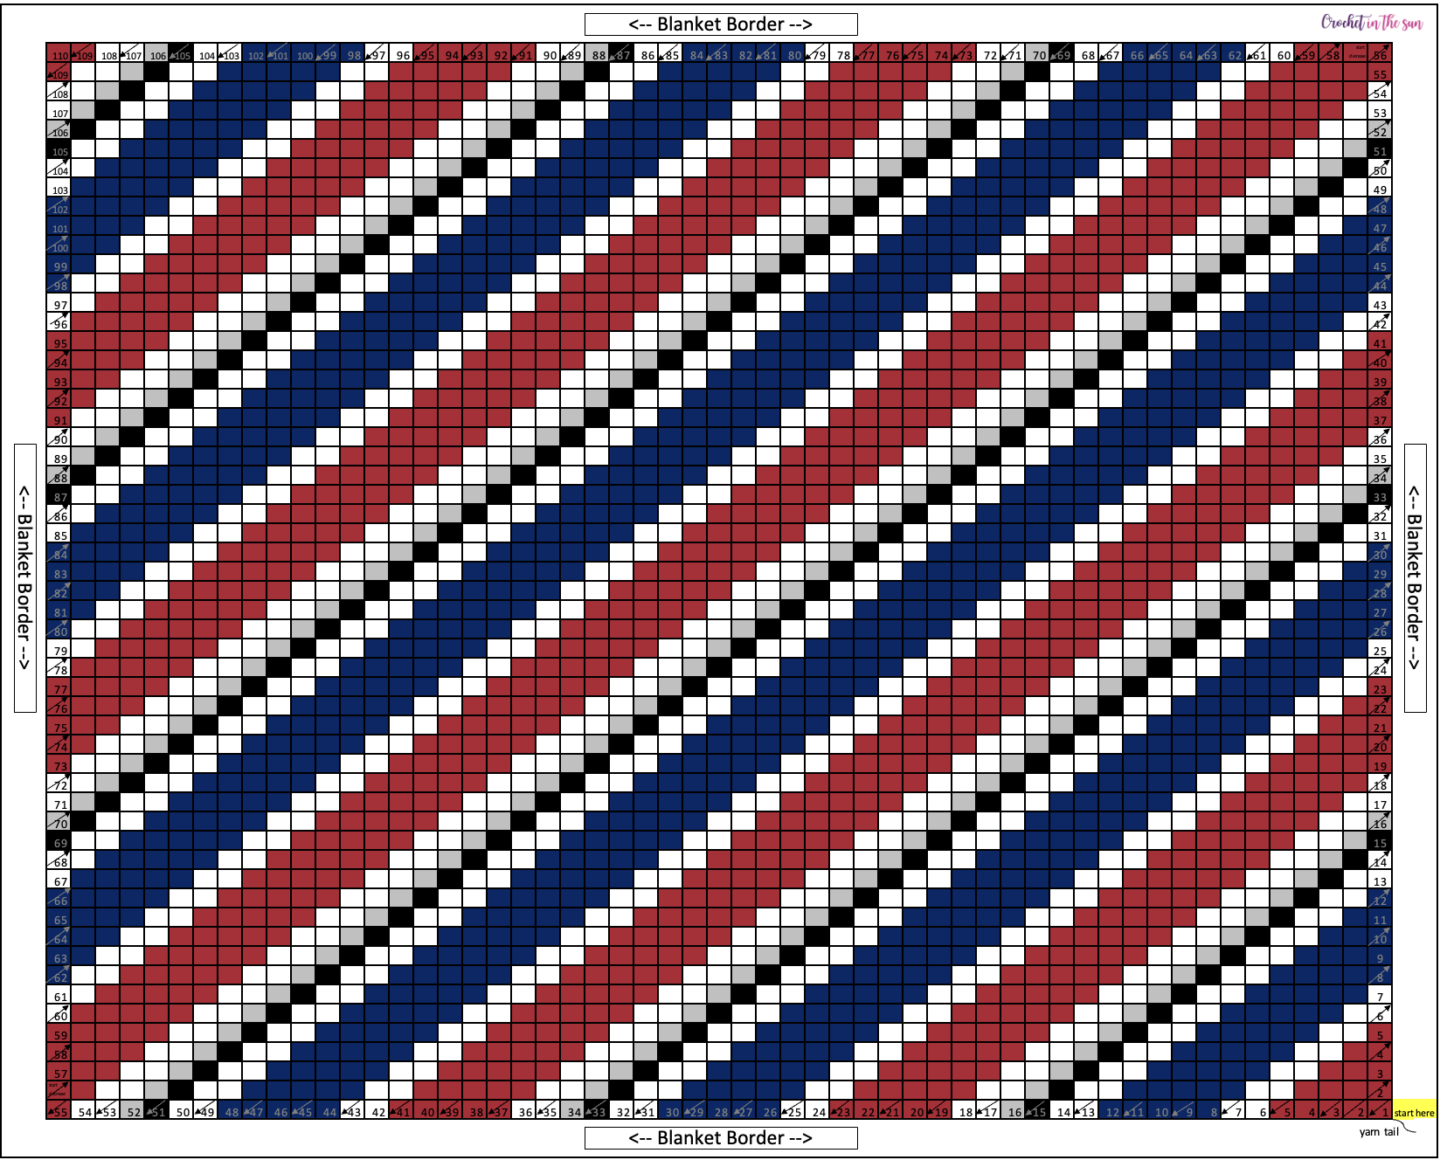
IMPORTANT: Please refer to the C2C Photo Tutorial for a step-by-step photo tutorial for Corner to Corner, in general. You will follow those instructions but use the chart directly below to determine when to change colors and when to start decreasing.
C2C color chart
The way this pattern is written, you start from the bottom right corner and end at the top left corner.
Color Table
Below breaks down the colors per role in a table format – another way to represent the same color work as above!
| Row(s) | Color |
| Rows 1 – 5 | MC1 (Red) |
| Rows 6 – 7 | CC1 (White) |
| Rows 8 – 12 | MC2 (Blue) |
| Rows 13 – 14 | CC1 (White) |
| Row 15 | AC1 (Black) |
| Row 16 | AC2 (Gray/Silver) |
| Rows 17 – 18 | CC1 (White) |
| Rows 19 – 23 | MC1 (Red) |
| Rows 24 – 25 | CC1 (White) |
| Rows 26 – 30 | MC2 (Blue) |
| Rows 31 – 32 | CC1 (White) |
| Row 33 | AC1 (Black) |
| Row 34 | AC2 (Gray/Silver) |
| Rows 35 – 36 | CC1 (White) |
| Rows 37 – 41 | MC1 (Red) |
| Rows 42 – 43 | CC1 (White) |
| Rows 44 – 48 | MC2 (Blue) |
| Rows 49 – 50 | CC1 (White) |
| Row 51 | AC1 (Black) |
| Row 52 | AC2 (Gray/Silver) |
| Rows 53 – 54 | CC1 (White) |
| Rows 55 – 59 | MC1 (Red) |
| Rows 60 – 61 | CC1 (White) |
| Rows 62 – 66 | MC2 (Blue) |
| Rows 67 – 68 | CC1 (White) |
| Row 69 | AC1 (Black) |
| Row 70 | AC2 (Gray/Silver) |
| Rows 71 – 72 | CC1 (White) |
| Rows 73 – 77 | MC1 (Red) |
| Rows 78 – 79 | CC1 (White) |
| Rows 80 – 84 | MC2 (Blue) |
| Rows 85 – 86 | CC1 (White) |
| Row 87 | AC1 (Black) |
| Row 88 | AC2 (Gray/Silver) |
| Rows 89 – 90 | CC1 (White) |
| Rows 91 – 95 | MC1 (Red) |
| Rows 96 – 97 | CC1 (White) |
| Rows 98 – 102 | MC2 (Blue) |
| Rows 103 – 104 | CC1 (White) |
| Row 105 | AC1 (Black) |
| Row 106 | AC2 (Gray/Silver) |
| Rows 107 – 108 | CC1 (White) |
| Rows 109 – 110 | MC1 (Red) |
Pattern – Border
Fasten off your MC1 yarn (red) and attach CC1 yarn (white) to any corner.
Row 1
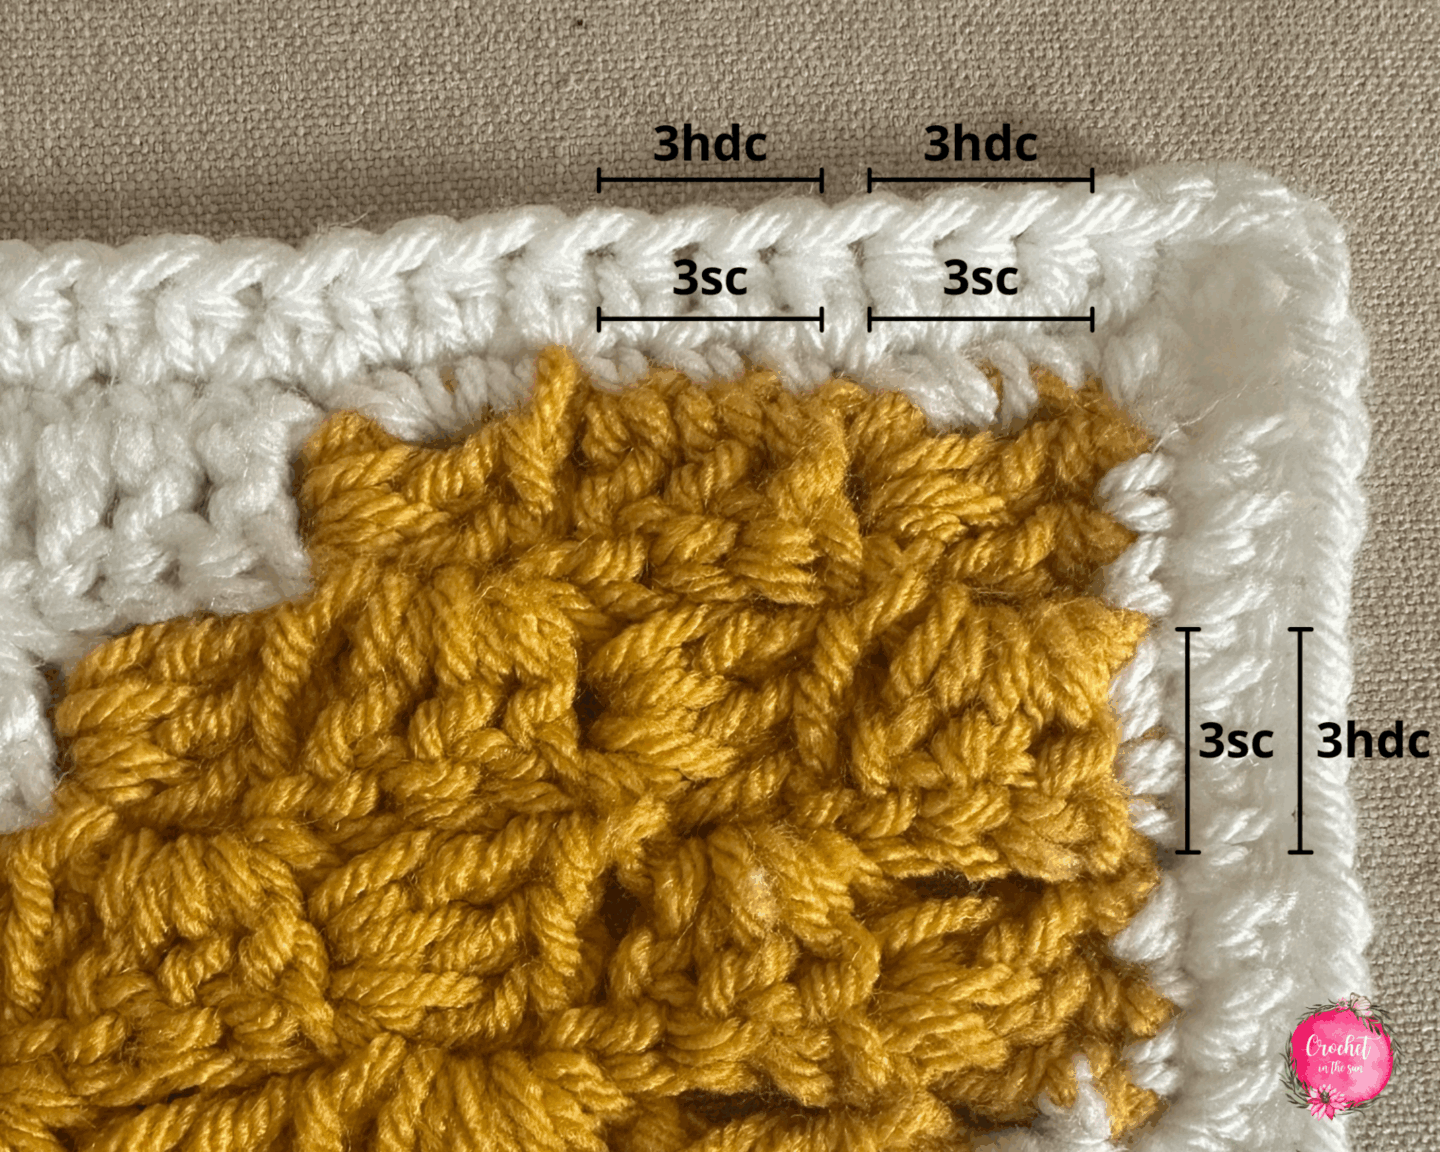
Row 1: In the corner to start, < ch2, sc, sc >. Then repeat *3sc, 3sc* across the row.
As you see above, you are working 3sc into each horizontal tile (where the dc’s appear horizontal, going left to right), and work 3sc into each vertical tile (where the dc’s appear vertical, going up to down). Note that some sides will be more obvious where to work the sc, while others might not be as obvious.
Tip: When working the border into the horizontal tiles, rather than work all 3 sc’s into the gap between the 3 dc’s and the ch3, instead work 2 sc’s where you normally would & work the 3rd sc into the space between that tile & the next tile.
As always, you can adjust the number of sc’s you work in each tile, if needed. For example, you can always work 2sc in a tile if 3 sc in a tile look too squished.
Row 1 corners: Work < sc, dc, sc > into each corner. The dc gives it a bit more height.
To end row 1, slip stitch into the first stitch of the row.
Row 2
Row 2: In the corner to start, < ch3, hdc, hdc >. Then continue to hdc in each sc across the row.
Row 2 corners: Work < hdc, 2dc, hdc > into each corner.
You are working into a < sc, dc, sc > from the previous corner. So you will hdc into the sc, work 2 dc into the dc, then hdc into the sc.
Similar to the previous row, the dc adds a bit of height, and working 2 dc into that corner stitch ensures the corners don’t fold in.
To end row 2, slip stitch into the ch2 that started this row.
Lastly, fasten off and weave in your ends.
Optional finishes
Optionally, add tassels to the 4 corners, or add fringe along the sides.
All done!! Now you have a beautiful blanket you can snuggle up with while you watch your World Cup matches!
Thanks for following along, and I hope you enjoy making this project!
Share Your Make!
Which country colorway do you need? Drop your team in the comments! 🌍
Also, if you share on social media, go ahead and tag @crochetinthesun.
I love seeing your finished projects – especially the color combos for this blanket! Tag me on social media so we can see all the different countries being cheered on!
And…let’s see who wins in finals!
Happy crocheting,
Jennifer
Pin for later

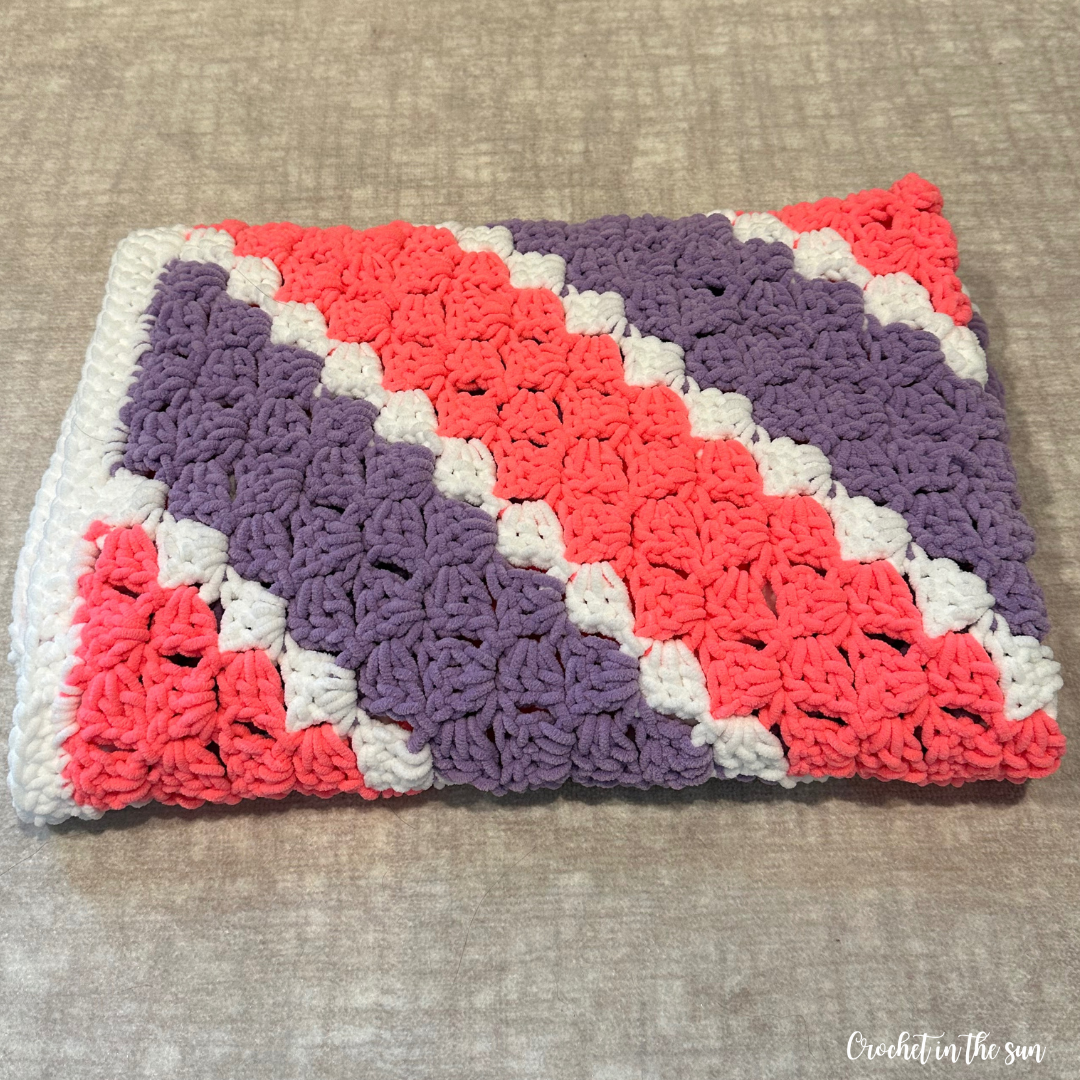
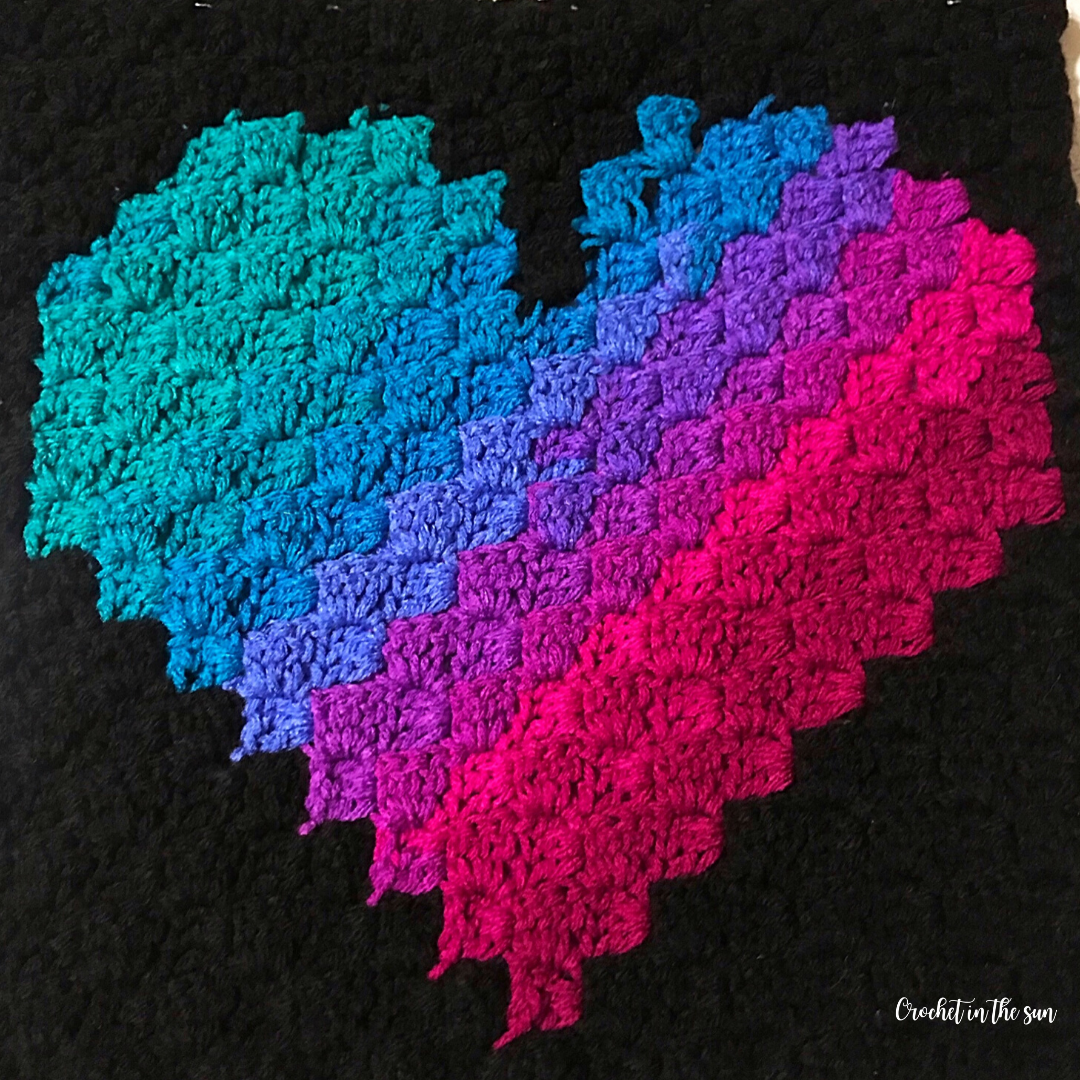
Love C2C? Check out other corner to corner blanket patterns & wall hangings
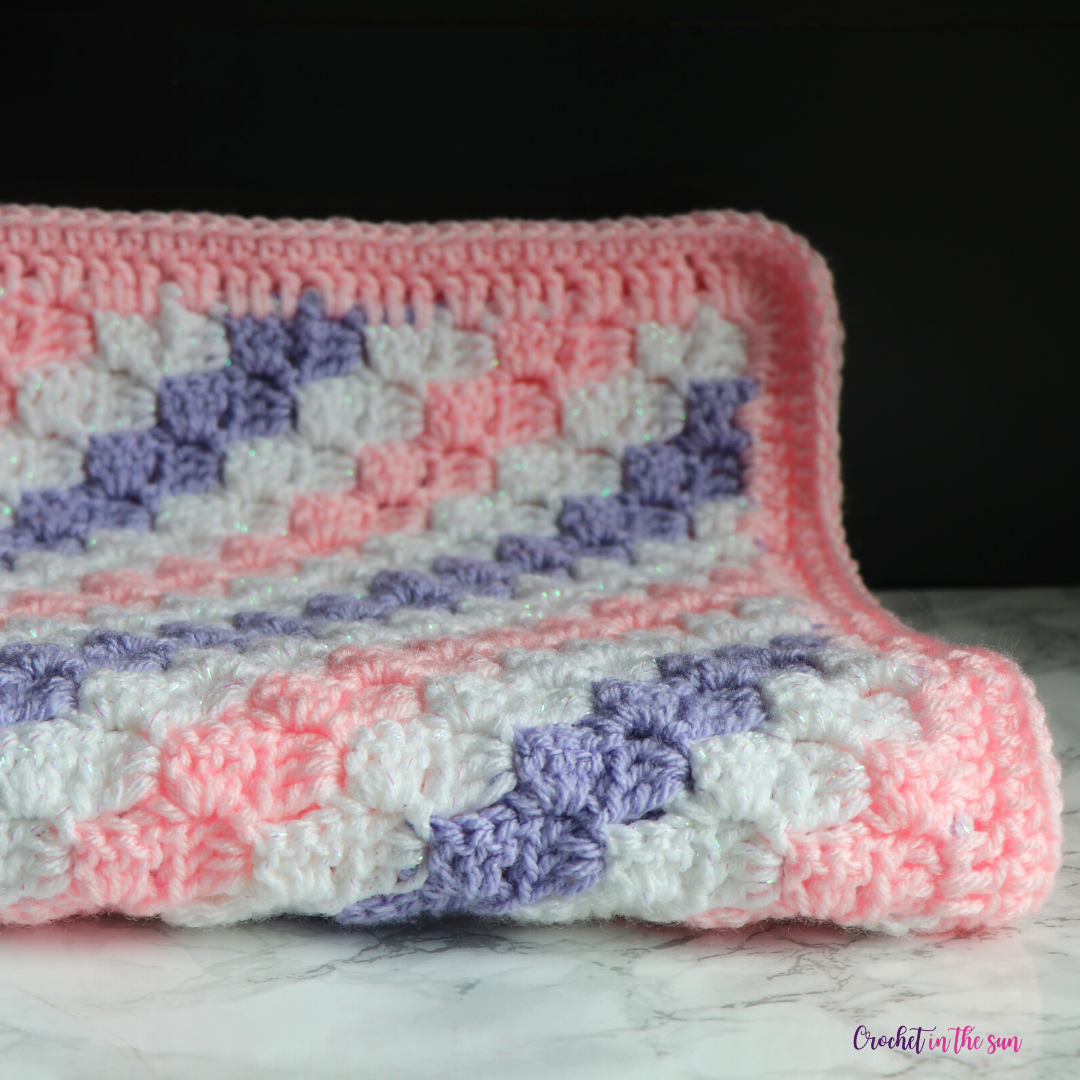
Sugar Plum Snuggles C2C blanket
Corner to corner Heart Wall Hanging Crochet
Useful crochet resources
- Crochet hook size conversion chart
- Yarn weight conversion chart
- Stitch conversation chart (US vs UK)
- Ultimate Beginner’s Guide to Crochet