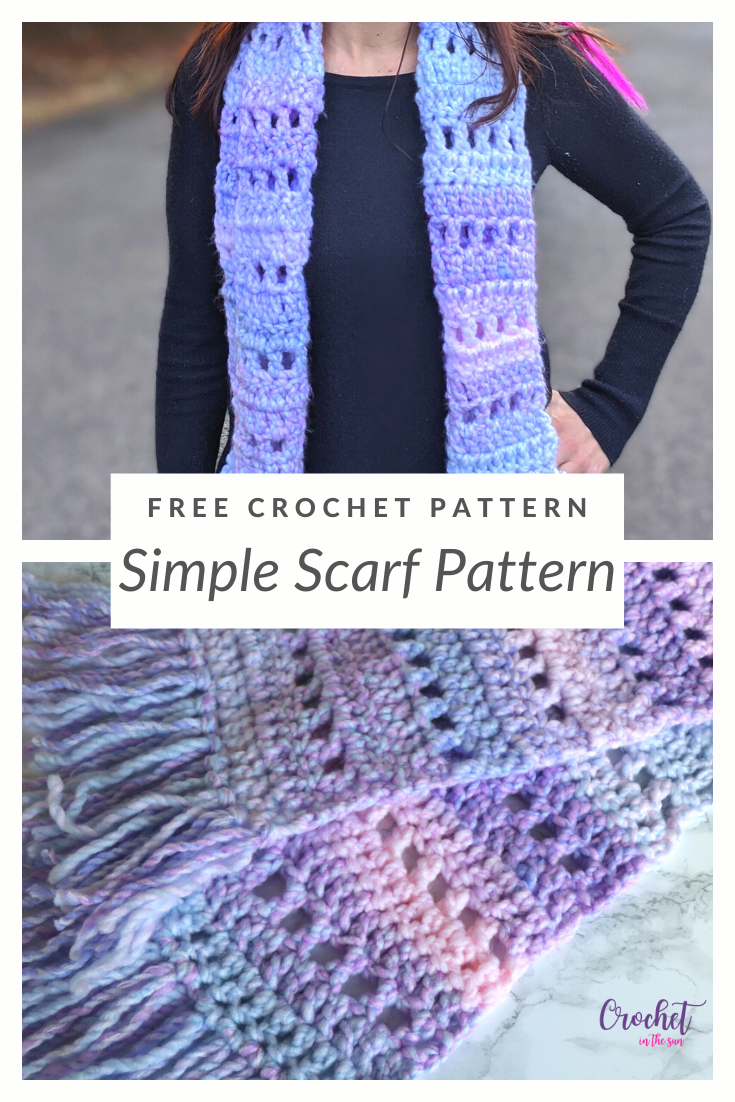
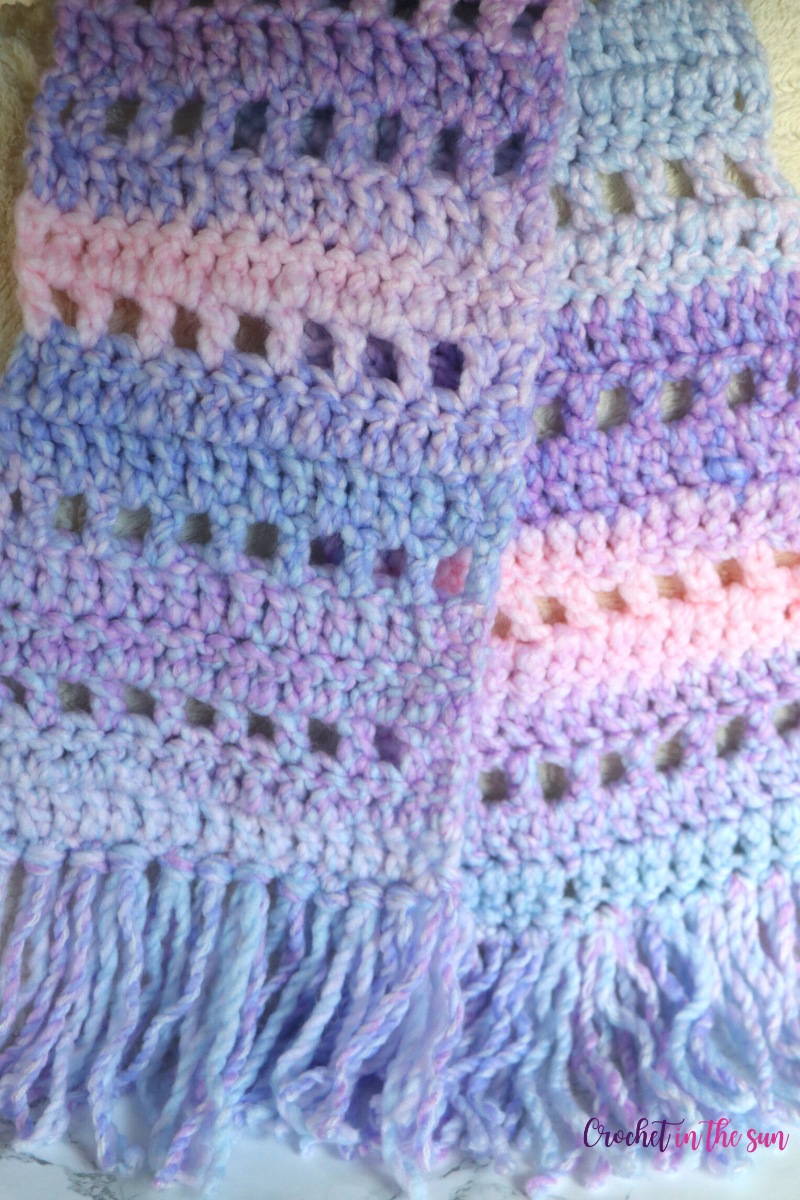
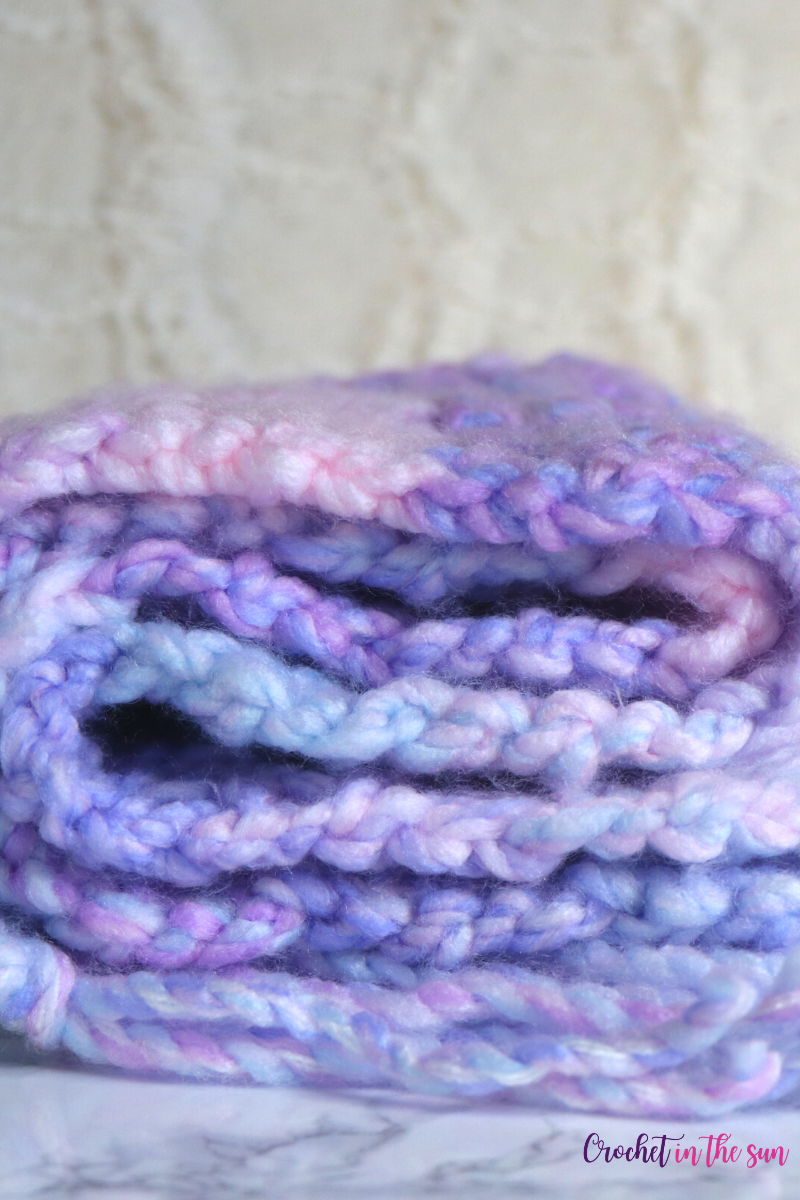
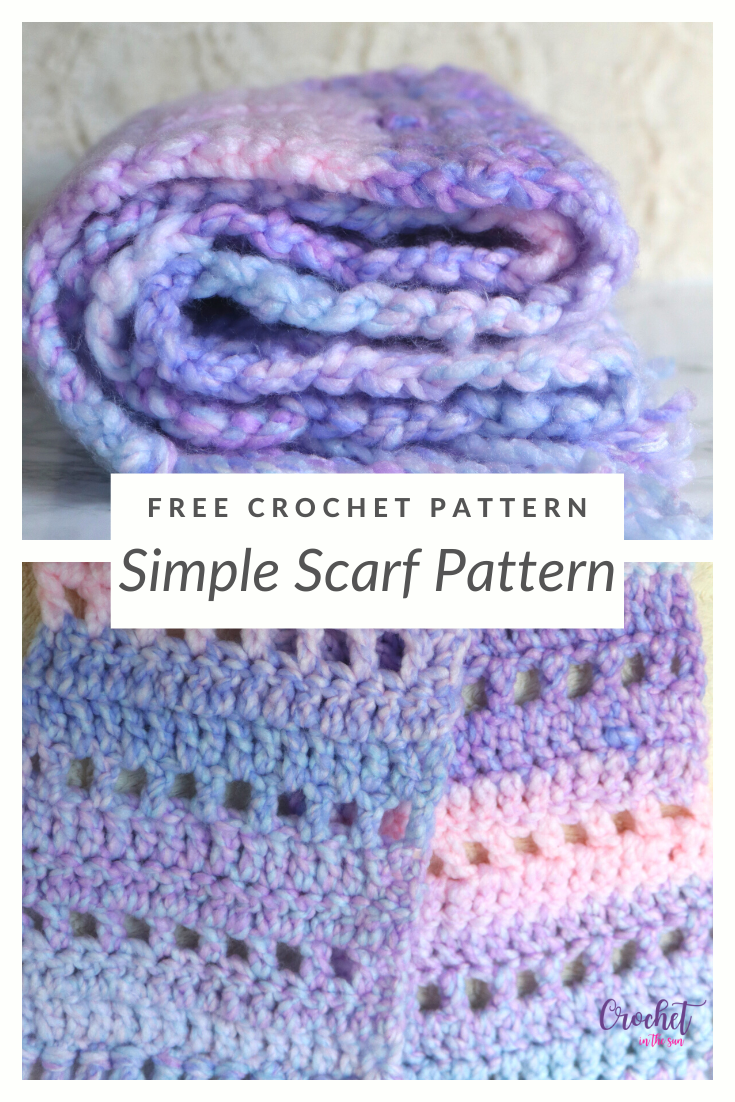
If you’re looking for a simple crochet scarf pattern that uses just 1 skein of yarn, this is a great pattern for you – and its free 🙂 This design uses bulky yarn, but you can certainly use thinner yarn as well. It just depends if you want to end up with an elegant thinner scarf or chunky, cozy scarf!
But, before we begin – if you don’t know how to crochet, or maybe just want to brush up on the basics, we have a great resource for you!
Hop over to the Ultimate Beginner’s Guide to Crochet. This breaks down the basics of what you need to learn, in what order, and link you directly to some great resources! And best of all, it’s free! Enjoy 🙂
Skill Level
Easy
Yarn and materials


- Loops & Threads Copenhagen in Blush. This yarn is hard to find as it has been discontinued, but good yarn substitutions are Lion Brand scarfie, Lion Brand Mandala Thick & Quick, or Caron Chunky Cakes (so squishy!)
- 10mm crochet hook (US N-15)
- Yarn needle and craft scissors
As mentioned above, if you would like to use a different yarn weight, no worries. The pattern is simple enough where you can just adjust the number of stitches across to make the scarf as wide or as narrow as you’d like.

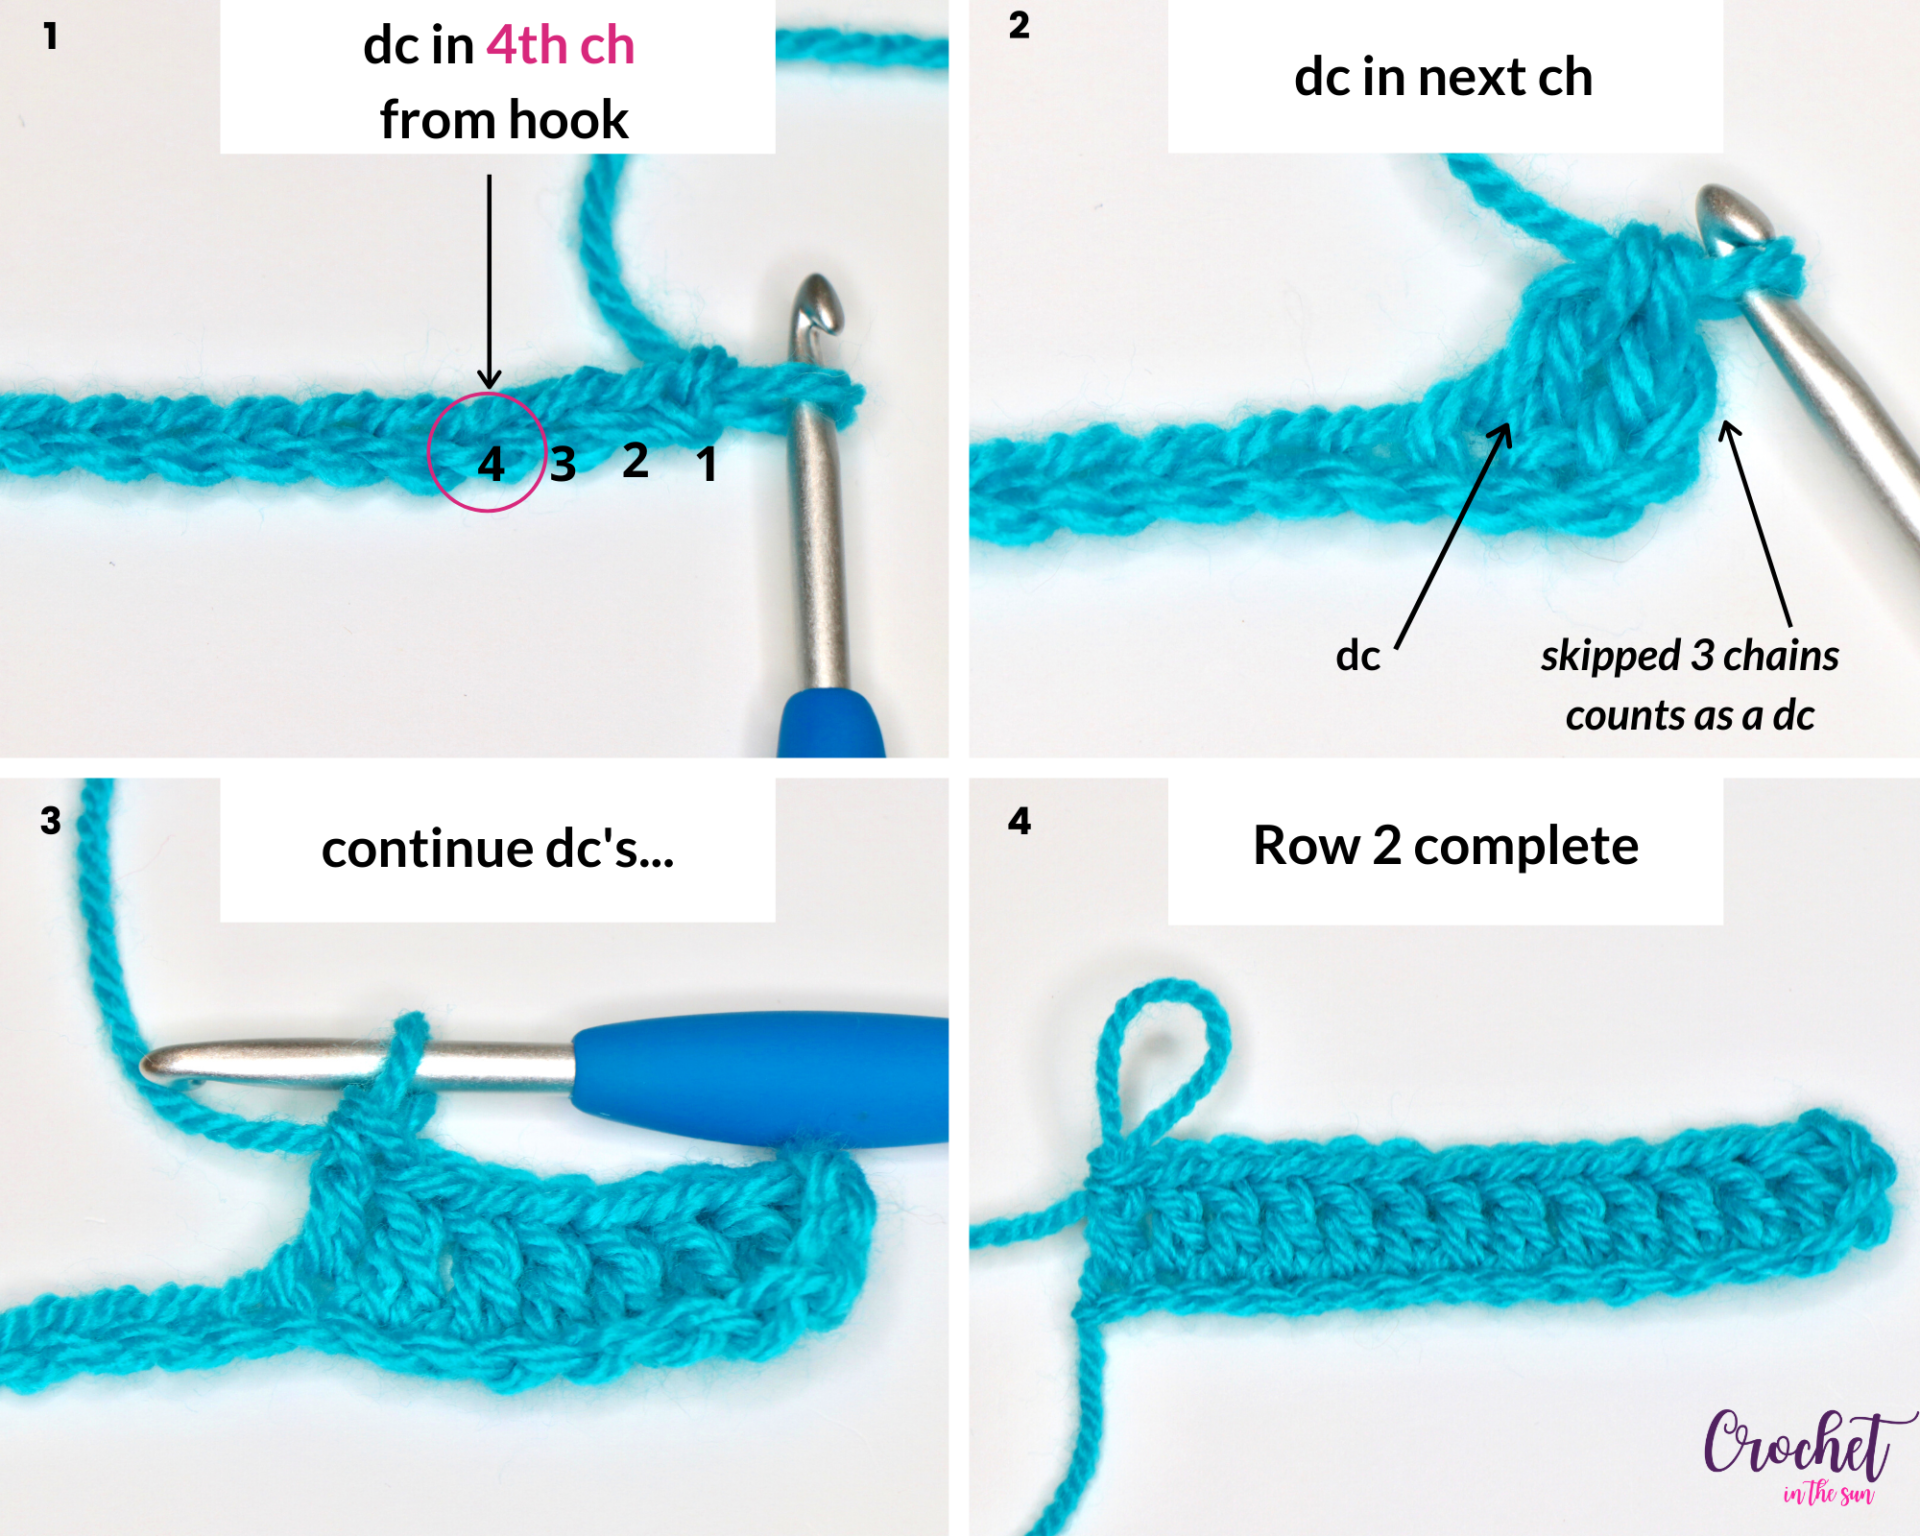
To do this, adjust the starting chain. Make the starting chain a little wider than you actually want the scarf to be, since you work into the 4th chain on row 2. You will lose the width of about 2 chains. Not much, but worth mentioning!
Additionally, if you want to add a border around the side of the scarf, that will widen up the overall finished product. So keep that in mind when deciding how wide you go.
Stitches (US Terms)
- chain (ch)
- double crochet (dc)
If needed, refer to my Beginner’s Guide to crochet. Those stitch tutorials will walk you through how to complete the above stitches. If you need to convert from US to UK terms, have a look at this chart.
Gauge
4 inches = 8 dc wide x 3.5 rows tall
Finished measurement
8 inches wide x 56 inches long, including the fringe
(46 inches long not including the fringe)

Pattern Notes
- Turning chain 3 does count as a DC in the row’s stitch count
- See the bottom of the pattern for optional finishes
- If you want to make this narrower or wider, make sure you chain an even number to start.
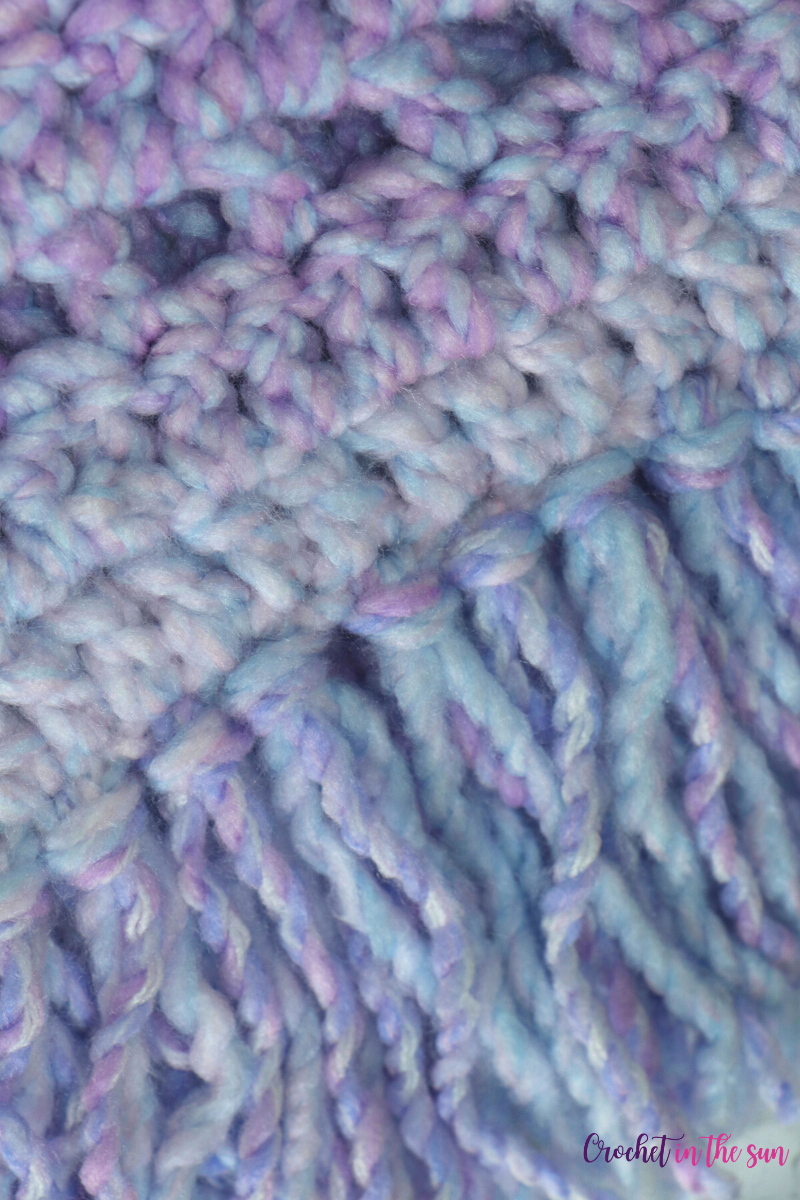
Note: the pattern photos use a small swatch of different yarn to ensure the stitches are easier to see in the photos. So it is expected that the photos do not show 18 stitches across.
Pattern
- Get the inexpensive ad-free PDF printable from my Etsy Shop
- Pin this pattern to your Pinterest Boards
- Add this pattern to your Ravelry queue
Fun Fact: I call this my Open Windows Crochet Scarf pattern, because the chain 1 spaces look like little windows in the scarf. 🙂 Plus, being bundled in this soft beauty makes me want to throw the windows open to bring some fresh air into my house! But yes, it’s the middle of winter, so I would need this scarf to keep the chill away for those couple minutes!
I admit, this “open windows” stitch is my absolute faaaavorite, and plan to make a cup cozy, rug mug, blanket, and more creations with this simple but pretty stitch. Stay tuned for that!
Let’s get started!
- Row 1: Chain 20.
- Row 2: Dc in 4th ch from hook, dc in each st across [18].
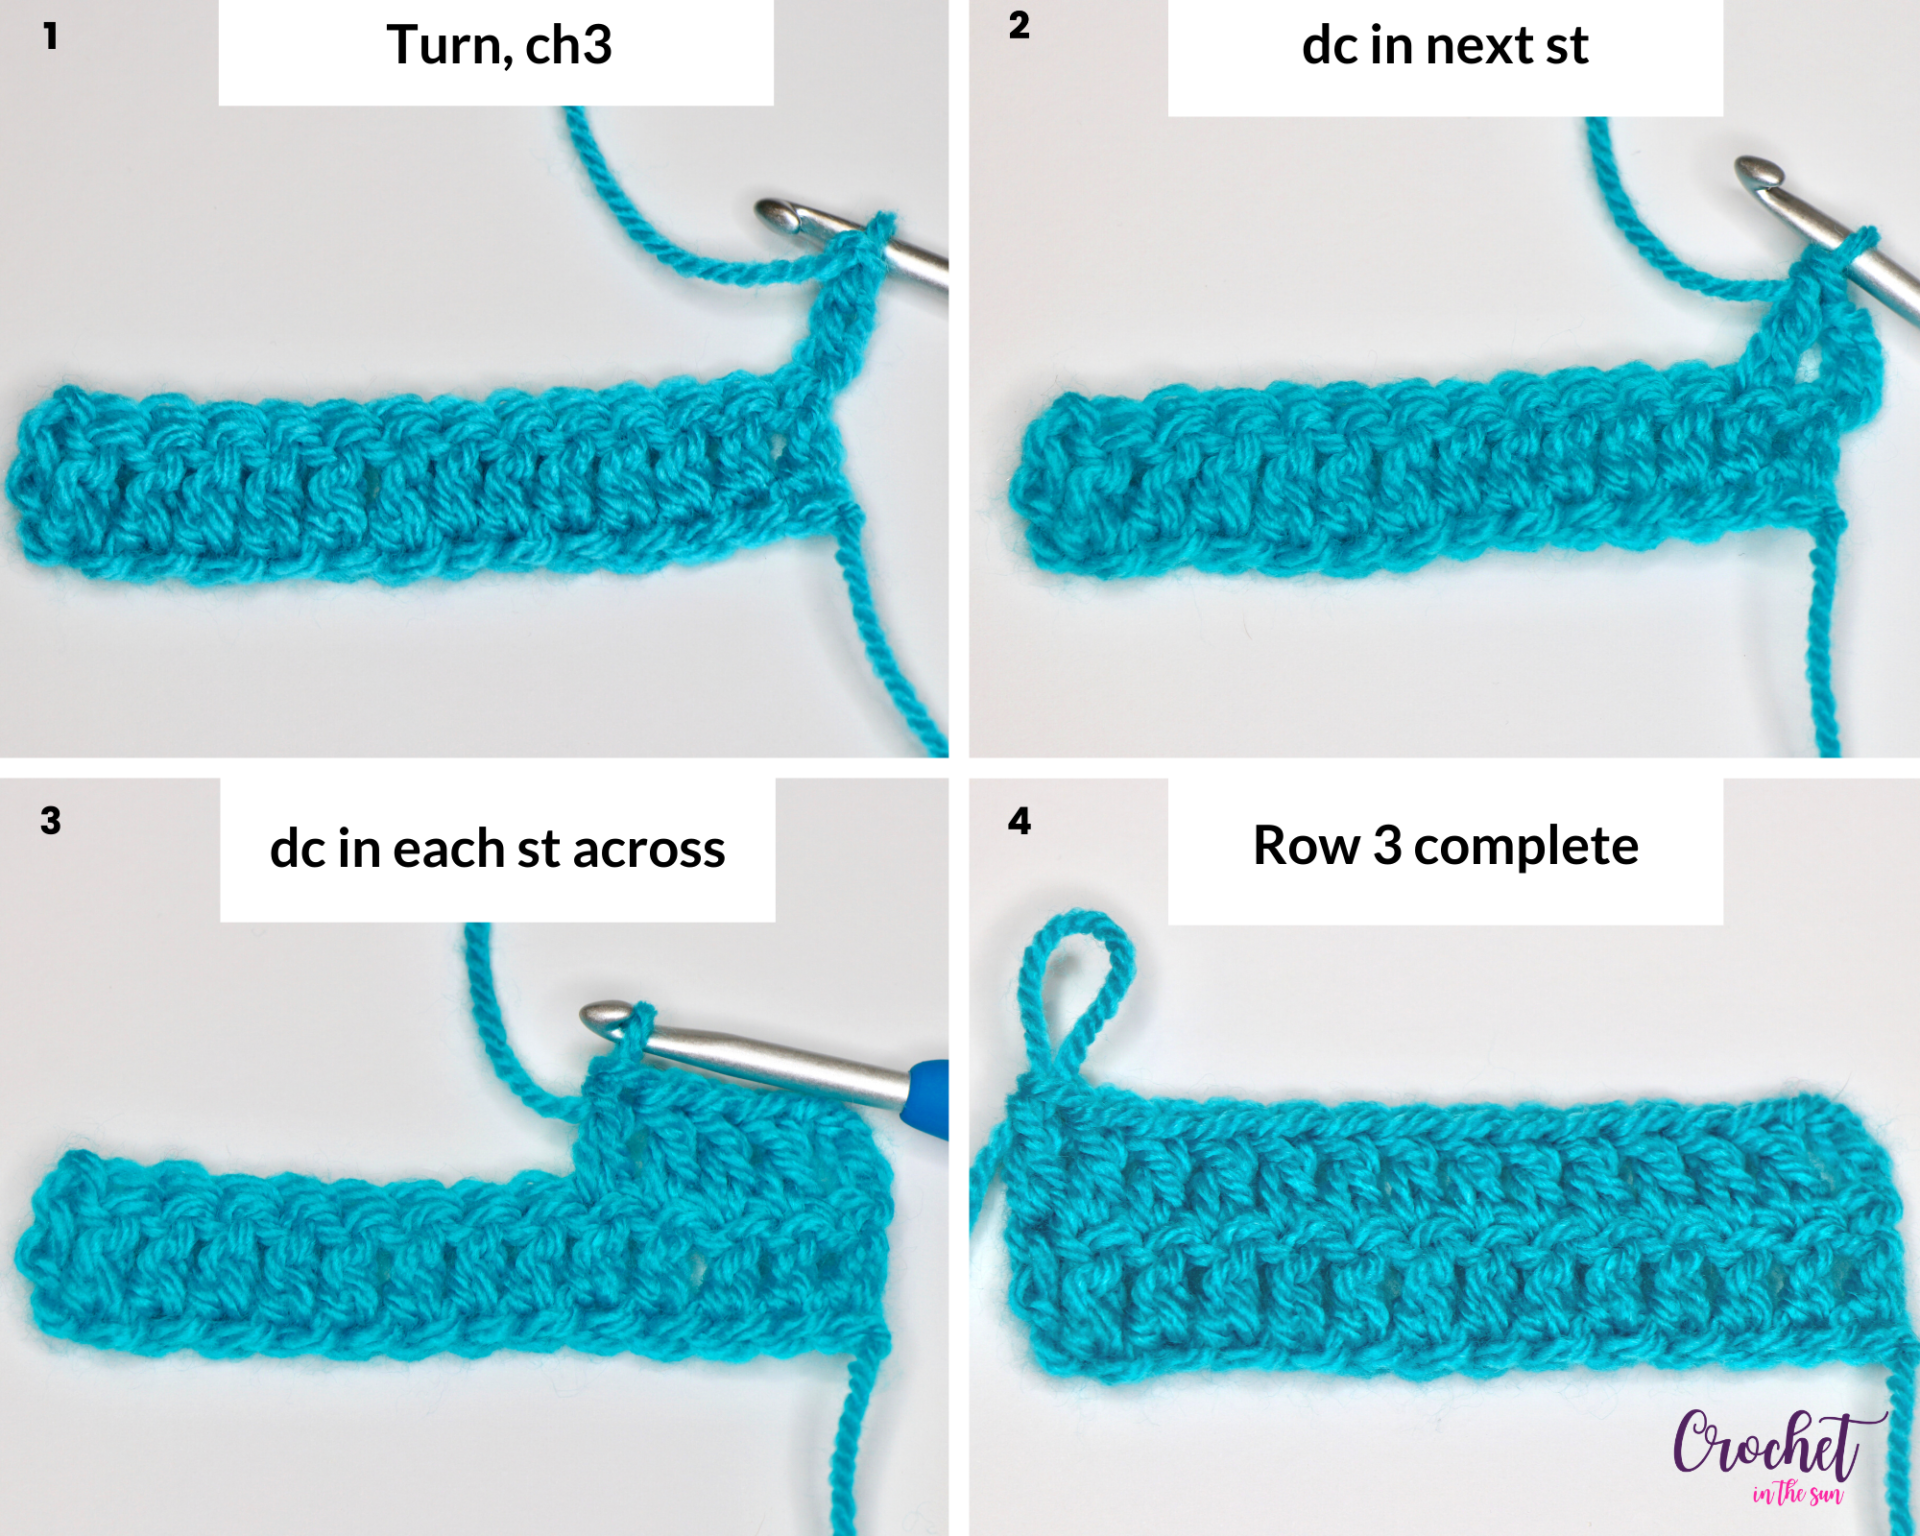
- Row 3: Turn, ch3, dc in next st (not the bottom of chain 3 just made). Continue to dc in each st across. Dc in top of turning ch 3 from previous row [18].
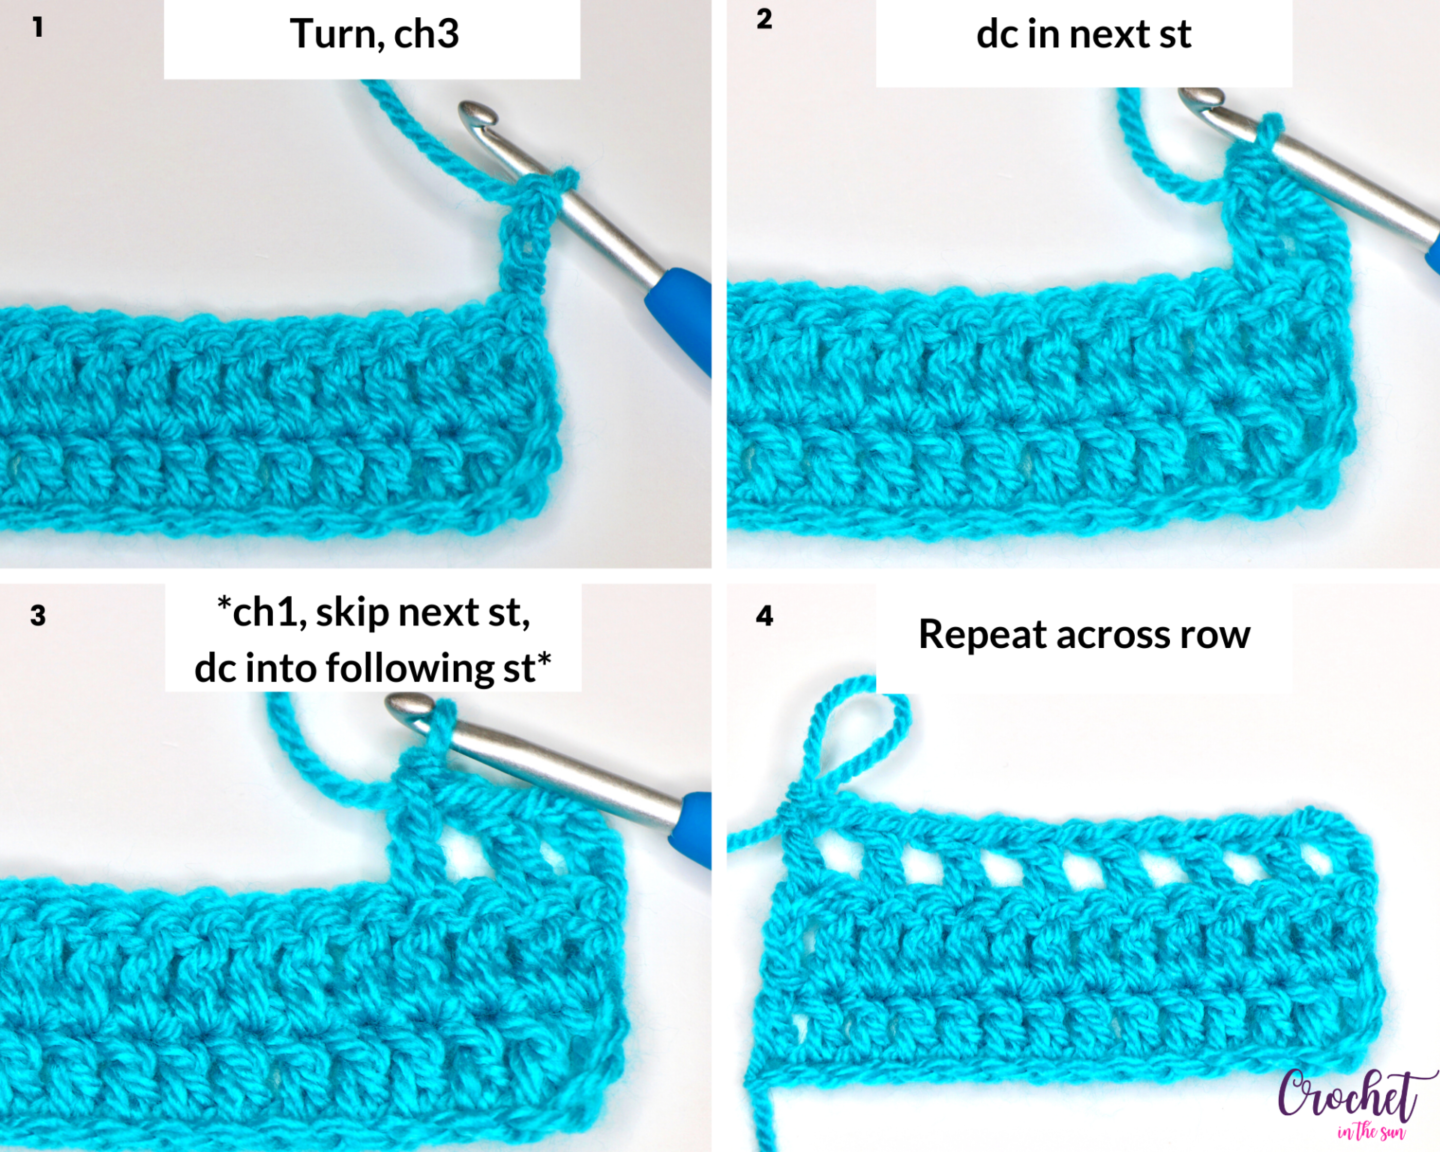
- Row 4: Turn, ch3, dc in next st, *ch1, skip next st and dc into following st*. Repeat from *. As you approach the end of the row, you will complete your last dc into the top of the turning ch3.
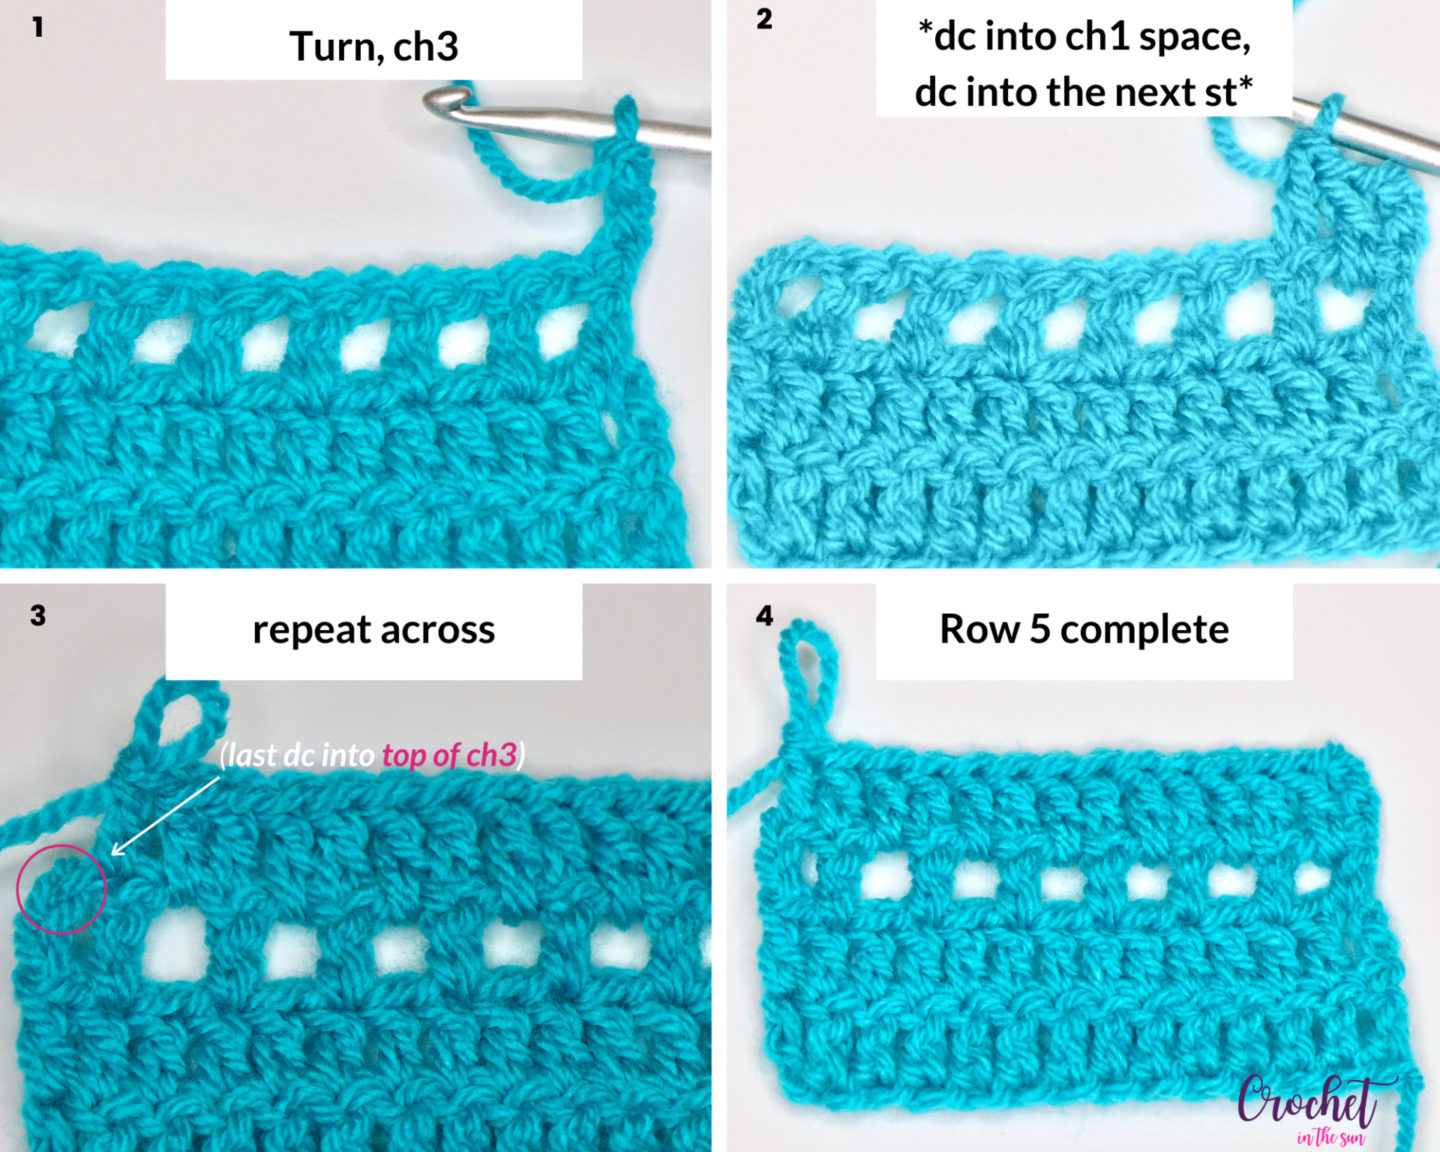
- Row 5: Turn, ch3, *dc into ch1 space, dc into the next st*. Repeat from*. Dc into the top of the turning ch3. [18]
- Continue repeating rows 3-5 until desired length.
- Fasten off and weave in the ends
- Optional finishes:
- Add a border to neaten it up. Add row of single crochets along both long ends of the scarf.
- Fringe! Add a fringe to each long end. I did this by cutting 6-inch pieces of yarn, and add 2 pieces of yarn through each stitch in the top and bottom of the scarf. Feel free to add more or less yarn and/or add the fringe into only some of the stitches for a less “fringe-y” look.
- Add tassels – It looks nice when you add a bigger tassel into each of the 4 corners (the ones that are hanging down near your waist if you’re wearing the scarf).
Other useful crochet references
Love the “Open Windows” stitch? Check out my other Open Windows patterns:
Thanks for following along, I hope you enjoyed this crochet scarf pattern! If you make one (or more!) and share on social media, go ahead and tag @crochetinthesun. I would love to see them! Also, please link back to my blog and provide credit for the pattern.
Plus, I would love to share your creation with the crochet community so we can see these pretty scarves come to life. 🙂
Pin for later
Happy crocheting,
Jennifer
