

If you’ve been crocheting for a while and haven’t tried the puff stitch yet, consider this your sign. The learning curve is gentle, the rhythm is so satisfying, and the results are genuinely stunning. Whether you’re making a chunky blanket, a cozy hat, or something else, the puff stitch has a way of making everything look a little more special (and I have a brand new pattern dropping soon that puts it front and center!) This crochet puff stitch tutorial will have you up and running in 30 minutes!
There’s something almost addictive about pulling up those loops, closing them off, and watching that little pillow of yarn appear. It’s satisfying in a way that’s hard to explain until you try it. And once you do, you’ll start seeing puff stitch potential in every project.
So why is the puff stitch so great?
Here’s the thing about puff stitches: they give you beautiful, eye-catching texture without being overly complicated. Because you’re pulling up loops of yarn rather than working full stitches, the result is soft and squishy, which makes it a great choice for items that need to be cozy and drapey, like hats, cowls, or baby blankets.
It’s also a stitch that looks impressive without being intimidating. Once you’ve done a row or two, you’ll find a rhythm that feels almost meditative. The payoff – that lush, textured fabric – works up quickly, which makes it incredibly satisfying for newer crocheters especially.
And it photographs beautifully. If you sell patterns or share your work online, the puff stitch adds the feeling of being truly handmade, not something mass-produced – which makes people slow their scrolling. 🙂
What can you make with it?
The puff stitch looks beautiful in so many different project types.
Here are some of the best ways to use it:
- Hats and beanies: An all-over puff stitch beanie has incredible stretch and a gentle structure. The texture adds warmth without bulk, and it looks great in both chunky and worsted weight yarn.
- Blankets and throws: Rows of puff stitches alternated with single crochets will create a classic, timeless texture. Baby blankets especially benefit from the soft, squishy quality of the stitch.
- Cowls and infinity scarves: The drape and softness of puff stitches makes these accessories feel luxurious and cozy without being too stiff around the neck.
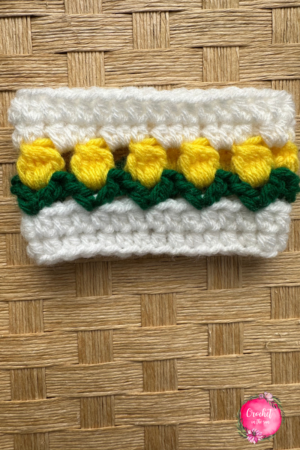
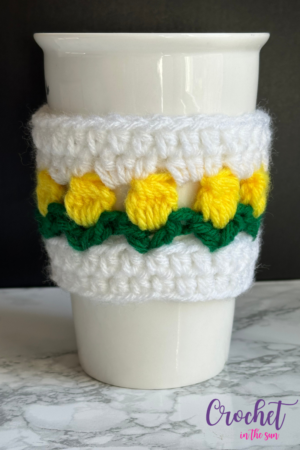
- Cup Cozy: Adding a row of the puff stitch turns a classic cozy into a special, textured treat for your favorite coffee or tea mug. (See below, where the puff stitch creates a tulip! Pattern coming soon.)
- Bag panels and tote accents: Used as a feature panel on a crocheted bag or market tote, a puff stitch section adds gorgeous ‘dimension’ against a flatter base stitch.
- Granny squares and motifs: Puff stitches worked in the round create stunning floral motifs, where each puff becomes a petal. These are perfect for joining into larger blankets or wall hangings. (This might be my favorite option!)
- Headbands and ear warmers: Quick to work up, and the texture makes even a simple headband look polished and unique.
Tips for puff stitch success
The puff stitch is beginner-friendly, but a few small habits will make a noticeable difference in how your finished fabric looks and feels.
Puff stitch tip #1: Even tension
Keep your tension consistent as you pull up each loop. They should all be roughly the same height – this is what gives your puffs that even, rounded shape.
Puff stitch tip #2: Count
Count your loops before closing. Meaning, before your final ‘yarn over, pull through all loops’, make sure you have the right number of loops on your hook given the pattern you’re using.
Keep in mind that a pattern might call for you to finish the puff stitch with 7, 9, or 11 loops on your hook. Nothing is ‘wrong’, it just depends on the desired size and ‘puffiness’ of the puff stitch you are wanting! Usually you < yarn over, pull through > 3–5 times.
So, counting before the final ‘pull through’ avoids uneven or lopsided puffs.
Puff stitch tip #3: Block your piece (optional!)
If you want to be extra fancy, block your finished piece. Puff stitches love a light blocking – it evens out any tension inconsistencies and really lets each puff ‘bloom’ into its full, round shape.
Ready to give it a try?
The puff stitch is one of those stitches that genuinely earns its place in your crochet repertoire.
It’s versatile enough for everything from quick gifts to heirloom projects, and the textured fabric it creates looks complex even when it isn’t. Once you get your rhythm down, you might find yourself hunting for excuses to use it in every project. 😉
Let’s start with a simple swatch in your favorite smooth worsted weight, get comfortable with the motion, and then let the ideas run wild!
Skill Level
Easy
If you don’t know how to crochet, or maybe just want to brush up on the basics, we have a great resource for you!
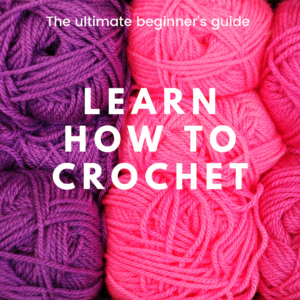
Hop over to the Ultimate Beginner’s Guide to Crochet. This breaks down the basics of what you need to learn, in what order, and link you directly to some great resources! And best of all, it’s free! Enjoy 🙂
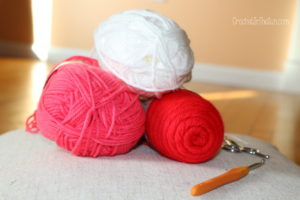
Yarn & Materials
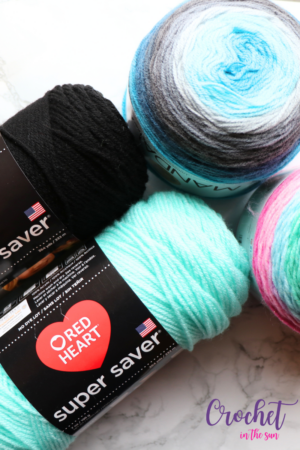
To learn the puff stitch, I recommend using a basic worsted weight yarn and corresponding crochet hook, but you can use any yarn and hook you’re comfortable with if you don’t have this yarn weight handy.
- Red Heart Super Saver yarn
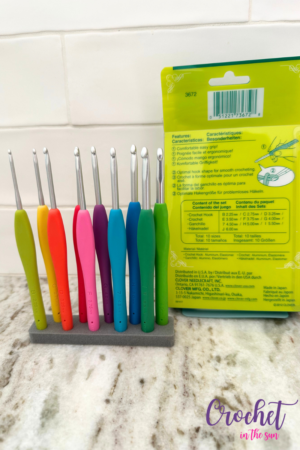
- 5mm hook (US H-8) – You can pick one up on Amazon, or get the full Clover Hook set (I use these in every single project!)
- Craft scissors and a Tapestry needle (a blunt needle) to sew in the ends when you’re done.
Pattern Notes and Abbreviations
- y/o = yarn over. When you pull the yarn over your crochet hook.
- loops = refers to the number of yarn strands on your hook as you’re working through this stitch
- insert hook = you will be inserting your hook into the SAME stitch to make the puff stitch
- After each “repeat”, the number of loops on your hook will increase by 2. (It will go: 3, 5, 7, 9, 11)
Crochet Puff stitch: Photo Tutorial
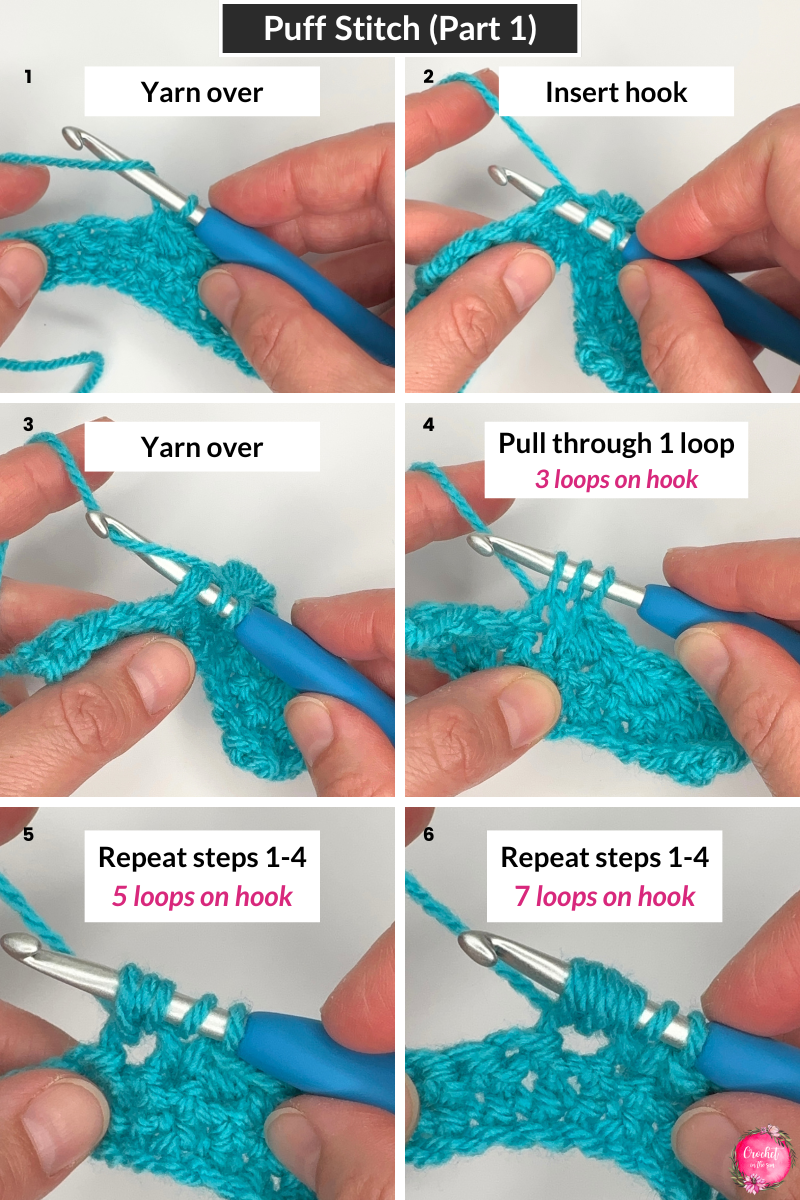
Crochet Puff stitch: Written tutorial
Sometimes it helps to understand the overall flow of stitch first. So overall, you will repeat the following sequence 5 times: < Yarn over, insert hook, yarn over, pull through 1 loop >, then lastly yarn over and pull through all loops on your hook.
Fully written out, this is your puff stitch:
- Y/o
- Insert hook
- Y/o, pull through (3 loops now on hook)
- Y/o
- Insert hook
- Y/o, pull through (5 loops now on hook)
- Y/o
- Insert hook
- Y/o, pull through (7 loops now on hook)
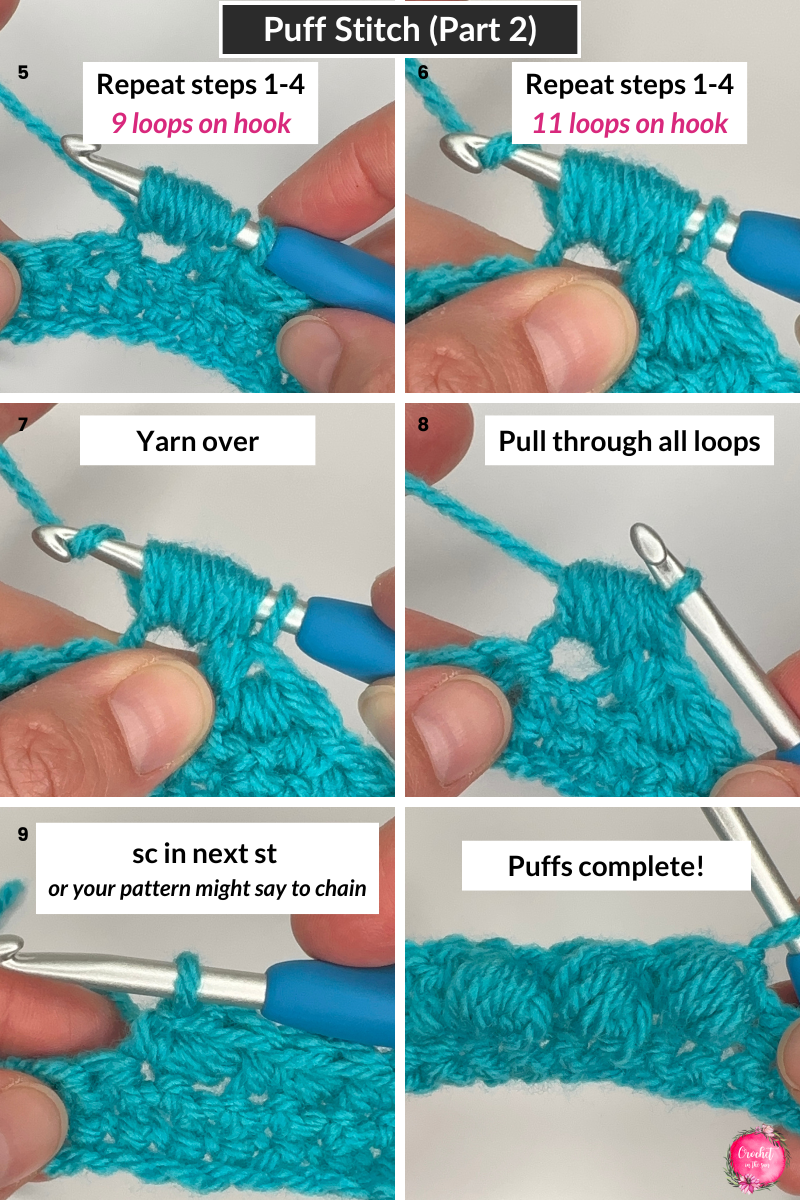
- Y/o
- Insert hook
- Y/o, pull through (9 loops now on hook)
- Y/o
- Insert hook
- Y/o, pull through (11 loops now on hook)
- Y/o and pull through all loops on your hook
After you work your puff stitch, you will often either chain in between the puff stitches or single crochet into the next stitch.
- A chain after the puff stitch will keep it laying more flat.
- A single crochet (sc) into the following stitch will make it ‘pop’ out more.
Again, neither is wrong, it just depends on what you’re looking for – or what your pattern calls for.
All-done!
Look at that, you’ve added a brand new crochet stitch to your bag of tricks!
Now it’s your turn. Grab your favorite yarn, find a cozy spot, and give the puff stitch a try. I promise it’ll ‘click’ much faster than you think, and once it does, there’s no stopping. I guarantee you’ll be hooked on this stitch.
I’d love to see what you make – drop your projects in the comments below or tag me on Instagram so I can cheer you on.
And if you’re looking for the perfect project to try your new puff stitch skills on, stay tuned… I have something coming very soon that I think you will love! (Below is a sneak peek)
Useful crochet references
Shop my Amazon storefront
As an Amazon Influencer, I may earn from qualifying purchases.
Happy crocheting,
Jennifer


