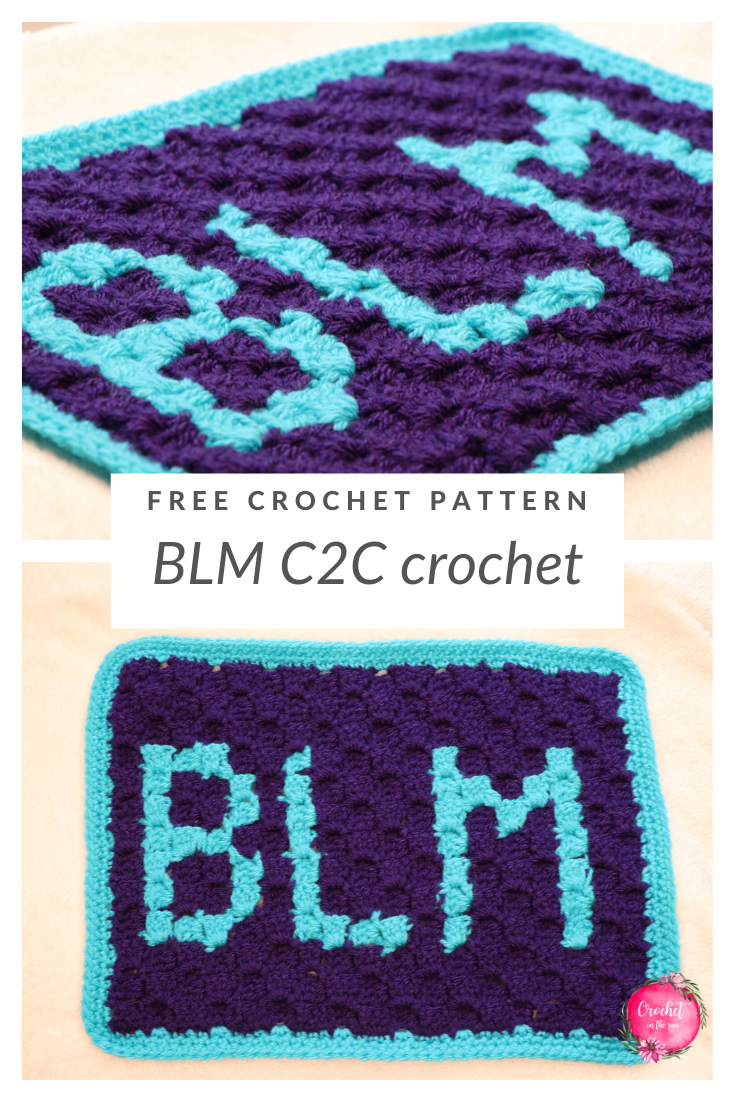
I was hesitant to post a ‘political’ crochet project, but then I realized, this is not a political issue; it’s a basic human rights issue.
Art allows us to express our feelings and emotions, display our beliefs without saying a word.
Given everything that has been going on in the world lately, I wanted to make something to show my support for the Black Lives Matter movement. A local friend organized a project to “silently and peacefully speak the words in our heart”, where we can display pieces of art to spread peace and love. So I decided to make a ‘BLM’ crochet pattern to hang up as part of that display.
I almost felt silly – making a crochet project to show my support for something so massive, but then again, every little bit helps. We must continue to fight for equal rights long after this stops trending on instagram or twitter.
Skill level
Easy
Note: If you don’t know how to crochet, or just want to brush up on the basics, we have a great resource for you!
Hop over to the Ultimate Beginner’s Guide to Crochet. This breaks down the basics of what you need to learn, in what order, and link you directly to some great resources! And best of all, it’s free! Enjoy 🙂
Yarn
- Paintbox Simply Aran in Marine Blue and Pansy Purple
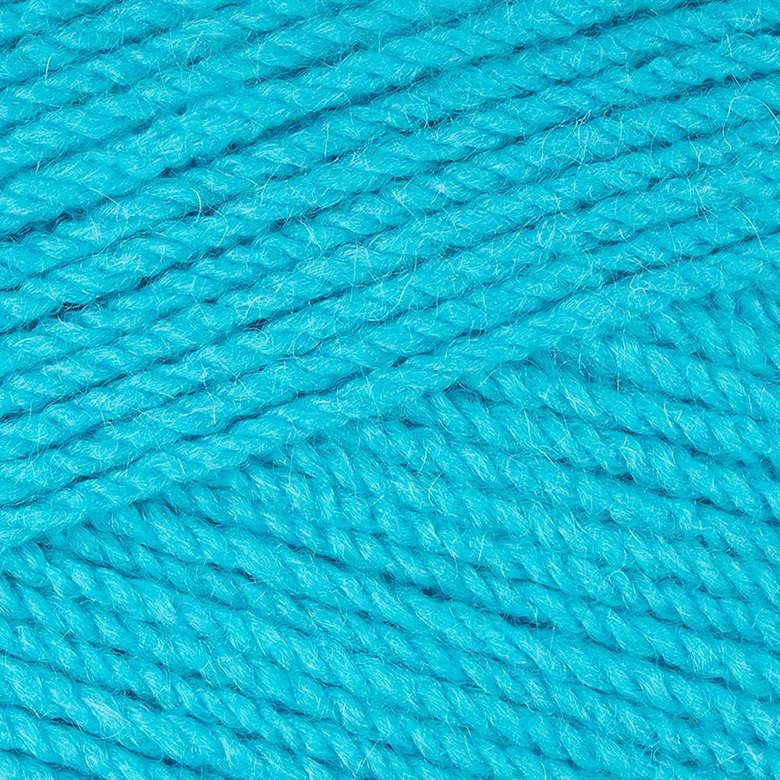
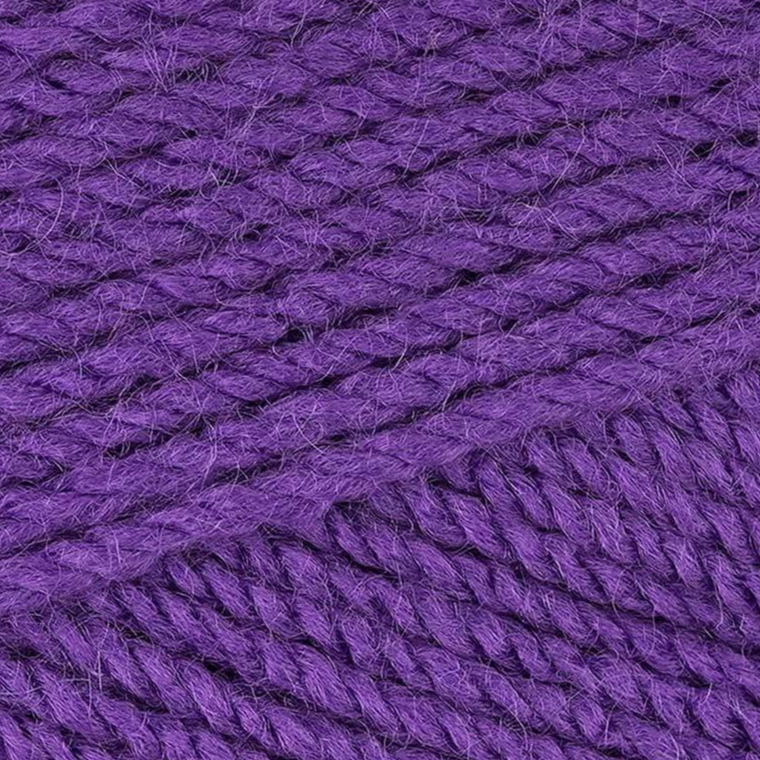
Don’t have Paintbox yarn? Not a problem – any worsted weight yarn will work for this project.

Yarn and Materials


- 5mm crochet hook (US H-8). Above is the one I used from my Clover hook set
- Tapestry needle (a blunt needle)
- Scissors
Stitches (US terms)
- double crochet (dc)
- chain (ch)
- slip stitch (sl st)
If needed, refer to my Beginner’s Guide To Crochet. There you can find photo tutorials for the stitches mentioned above. If you need to convert from US to UK terms, have a look at this chart.
Gauge
4 inches x 4 inches = 5 tiles across and 5 tiles down.
A tile = 1 set of [turning ch3 + 3 dc], which count as 4dc
Finished Measurement
15.25 inches wide x 11 inches tall
Useful crochet resources
Pattern Notes
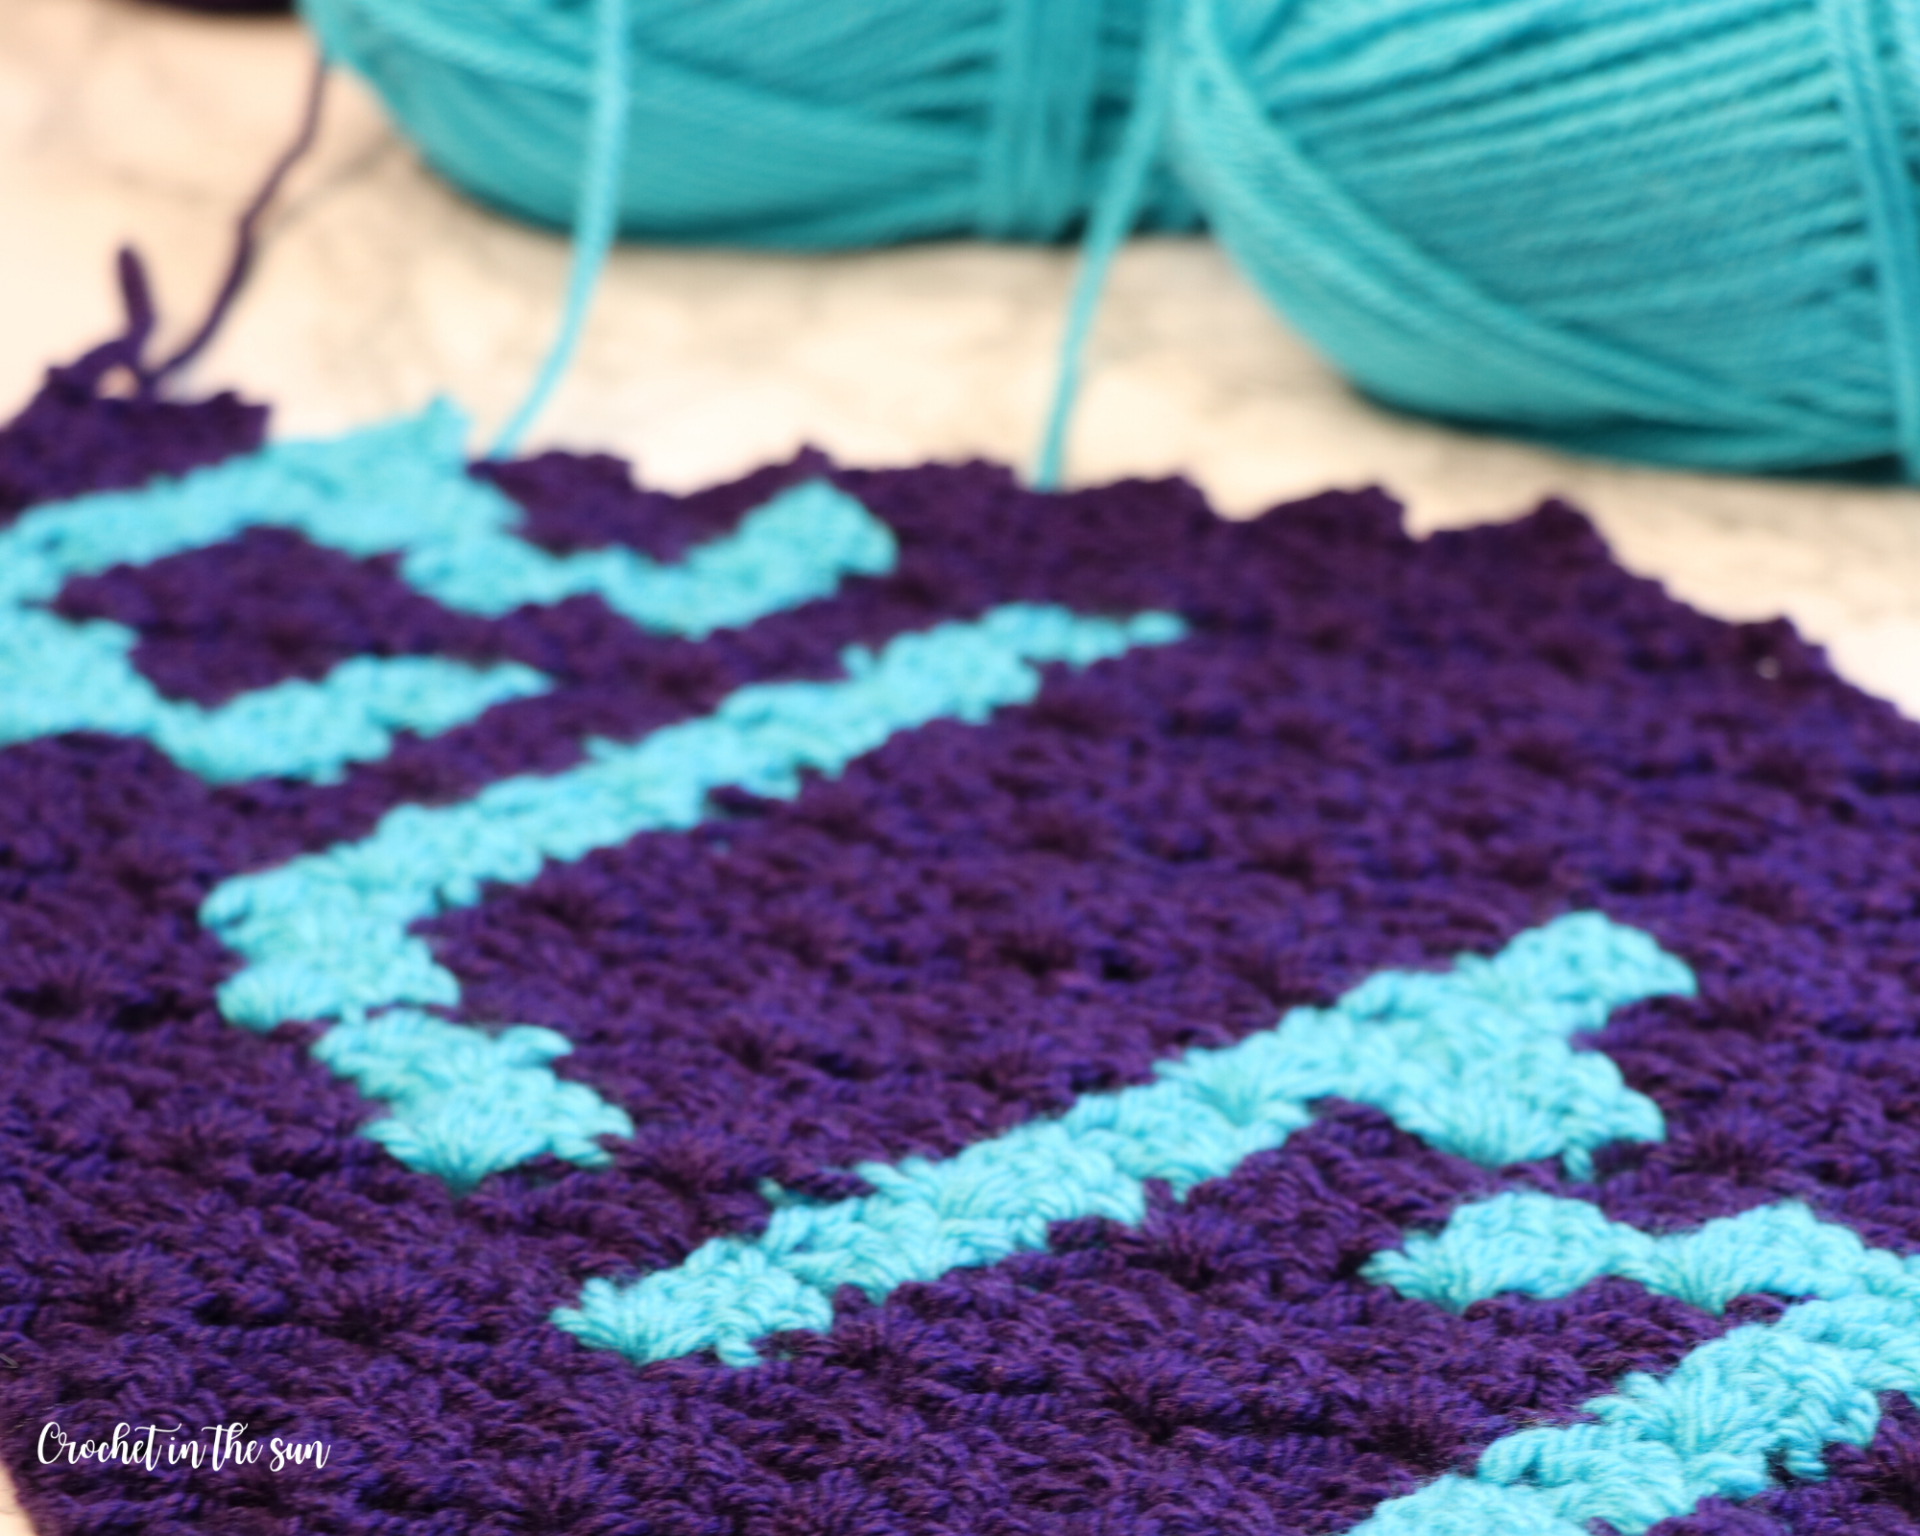
- This pattern uses 2 balls of yarn, but you will need to have multiple working ends (or create bobbins) for the blue yarn (or whatever color you are using for the “BLM” part). This is because you have to change colors quite often and it’s not ideal to carry the blue yarn through multiple squares if it’s not necessary.
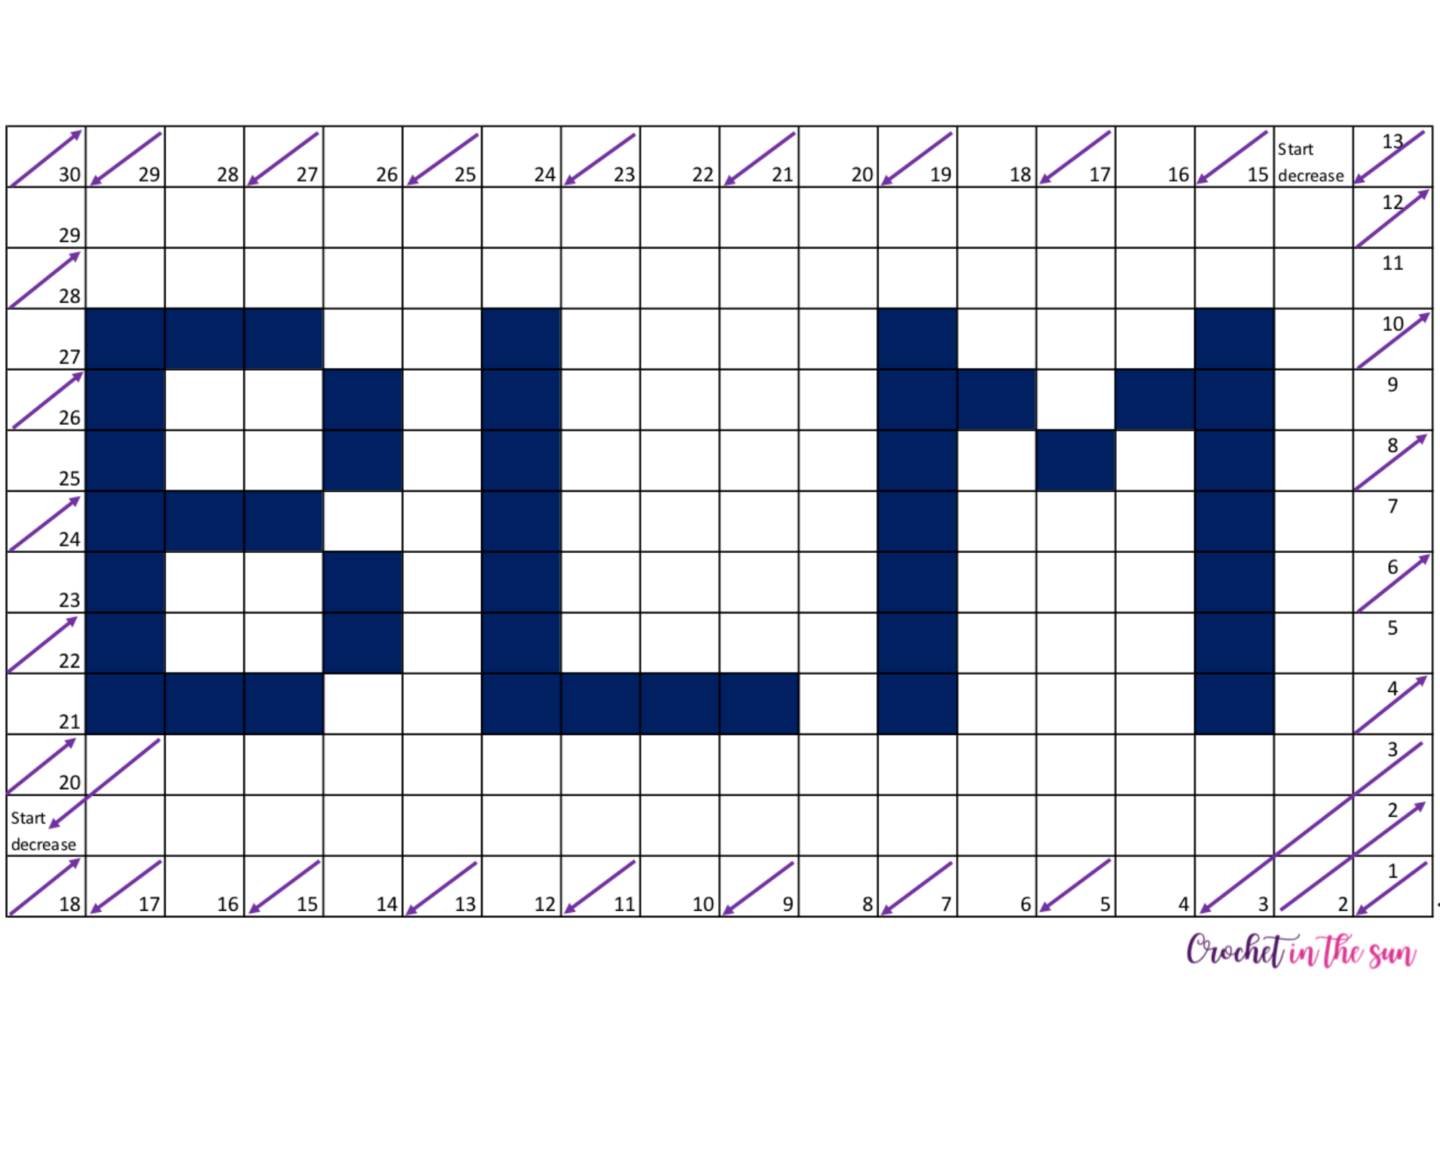
- Looking at the C2C chart, you start from the bottom right corner and end at the top left corner.
- At the end of each row, you turn your work. Yes, it can get a bit messy when you have multiple balls of yarn attached, but please be patient! Try and turn your work each time so it kind of “cancels” each other out e.g. turn right, turn left, turn right, turn left, etc. The twisted yarn will be worth it 🙂 Who knows, you might want to venture into even more difficult C2C graphs in the future after this.
- Once you complete row 14, you will begin decreasing on the top side of the project. That means, after you worked that last tile, DO NOT chain 6. Rather, make sure you are following the instructions for decrease, where you slip stitch across. (This is covered in the C2C tutorial linked below). The project will not get any taller at this point.
- Similar to above, when you complete row 19 (coming to the bottom left corner), you will start to decrease. This means the width of the project will no longer grow. So again, do not chain 6, rather follow the instructions for the Decrease.
Pattern
- Get the inexpensive ad-free PDF printable from my Etsy Shop. 100% of my proceeds will be donated to https://blacklivesmatter.com/.
- Pin this pattern to your Pinterest Boards
- Add this pattern to your Ravelry queue
If you’re new to C2C (corner to corner crochet), hop over to my Corner to Corner photo tutorial to learn the technique. This also explains how to change colors in the middle of the row, which you will do in this pattern.
Cleanup (optional)
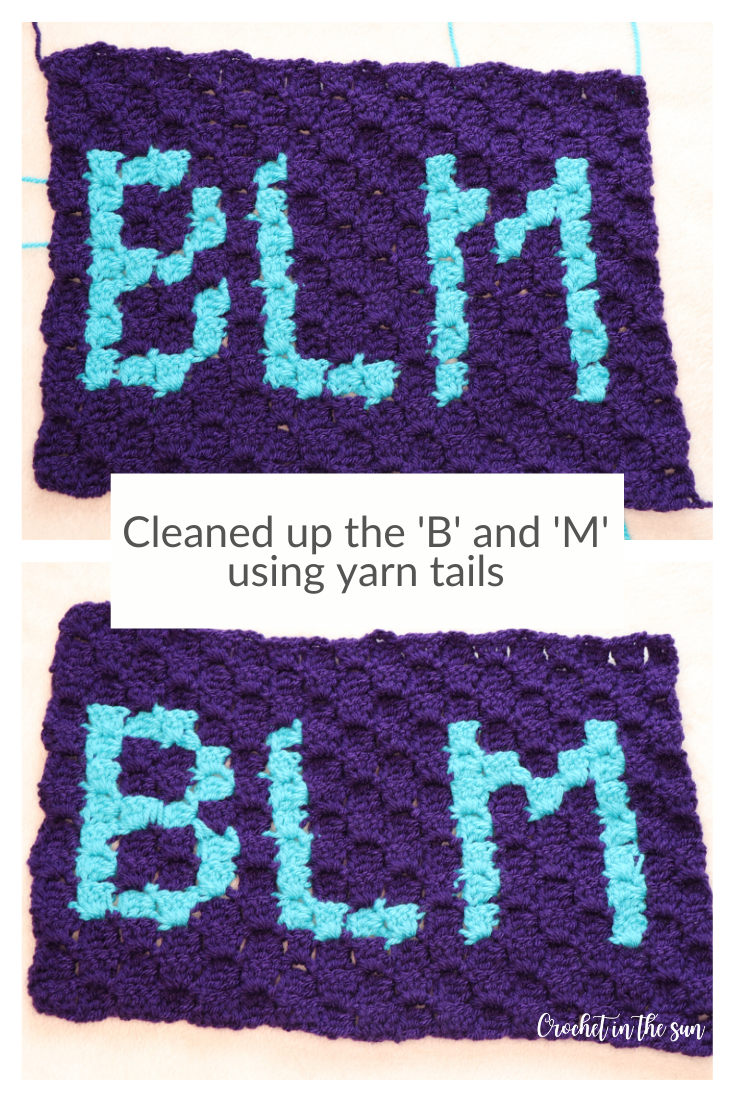
As you can see below, there were some blocks that had a bit of color showing through.
To make it a more perfect ‘transition’ I used the yarn tails left from behind from fastening off during color changes. So rather than just weave them in, I used them to cover the unintended yarn. Also, feel free to block your project. (My photos show the design NOT yet blocked)
Border
Row 1: With the right side facing up, attach your contrasting color yarn in any stitch. Pull up a loop and chain 1 (that doesn’t count as a stitch).
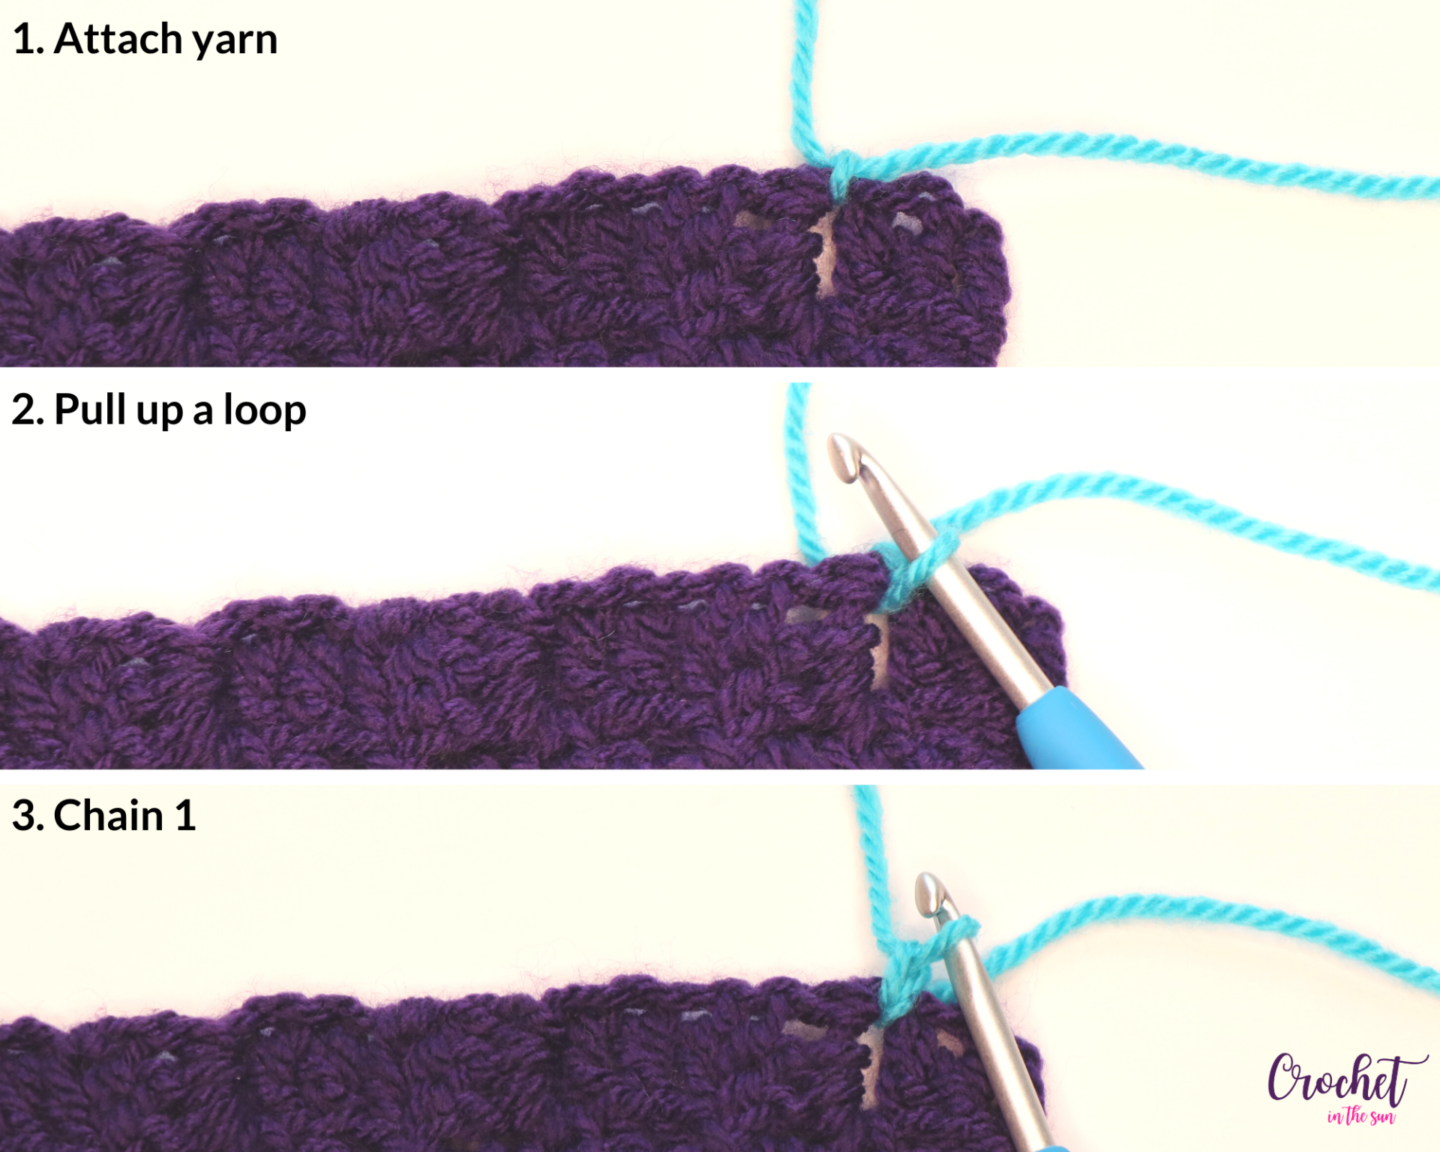
Repeat *3dc, 2dc* following the picture below. You will work 3dc into each vertical tile (where the dc’s are going up and down, as you normally see them) and 2dc into each horizontal tile (where the dc’s are going left to right).

Row 1 corners: Work 2dc into each corner.
When finished, slip stitch (sl st) to ch1 to complete row 1.
Row 2: Chain 1, sc in each sc. When finished, slip stitch (sl st) to ch1 to complete row 2.

Row 3: Repeat row 2
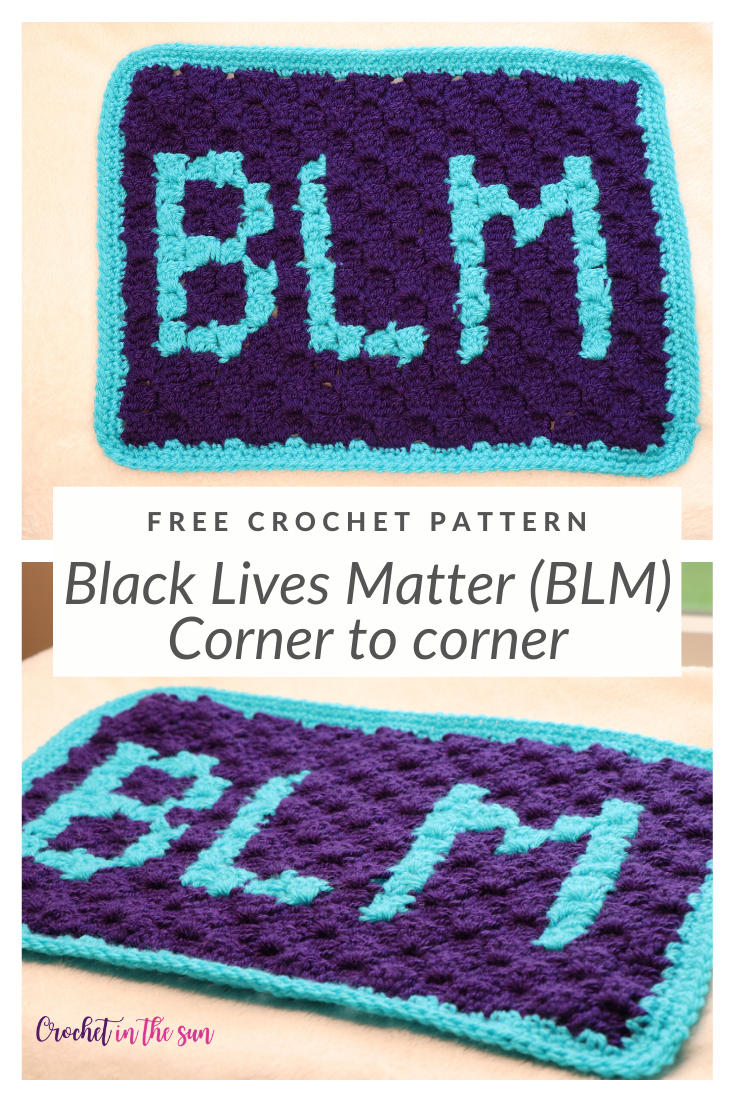
You’re done! Feel free to add fringe or tassels for an extra kick 🙂 This was designed to be a wall hanging, but can also be used as a home accent for a table, placemat, etc.

Thanks for following along, I hope you enjoyed making this corner to corner Black Lives Matter project! If you make one and share on social media, please link back to my blog and provide credit for the pattern.
Also, tag @crochetinthesun so we can see these pretty creations come to life. I would love to see them and would love to share them as well!
Happy crocheting,
Jennifer
Pin for later
Other C2C projects
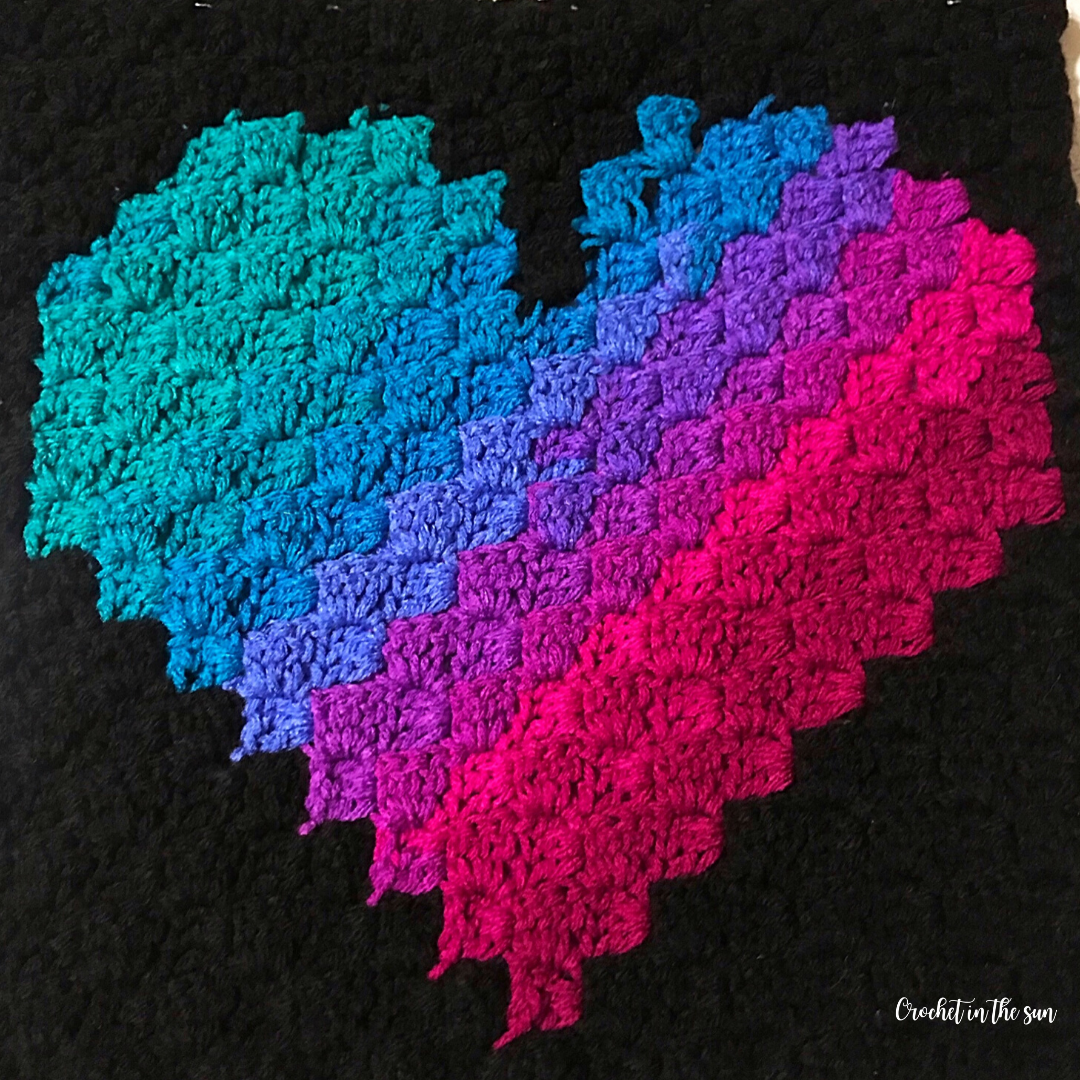
Corner to corner Heart Wall Hanging Crochet
