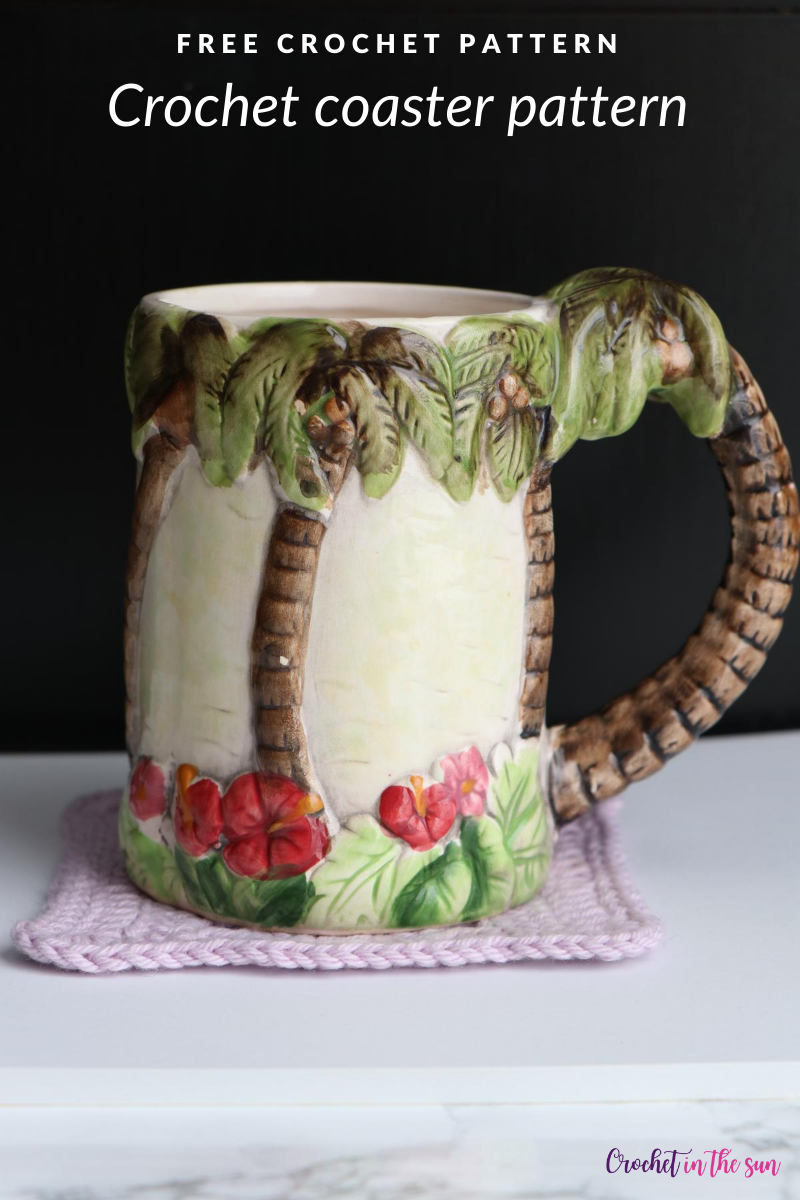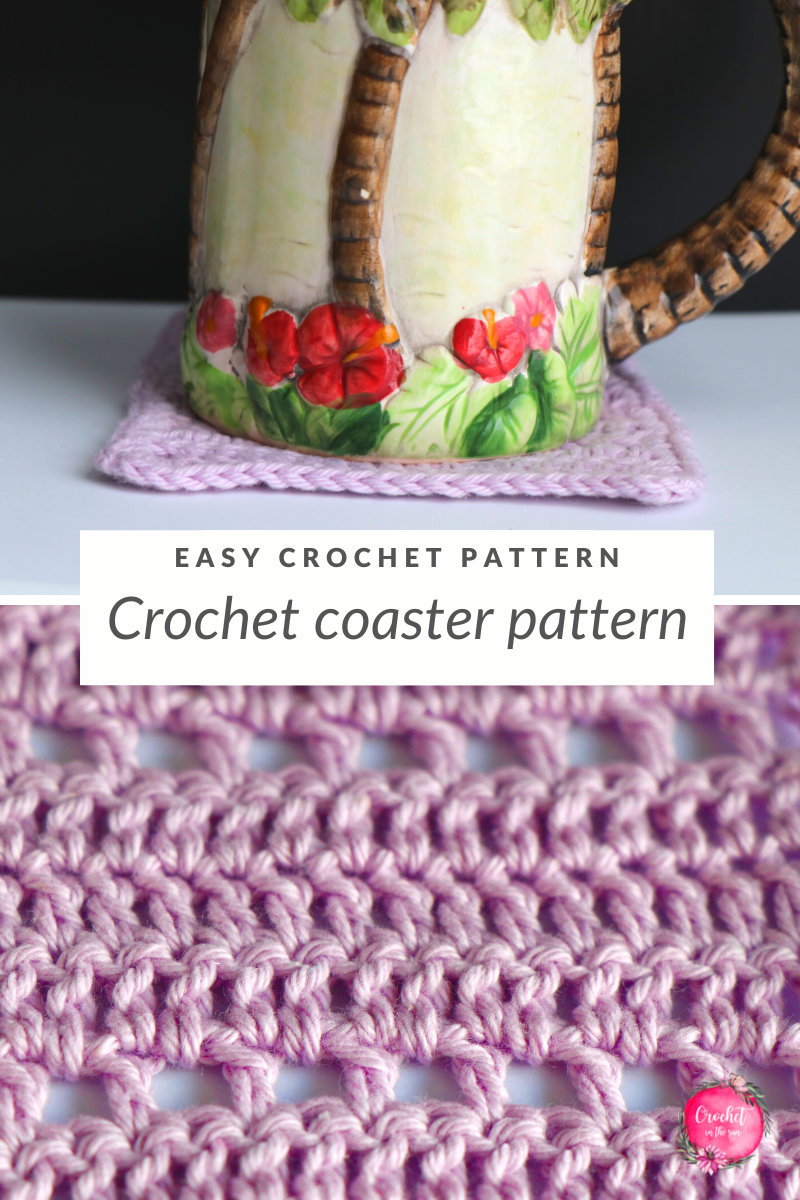
Looking to make a coaster (or mug rug) so your tables don’t get stained when you’re enjoying a cup of coffee or glass of water? Say hello to this cute and easy crochet coaster! This free crochet coaster pattern is great for beginners since it only takes 30 minutes to complete, and just uses the chain and double crochet stitch! A step by step photo tutorial is included to help walk you through the pattern.
Say goodbye to water-stained surfaces and hello to pretty crocheted items on your tabletop!
This is a simple pattern that follows my favorite stitch which I call “Open Windows”. This is made when you *dc, chain 1, skip a stitch*, and keep repeating! I like to pair 1 row of Open Windows with 1, 2, or 3 rows of normal double crochets (dc’s) in between. Bonus points for adding colors to make these stitches stand out!
This stitch combination is beginner-friendly and very easy to remember, but the end result will leave you with a very pretty pattern that will make you think, why didn’t I try this earlier?! If you like it as much as I do, you’ll be making an “open windows” everything!
What kind of yarn weight works best?
For crochet coasters or crochet mug rugs in general, I would recommend using light (weight #3) yarn – or medium (weight #4) yarn. If I had to choose though, I would use the light #3 yarn. You’ll see why below.
This project uses Paintbox Cotton DK which allows the coaster to lay flat and not “puff” up. Think about it – if we put a glass of water or cup of coffee down, we want to make sure it’s on something sturdy so it doesn’t tip over.
Update: I also made a smaller coaster using Loops and Threads Capri yarn, which is a medium (weight #4) yarn. It seems to be passing the sturdy-enough-so-mugs-are-safe test!
If you’re not sure what weight yarn you’re using, have a look at my Yarn Weight Conversion Chart. It can be quite confusing since yarn companies can use different terms depending on the country its sold from. So I put this yarn weight conversion chart together so we can save it to our Pinterest board once, and stop googling it every single time we have to determine the yarn weight 😉
Which yarn fiber should I use?
Since you may have to wash your crochet coaster if you spill a sip of tea or coffee on them (don’t worry, it happens to us all), cotton yarn will hold up nicely!
Other fibers can be used, but oftentimes when a crocheted item might need to get washed, cotton is often recommended.
Use them or gift them
These crochet coasters will keep your tables clear of water rings. Plus, even when they’re not in use, they’re a pretty decor item. Functional and pretty – it’s a win-win!
These could also be a great gift idea – think teacher gift ideas, Christmas stocking stuffers, or a housewarming gift.
Eco-friendly
Yay for making products that reduce waste!
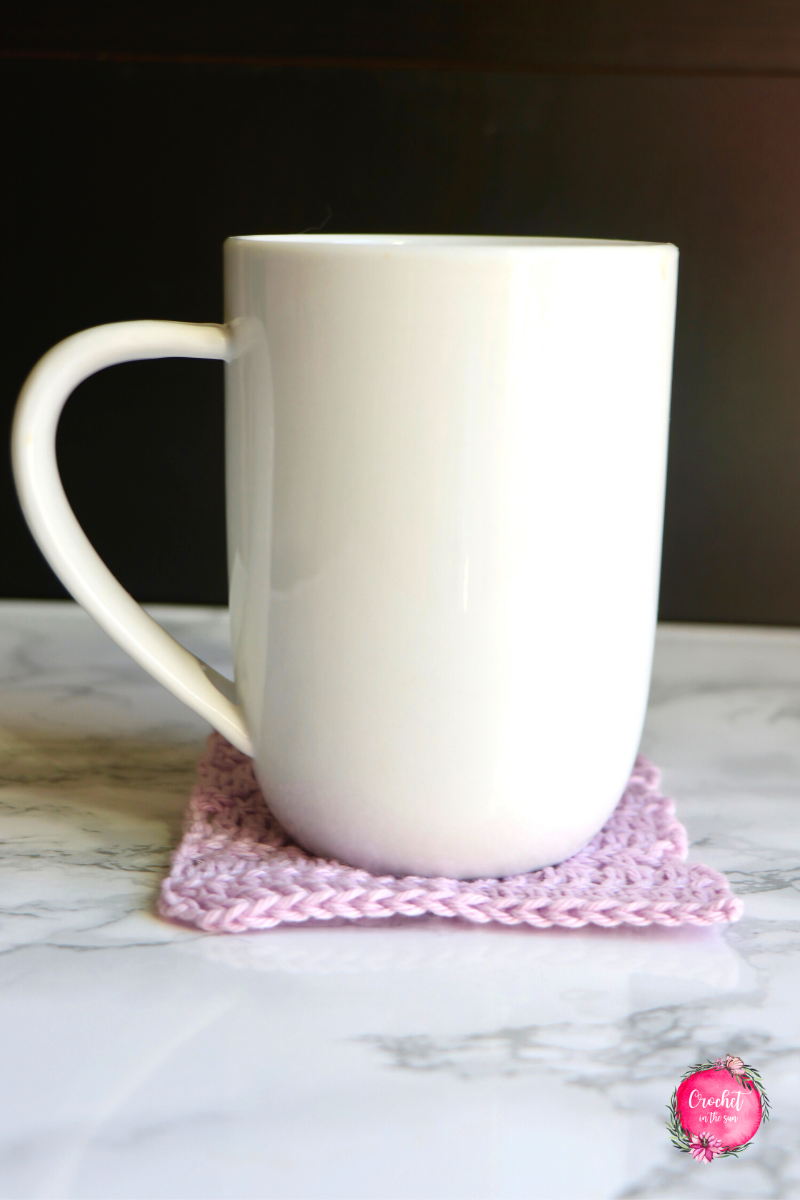
Rather than use a paper towel to wipe up the condensation from your drink, this crochet coaster will save the need for that.
Look at you! Now you’re crafty and doing your part to help our environment. I get it – will this coaster solve climate change? No. But when everyone does a little something, all those little somethings add up to one BIG thing.
Before we start…
Heads up: If you don’t know how to crochet, or maybe just want to brush up on the basics, we have a great resource for you.
Open up the FREE Ultimate Beginner’s Guide to Crochet below.
This breaks down the basics of what you need to learn, in what order, and links you directly to some great resources! And best of all, it’s free on the blog. If you want something you can print and go, you can also purchase the inexpensive ad-free printable PDF of that Guide from my Etsy Shop. Enjoy!
Skill Level
Easy
Materials
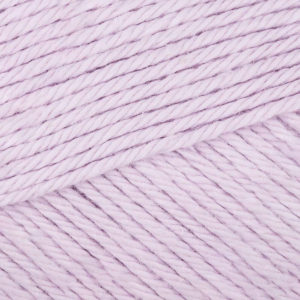


- Paintbox Cotton DK in Dusty Rose (100% cotton, light weight #3 yarn)
- 4mm crochet hook (US G-6) – Here is the Clover crochet hook I used
- Yarn needle and scissors
Stitches (US Terms)
- chain (ch)
- double crochet (dc)
- single crochet (cs)
- slip stitch (sl st)
If needed, refer to my Beginner’s Guide to crochet. Those stitch tutorials will walk you through how to complete the above stitches. If you need to convert from US to UK terms, have a look at this chart.
Gauge
4 inches = 18 dc x 9 rows
Finished measurement
4 inches x 4.25 inches with no border or tassels
4.5 inches x 4.75 inches with a border of single crochets around all sides
Pattern notes
- Turning chain 3 (ch3) does count as a dc
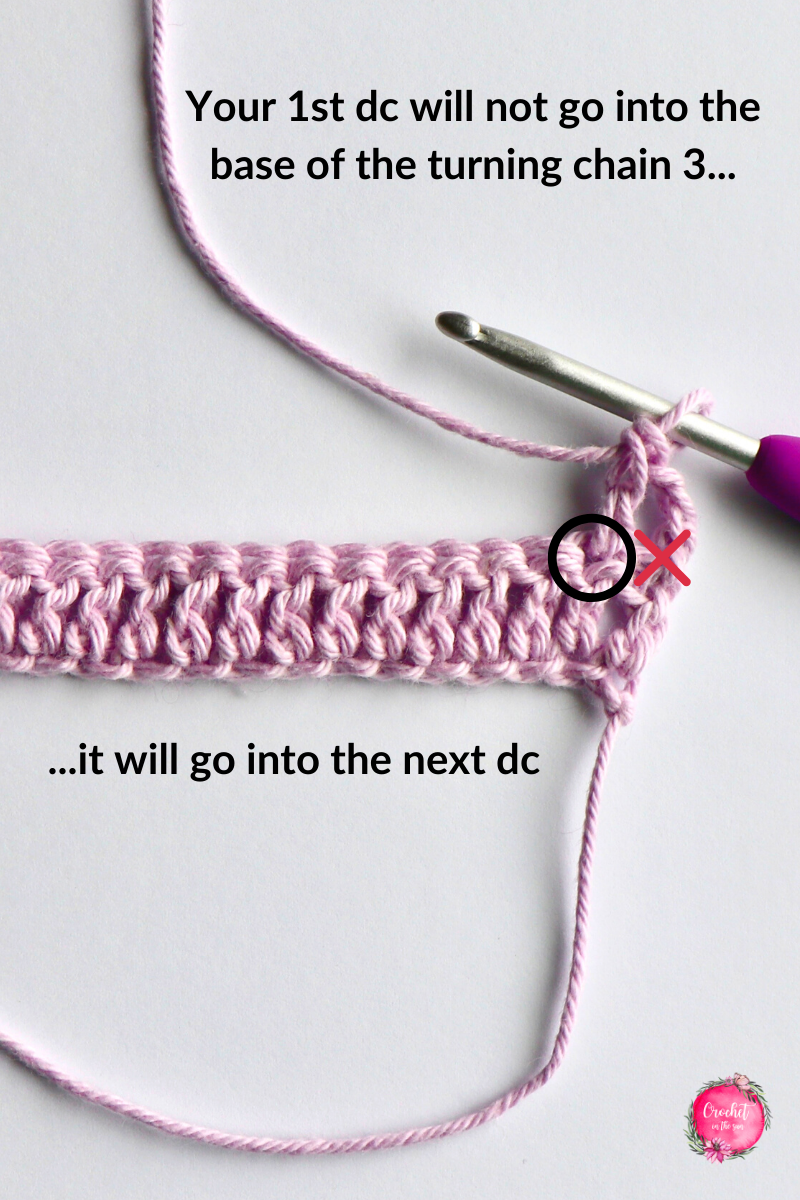
- When you work your first dc in each row, make sure you aren’t working into the base of the turning chain 3. You’re actually working your 1st dc into the following dc. See picture below.
- Experiment with using different colors for the “Open Windows” row – or any other way to incorporate color is always welcomed!
Pattern
- Get the inexpensive ad-free PDF printable from my Etsy Shop
- Pin this pattern to your Pinterest Boards here
- Add this pattern to your Ravelry queue
Let’s get started!
Pattern at a glance
Before we hop into the full pattern, I like to write out an overview of each row so I know what to expect. The bolded lines are the 3 main repeats.
- Row 1: starting chain
- Row 2: dc’s into chain
- Row 3: normal dc row (dc’s into dc)
- Row 4: Open Windows row
- Row 5: dc’s into Open Windows
- Row 6: normal dc row (dc’s into dc)
- Row 7: normal dc row (dc’s into dc)
- Row 8: Open Windows row
- Row 9: dc into Open Windows
- Row 10: normal dc row (dc’s into dc)
Crochet coaster pattern
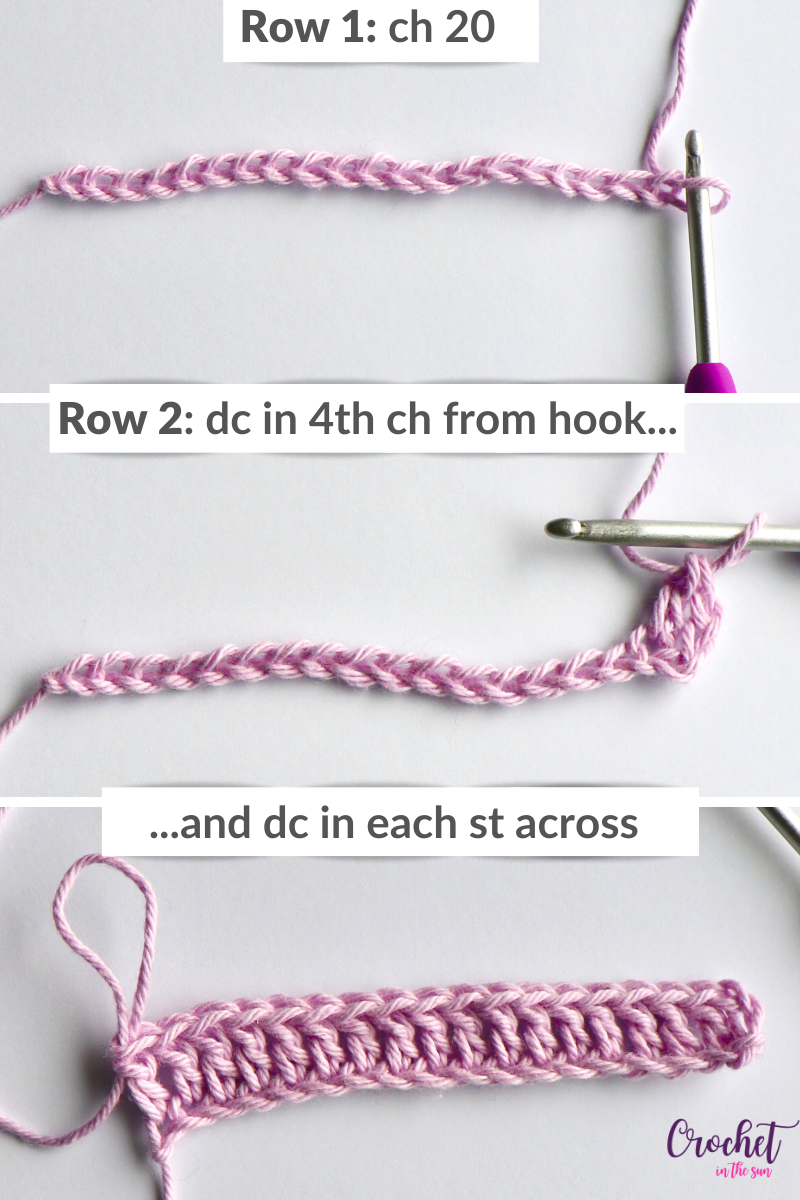
Row 1: chain 20
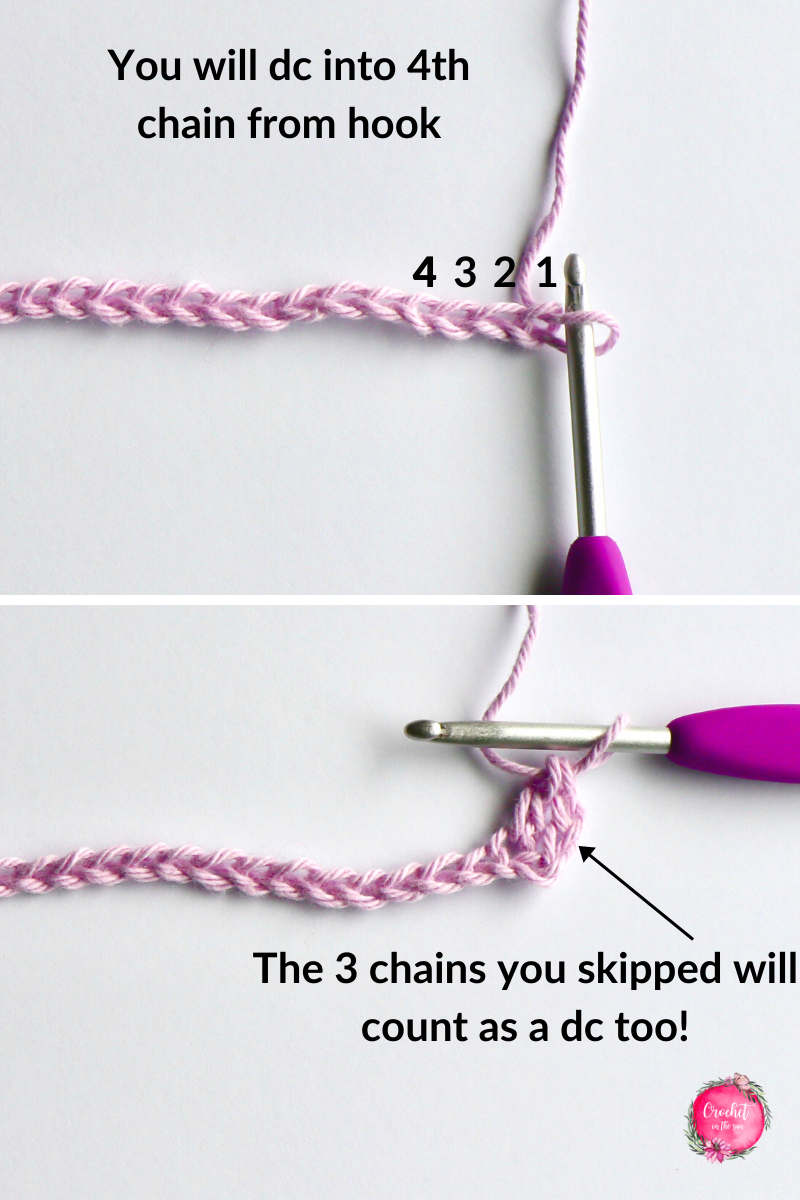
Row 2: dc in 4th ch from hook, dc in each st across [18]
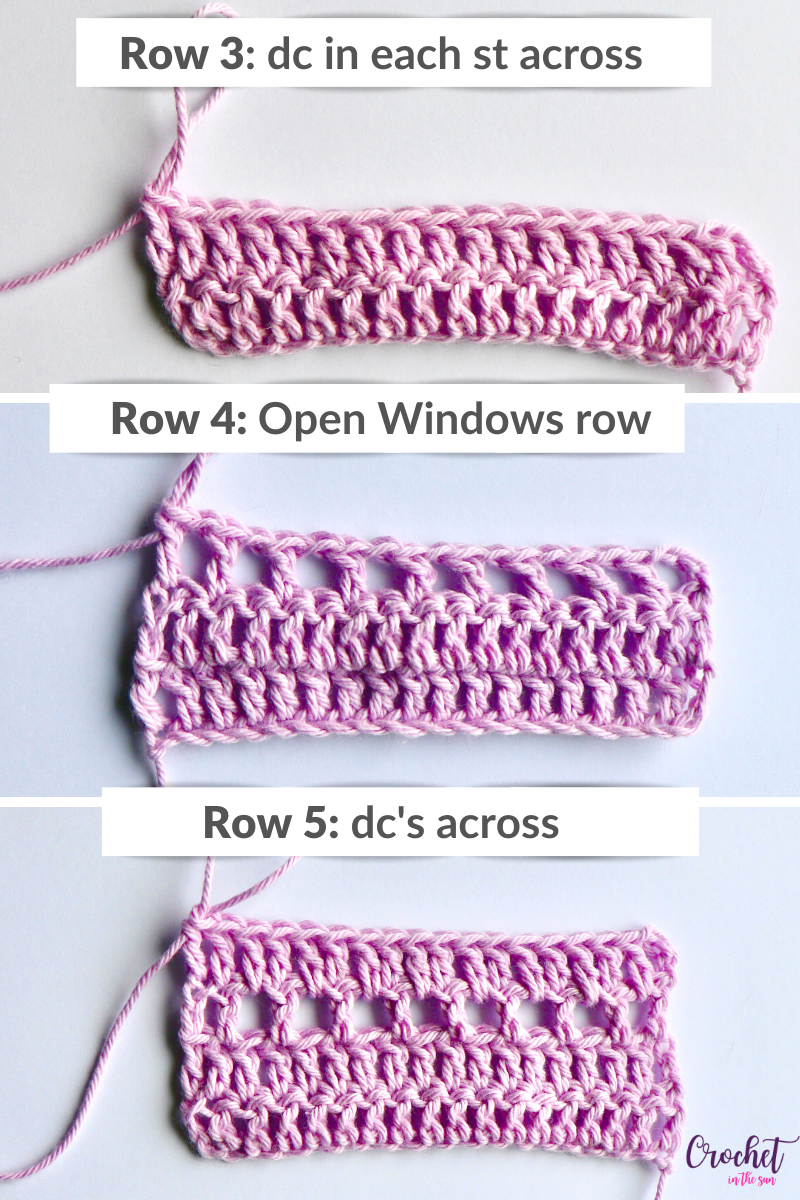
Row 3: Turn, ch3, dc in next st (not the bottom of chain 3 just made). Continue to dc in each st across. Dc in top of turning ch 3 from previous row [18]
Row 4: Turn, ch3, dc in next st, *ch1, skip next st and dc into following st*. Repeat from *. As you approach the end of the row, you will complete your last dc into the top of the turning ch3. [18]
Row 5: Turn, ch3, *dc into ch1 space, dc into the next st*. Repeat from*. Dc into the top of the turning ch3. [18]

Row 6-7: Repeat row 3
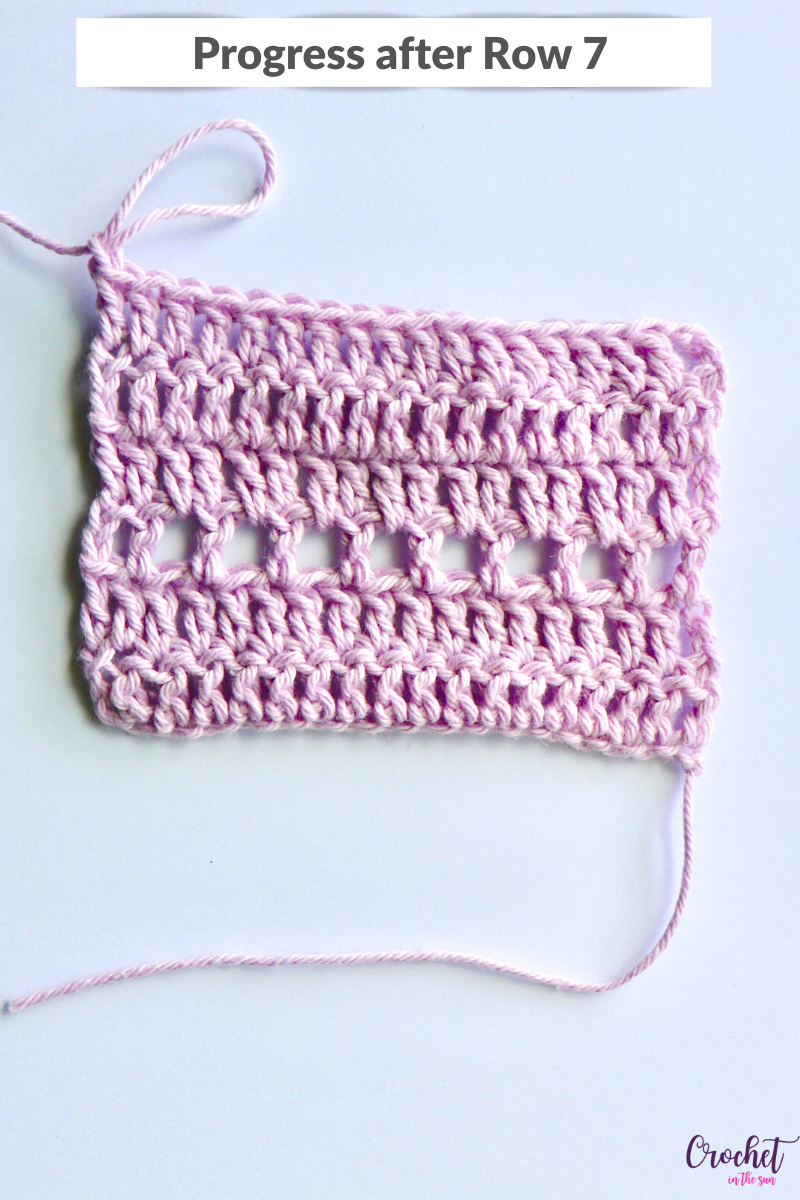
Row 8: Repeat row 4
Row 9: Repeat row 5
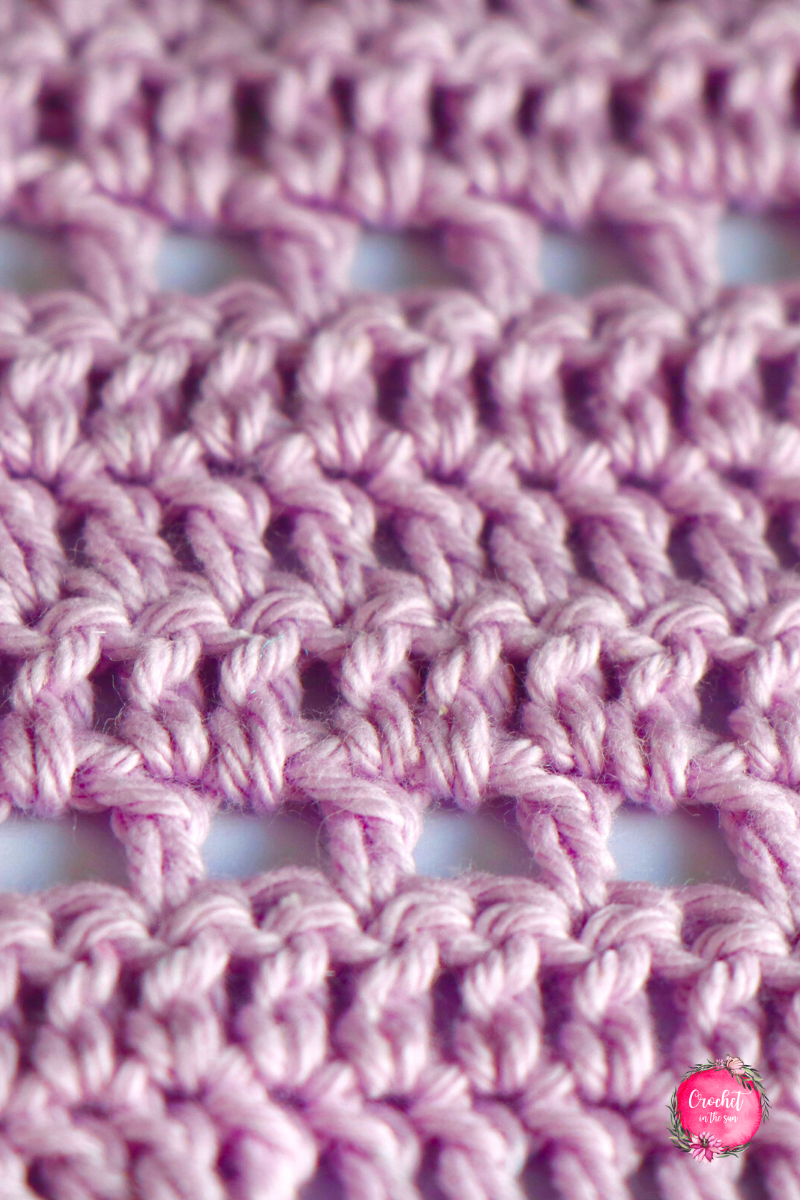
Row 10: Repeat row 3 and fasten off.
Border: Work sc’s (single crochets) evenly around all sides, with 2 sc in each corner. You can do 1 or 2 rounds of the border. Once you finish the round, sl st (slip stich) into first sc of the border and fasten off.
Optional:
- Add fringe on either side
- ‘Block’ your project to ensure the sides are nice and even.
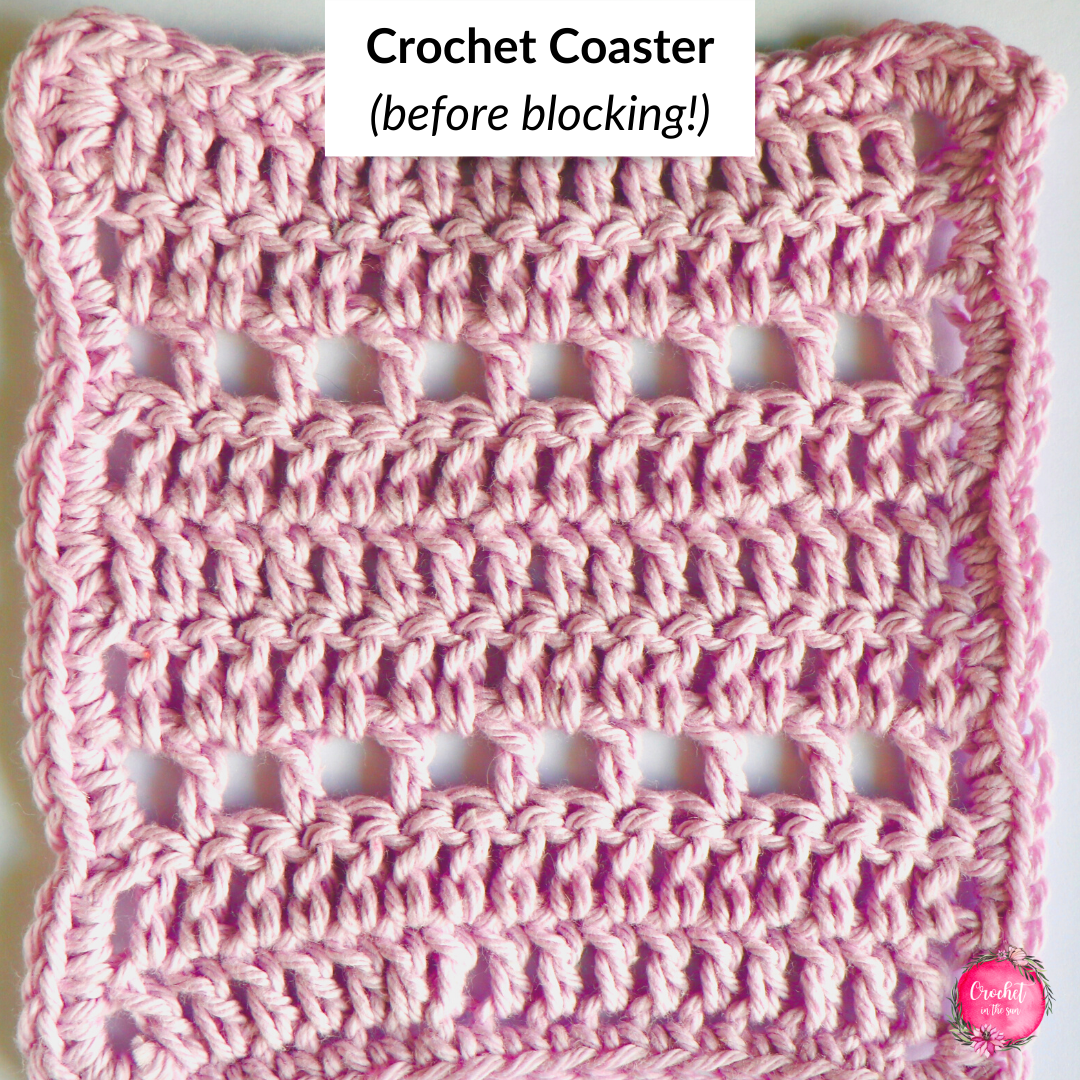
Mini crochet coaster
The first coaster came out very nice, so I couldn’t resist making another one…with some color! With spring right around the corner, what better time to use some bright colors.
For this one, I used a thicker yarn and bigger crochet hook:
- Yarn: Loops and Threads Capri yarn in pink and purple. This yarn can be yard to find if you’re not near a Michaels, as that’s the only store I’ve found this yarn. But if you see it, pick up a ball or 2. They’re so soft and stretchy – 57% cotton, 28% nylon, 15% polyester.
- Crochet hook: 5.5mm hook (US I-9)
I changed the beginning chain to ch14 instead of ch20 as I wanted this to be a little more narrow (think smaller coffee cups). Therefore, each row will have a stitch count of 12 (with the chain3 counting as a dc still).
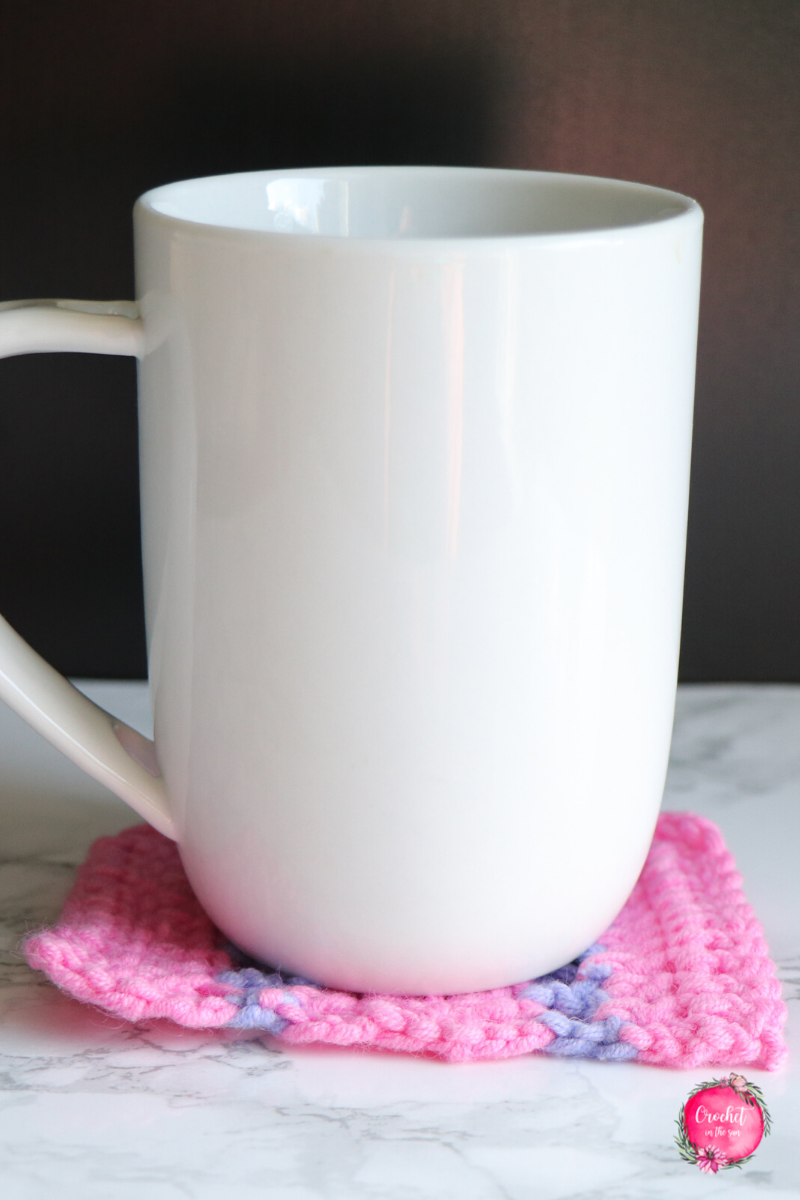
The finished dimension of the mini crochet coaster was 3 inches x 4.25 inches, with no tassels or border.
Love the “Open Windows” stitch? Check out my other Open Windows patterns:
Thanks for following along, I hope you enjoyed this crochet coaster pattern! If you make one (or more!) and share on social media, go ahead and tag @crochetinthesun. I would love to see them! Also, please link back to my blog and provide credit for the pattern.
Plus, I would love to share your creation with the crochet community so we can see these cute coasters come to life. 🙂
Other useful crochet references
- Crochet hook size conversion chart
- Yarn weight conversion chart
- Ultimate Beginner’s Guide to Crochet

Pin for later
