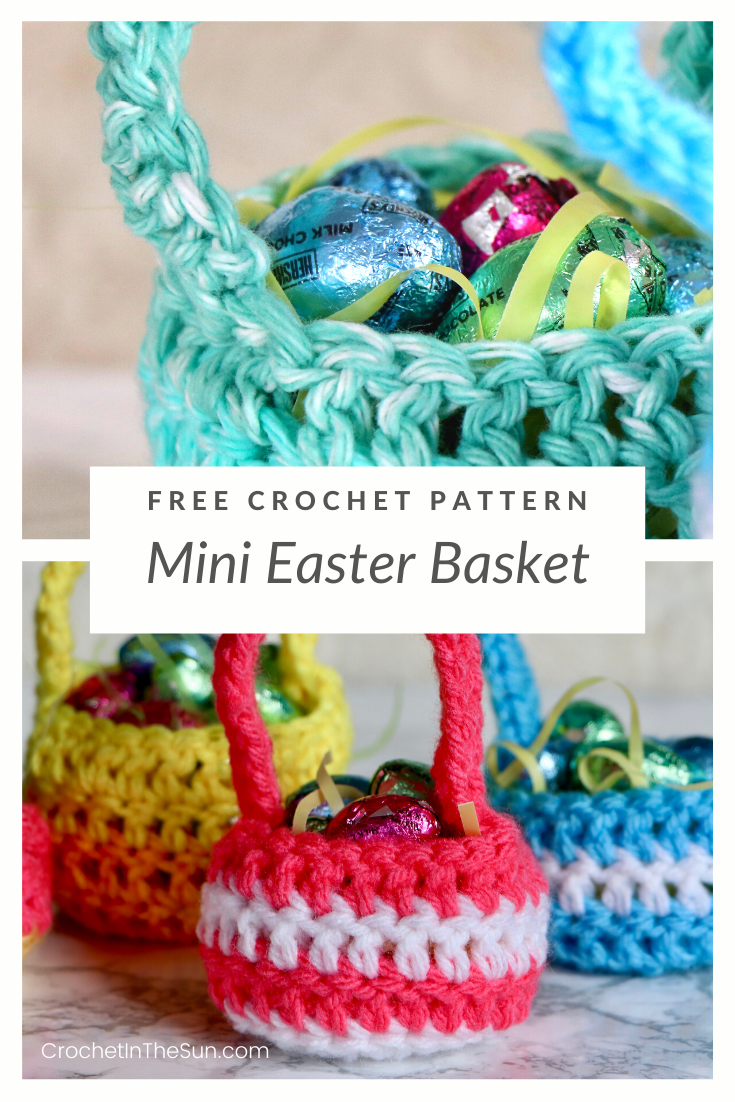
Hello spring!! I don’t know about you, but I am ready for the warm weather and bright colors. Easter around the corner, so it’s the perfect time to make a crochet project that you can really use this season! This easter basket crochet pattern is great for beginners, quick (finish in 20 minutes), FREE, and simply adorable! Bonus: add some chocolates and you have a perfect gift for kiddos!
Grab whatever colors strike your fancy and let’s get stitchin!
Skill level
Easy
Note: If you don’t know how to crochet, or maybe just want to brush up on the basics, we have a great resource for you!
Hop over to the Ultimate Beginner’s Guide to Crochet. This breaks down the basics of what you need to learn, in what order, and link you directly to some great resources! And best of all, it’s free! Enjoy 🙂
Materials


- Any medium weight yarn – Red Heart Super Saver is great for this project, as the yarn shouldn’t be too soft, since the basket needs to hold its shape.
- 5mm hook (I used ‘Loops & Threads’ and ‘Boye’ ergonomic hooks. You can find a full hook set here if you’re starting out or need to stock up!)
- Yarn Needle and scissors

Not sure what yarn to use? You can’t really go wrong really, it just depends on the color and thickness of the basket you want to make! One tip though, if you want to use super soft yarn, alternate rows with a thicker/stiffer yarn. For example, I used Caron Simply Soft, but mixed it with Loops and Threads Impeccable since I knew that yarn holds its shape quite well!
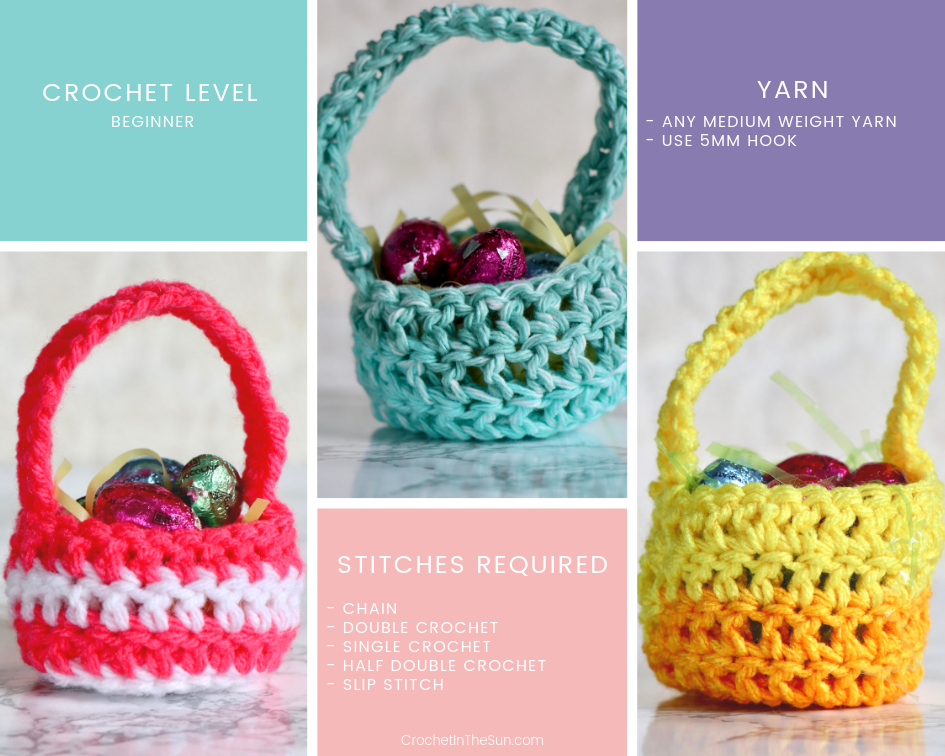
Stitches (US terms)
- double crochet (dc)
- single crochet (sc)
- chain (ch)
- half double crochet (hdc)
If needed, refer to my Beginner’s Guide to crochet. Those stitch tutorials will walk you through how to complete the above stitches. If you need to convert from US to UK terms, have a look at this chart.
Abbreviations
- slip stitch (sl st)
- stitch (st)
- beginning (beg)
- stitch (st)
- [ ] shows the number of stitches in that round
- Fasten off (cut your yarn and weave in the ends)
Finished Measurement
3.5 inches wide x 4 inches tall (8.8 x 10 cm) including the handle.
The size can vary based on the yarn used, but there’s really no wrong or right size!
Pattern notes
- The ch 3 at the beginning of each round does not count as a dc.
- You can use the same yarn to end the last round and complete the handle – don’t fasten off unless you want to change colors.
- When you weave in the end tail of the magic circle, you should notice that small hole disappear. If not, make sure you are pulling tight as you weave in the ends. Ta-da!
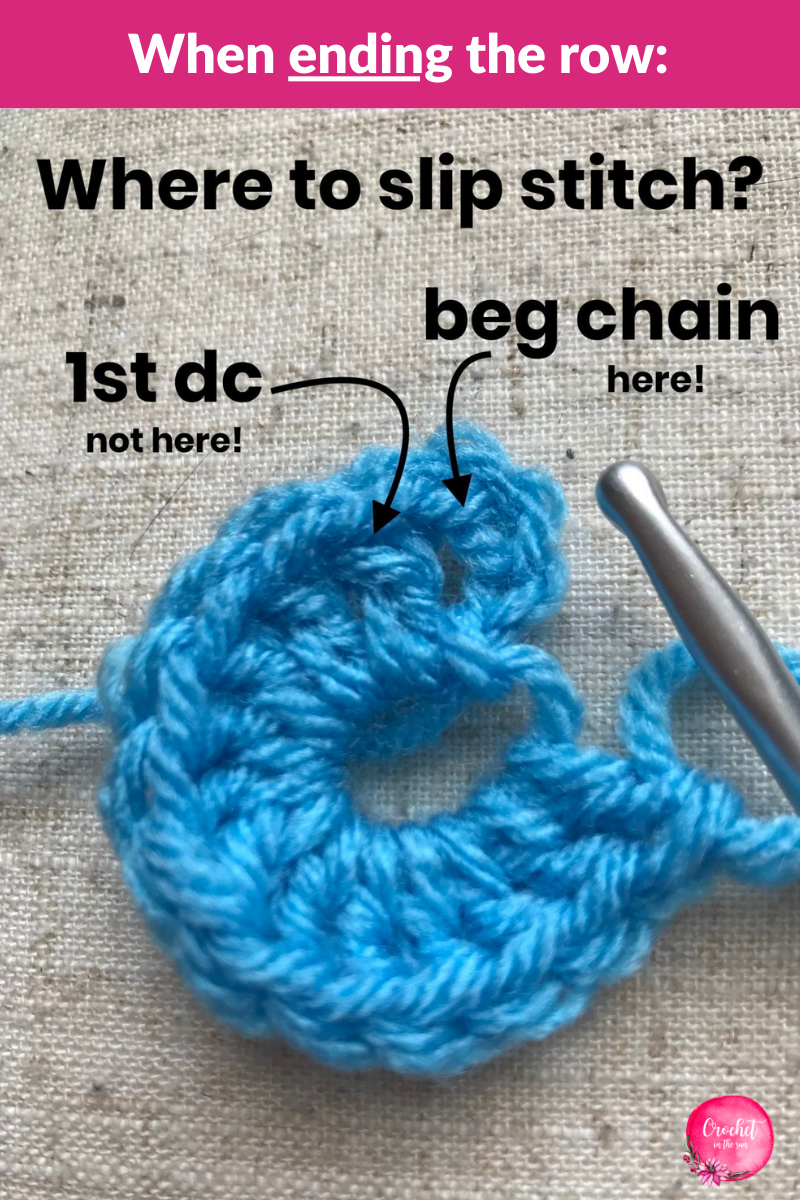
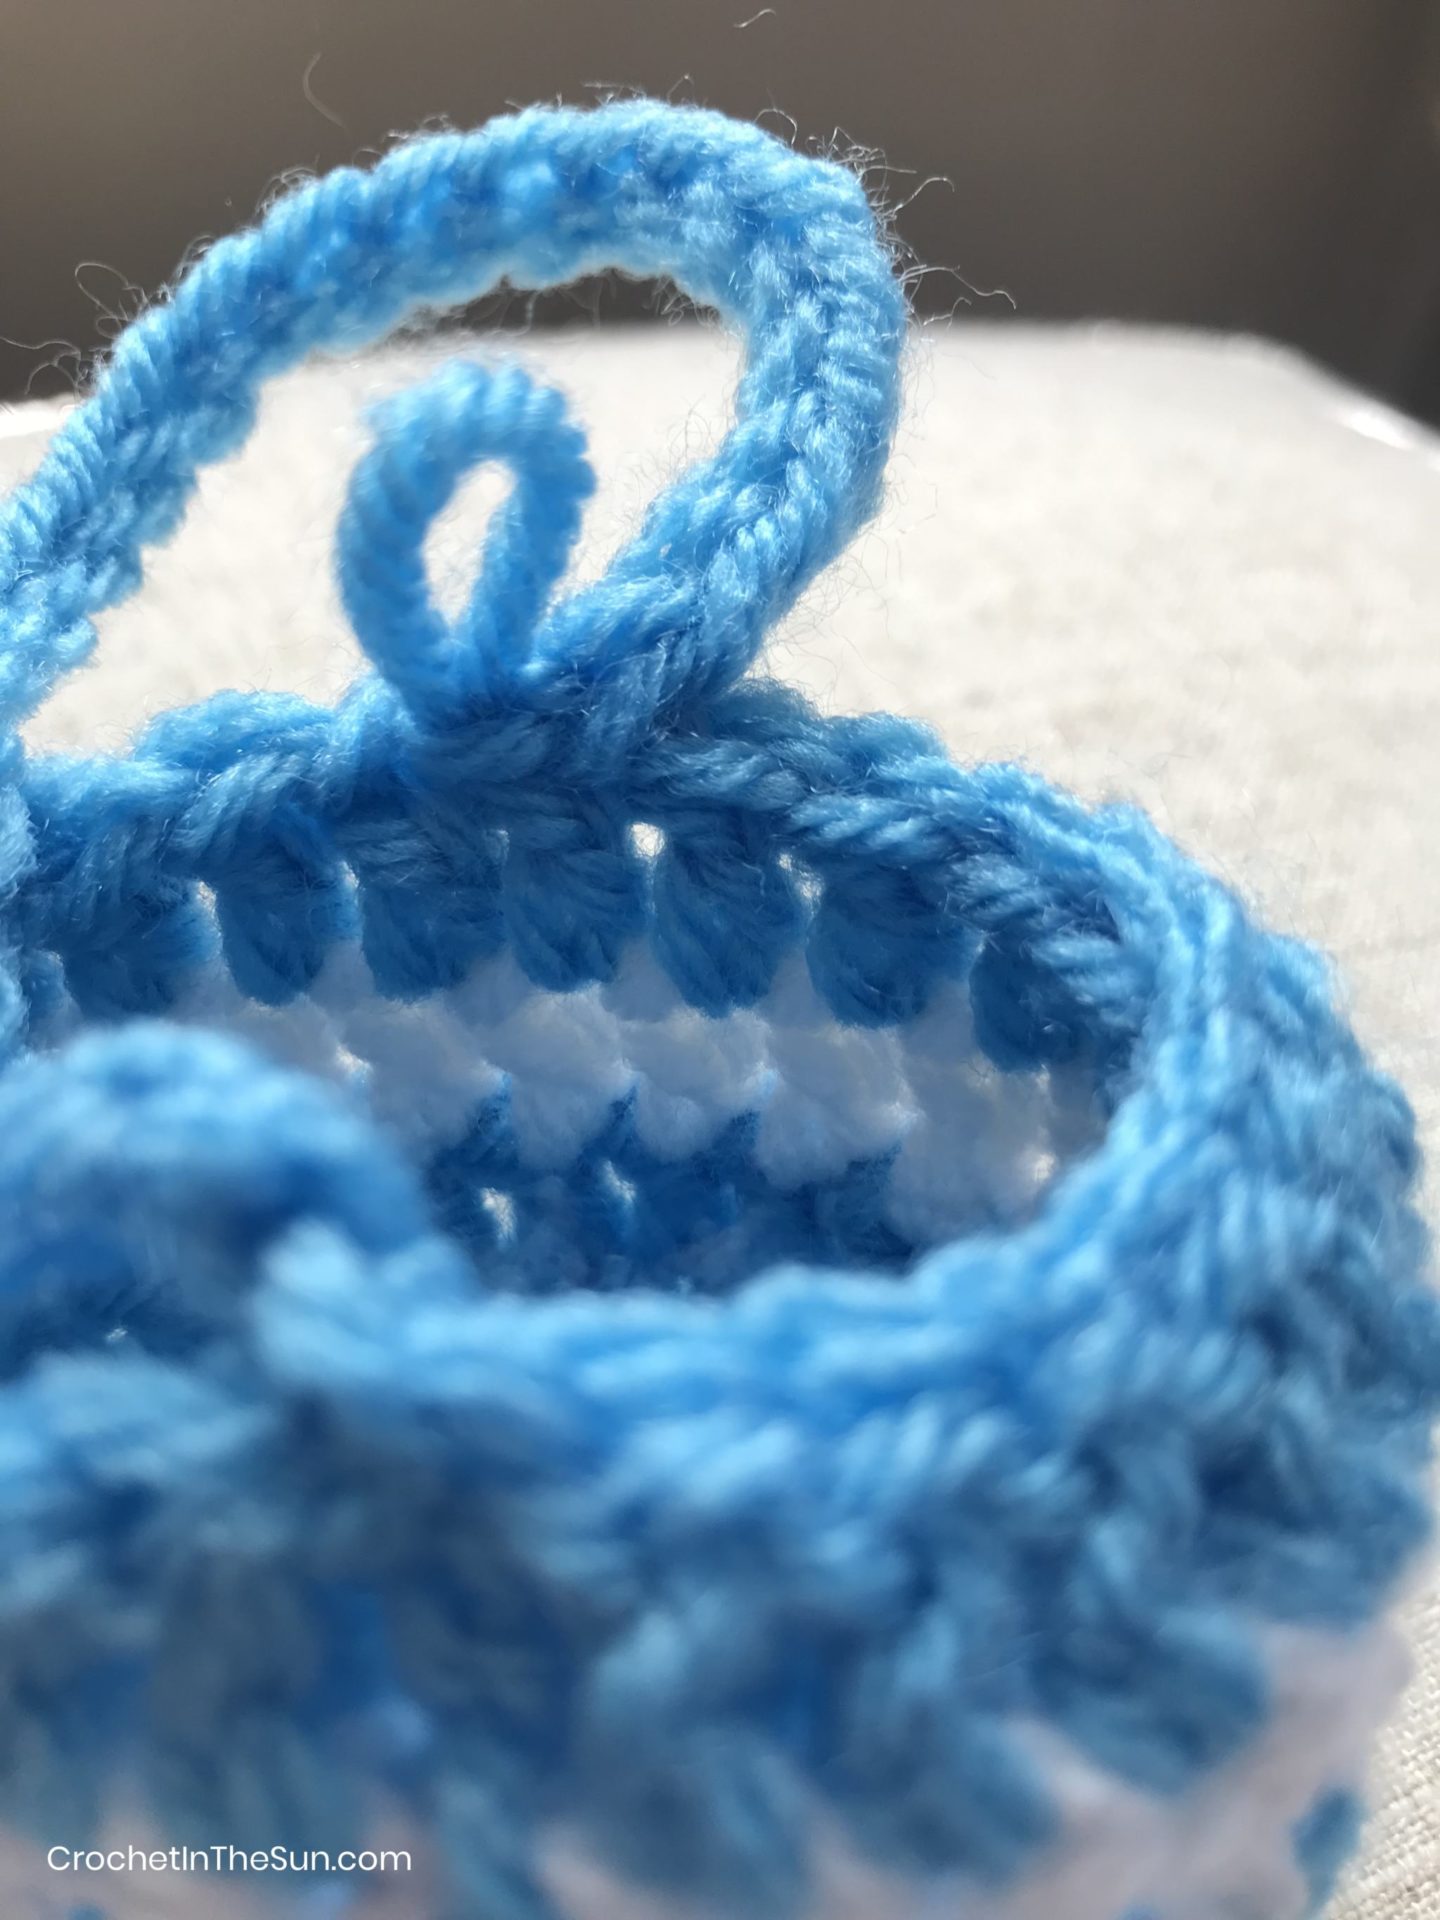
- When you end a round, you will slip stitch into the 3rd loop of the chain you made to begin that round. Make sure you do not slip stitch into the 1st dc of the round. Tip: If you’re having a tough time determining the dc vs beginning chain, gently pull the yarn apart a bit. (see photo below)
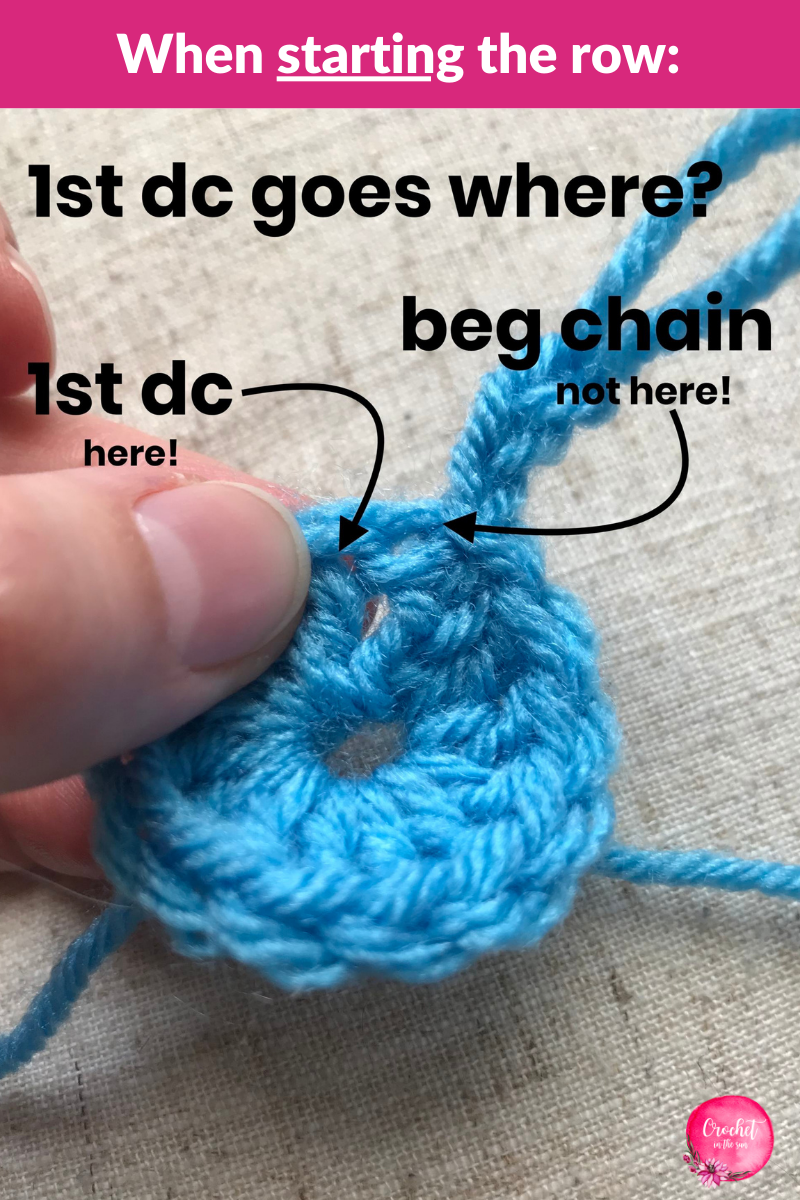
- When you start a round, you will dc into the 1st dc of the previous row, not the chain 3. (see photo below)
- If you want to change colors: On your last dc of the current round, complete all the steps until the very last yarn over. When you have 2 loops on the hook, rather than yarn over & pull through with the same yarn, yarn over and pull through with the NEW color yarn. Then slip stitch into the chain to finish the row, and continue onto the next round. Give each of the ends a gentle tug to tighten before weaving them in.
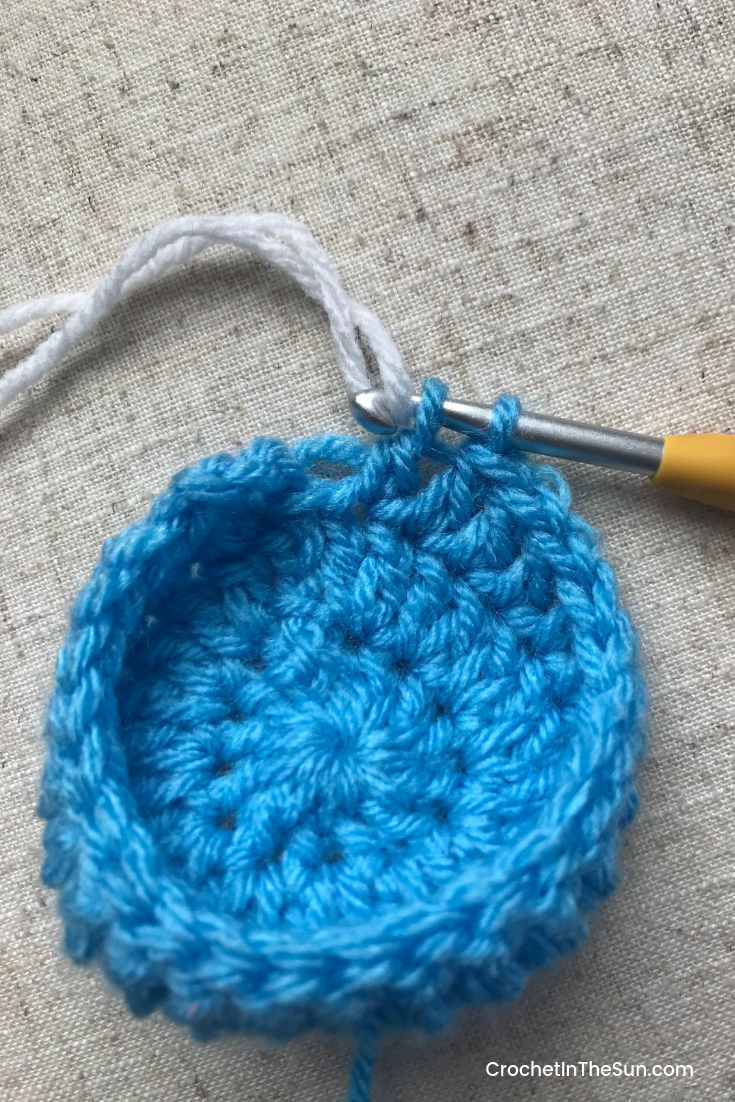
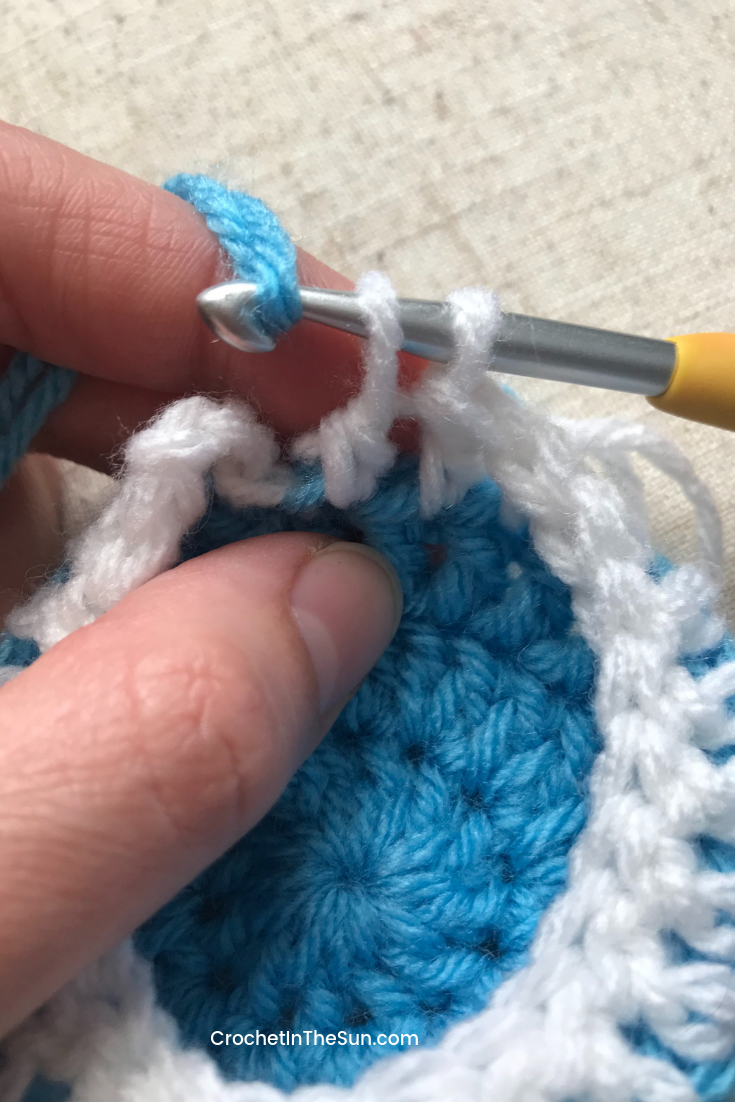
Pattern
- Get the inexpensive, ad-free printable PDF from my Etsy Shop
- Pin this pattern to your Pinterest Boards here
- Add this pattern to your Ravelry queue here
Basket
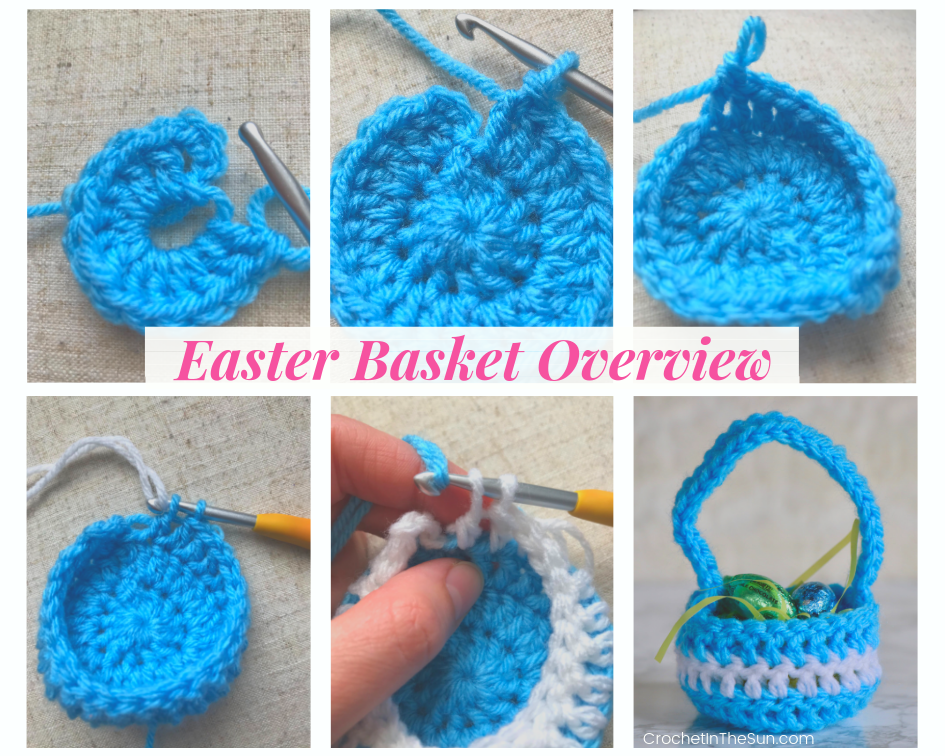
Round 1: Complete a magic circle. Ch 3, 12 dc in the magic circle, sl st in beg ch. [12]
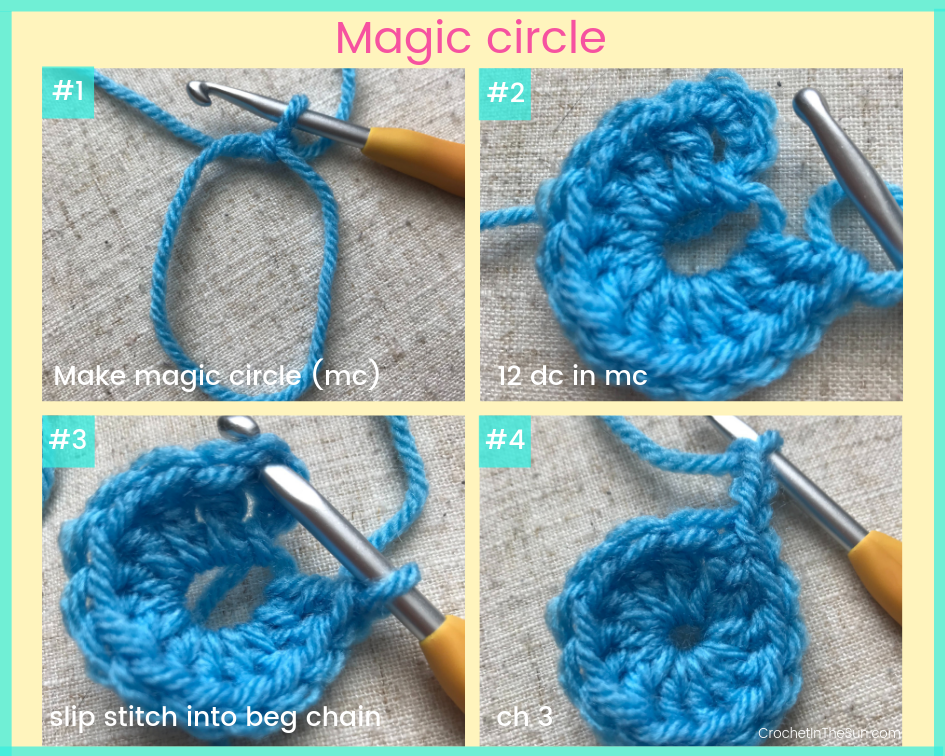
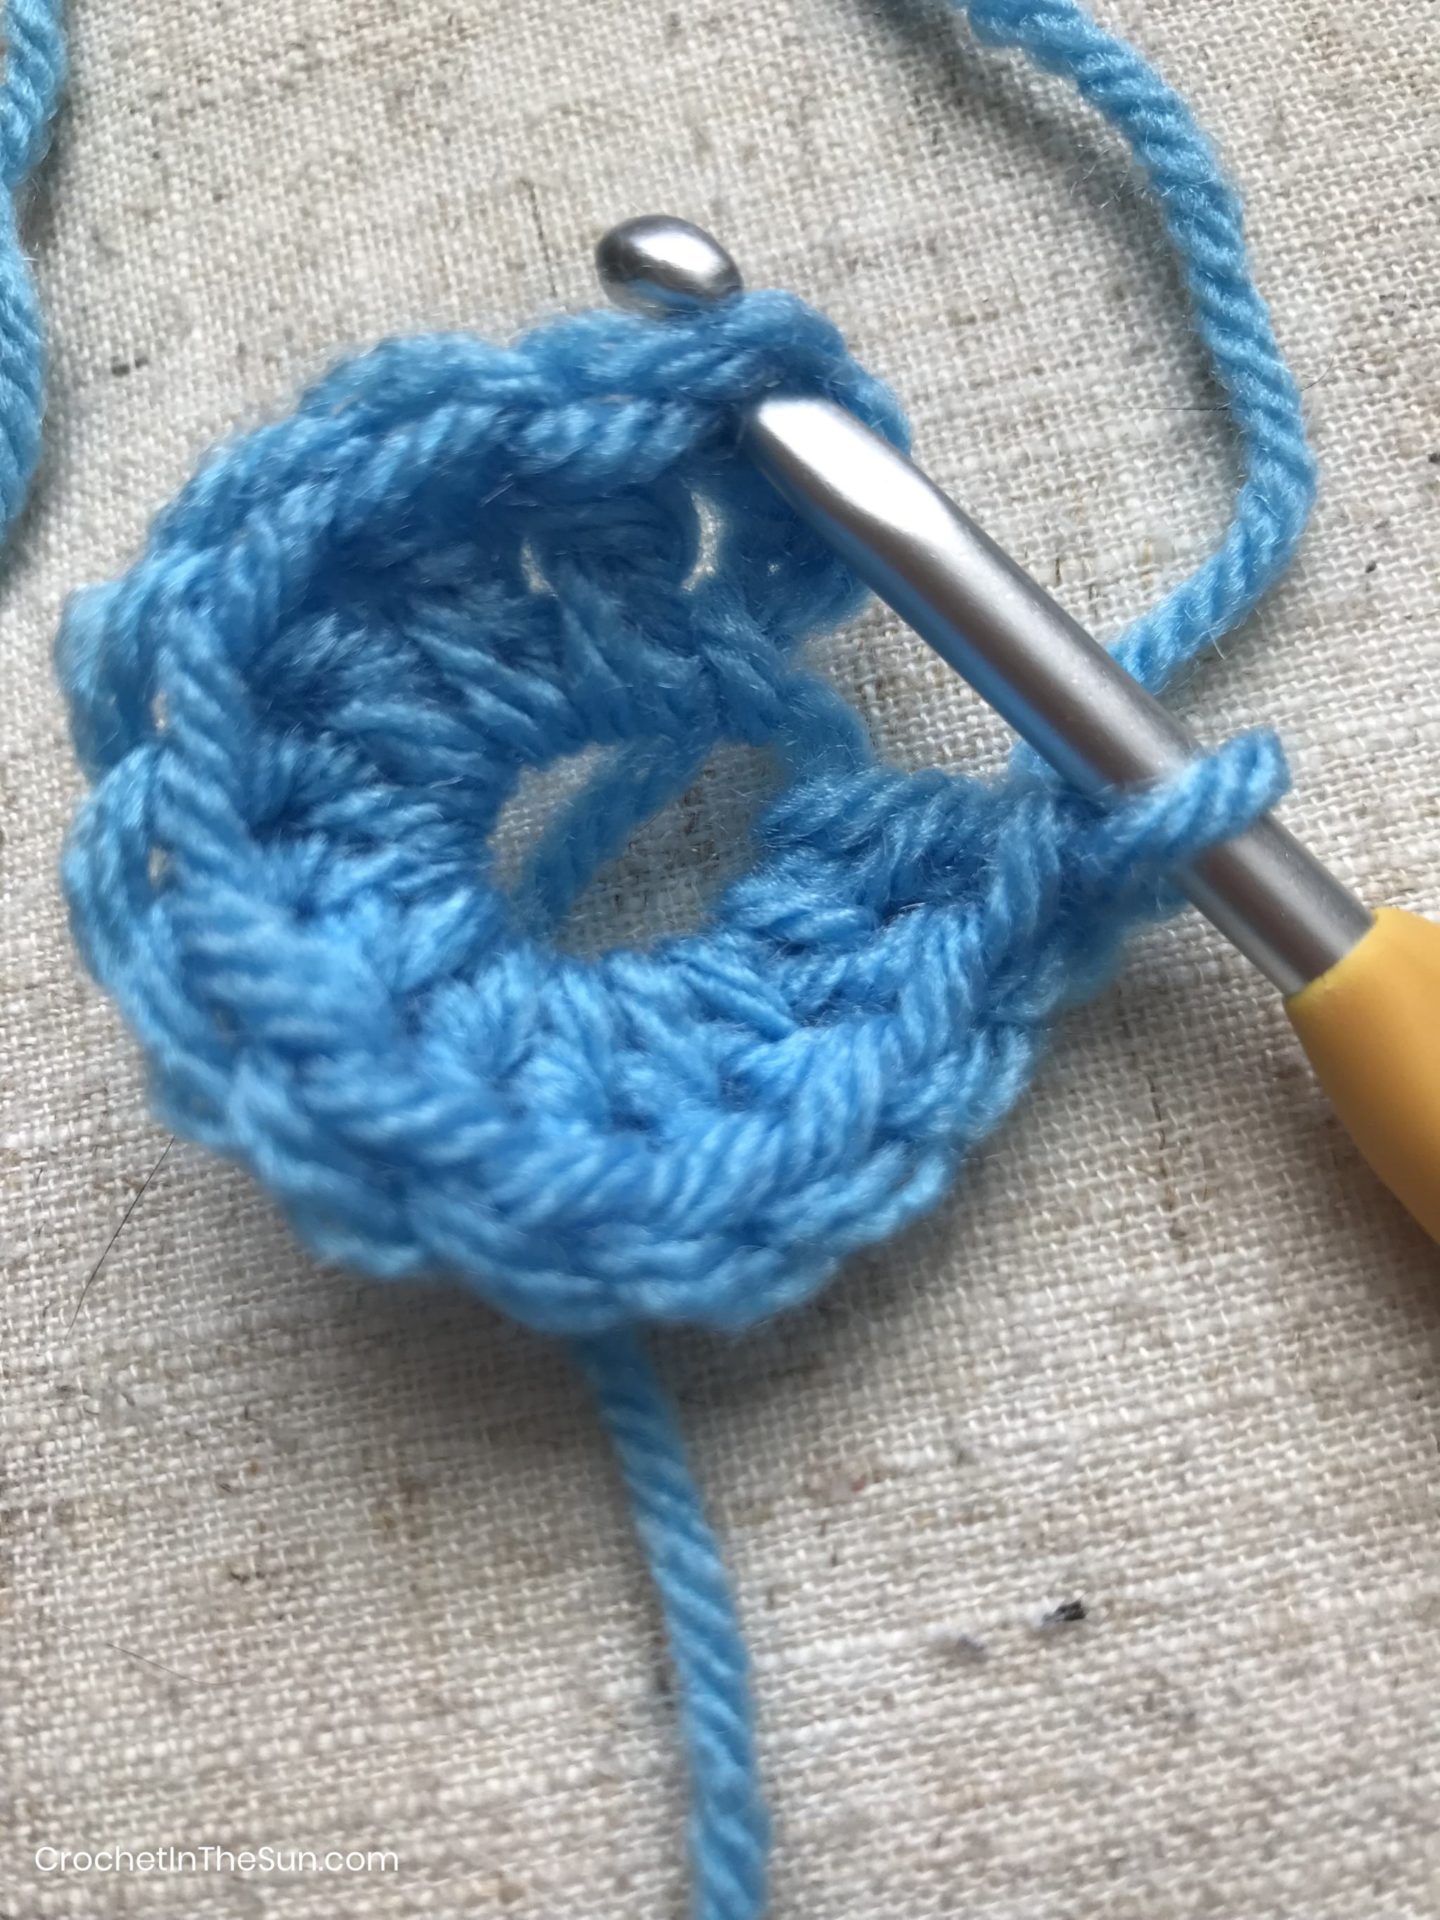
Round 2: Ch 3, 2 dc in each st. Sl st into ch. [24]
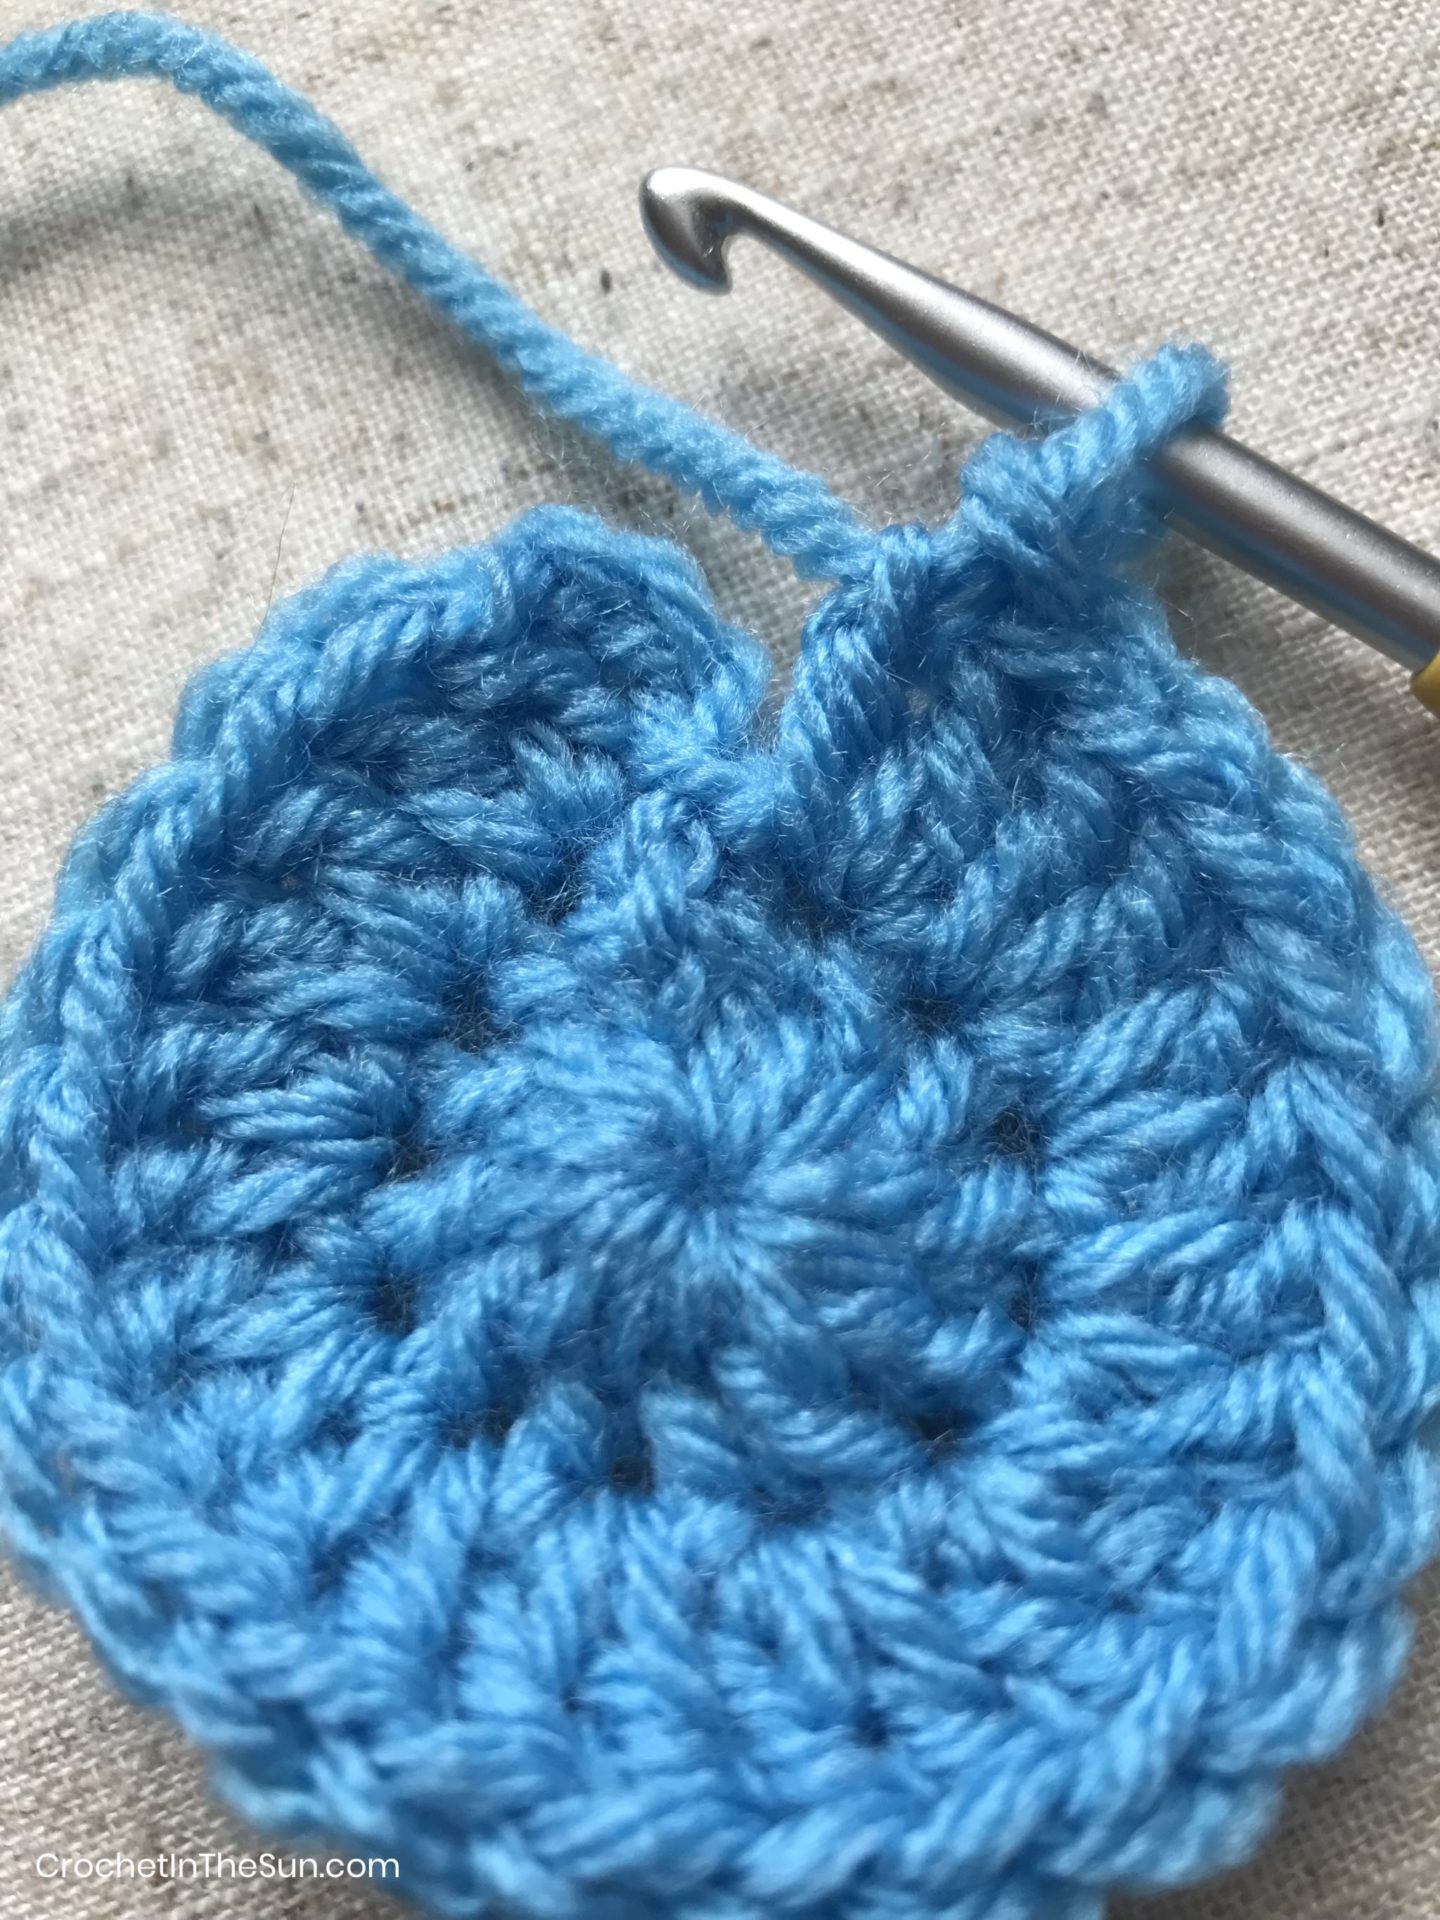
Rounds 3-5: Ch 3, 1 dc in each st. Sl st into ch. [24] do not fasten off.
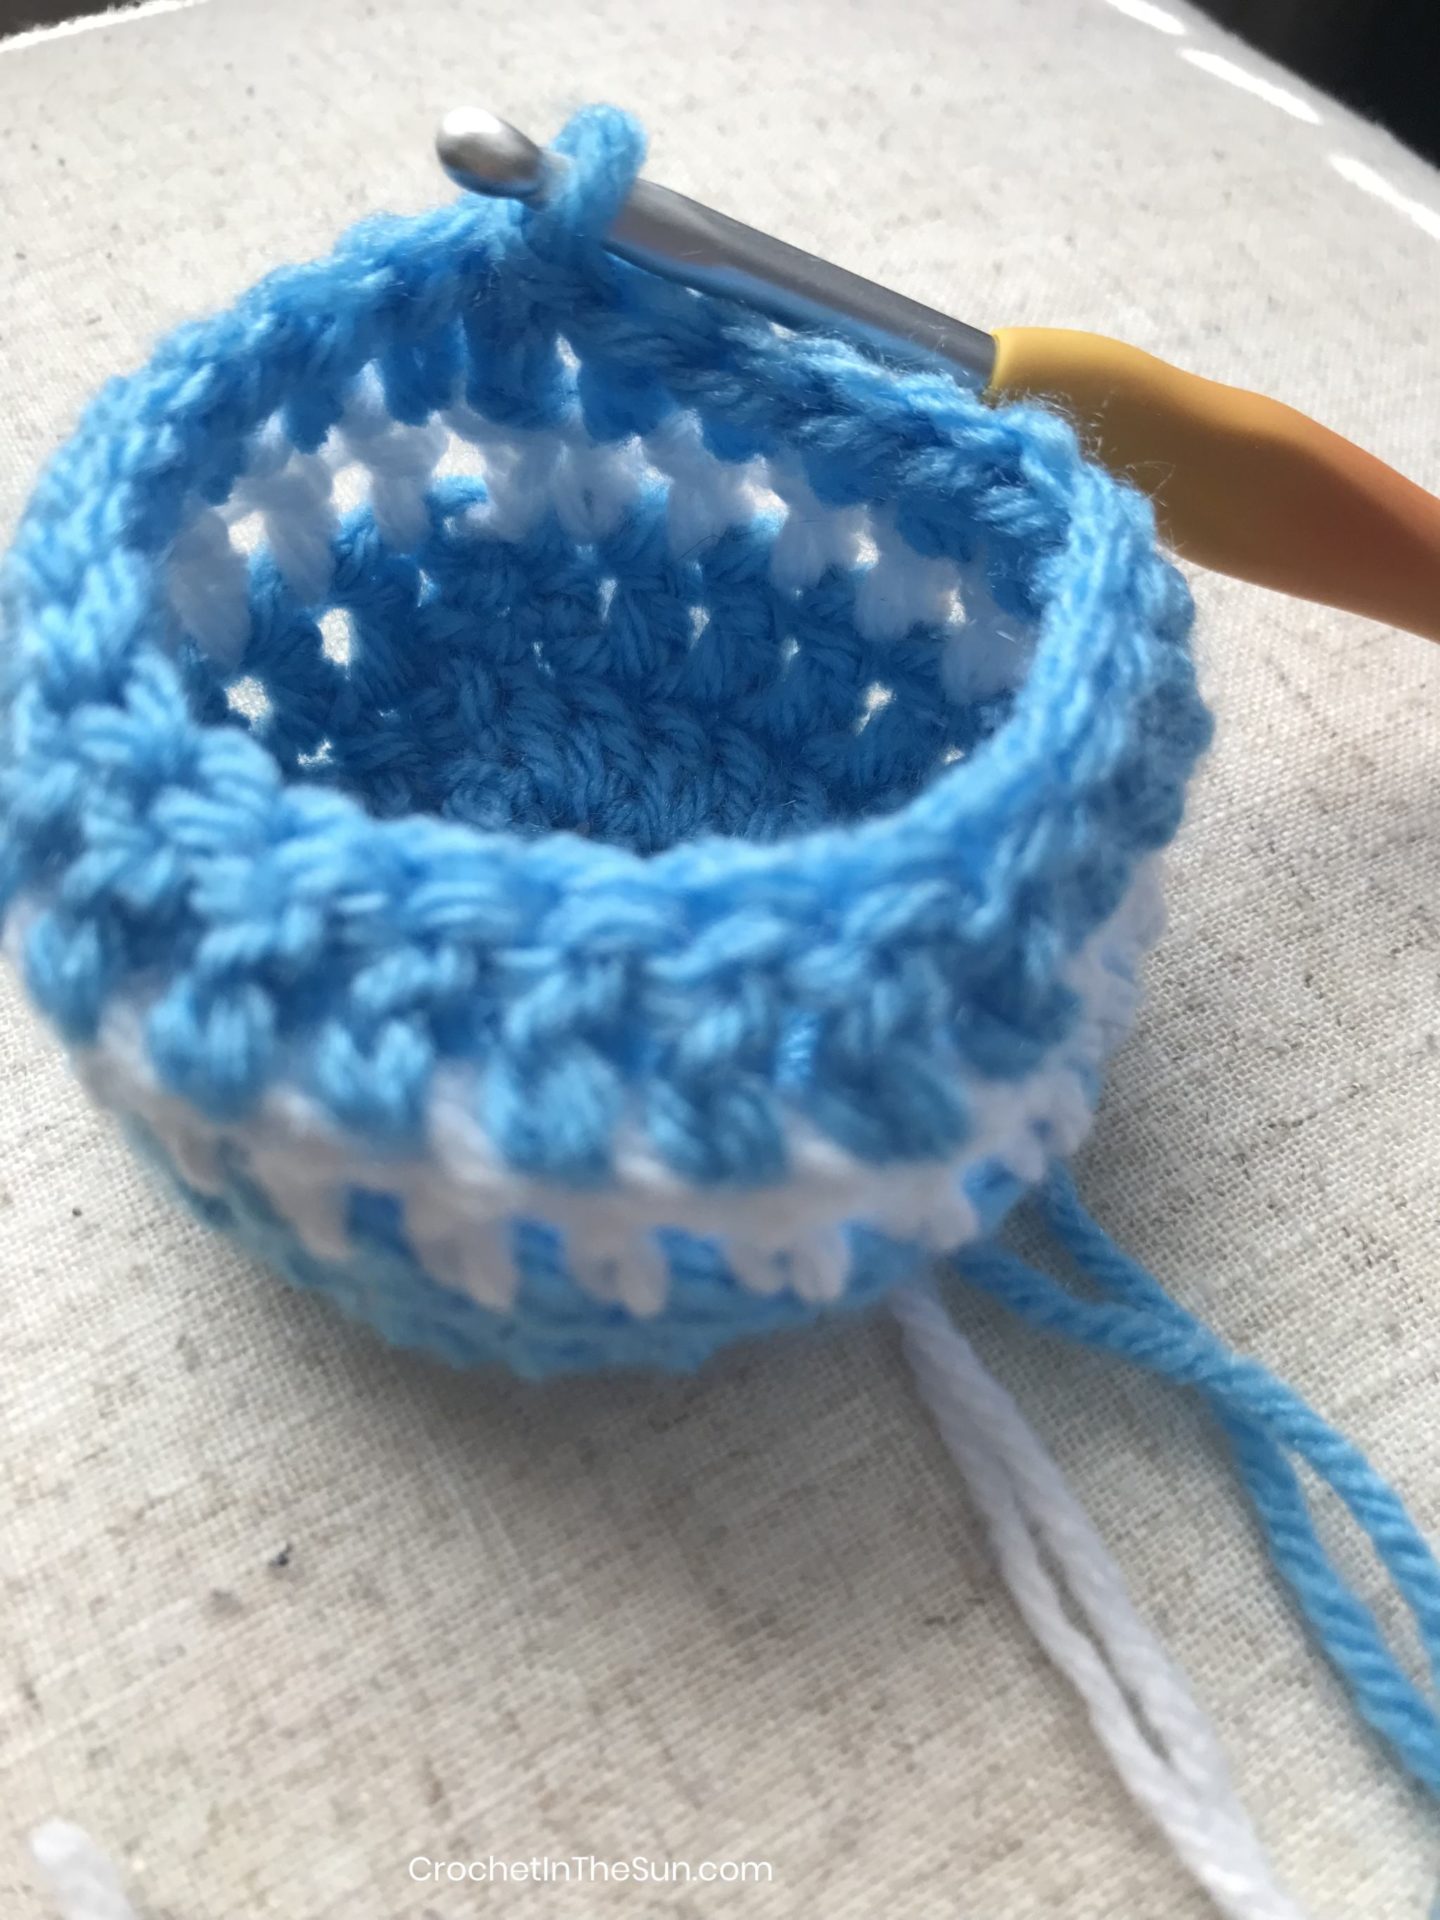
Handle
Ch 25.
Fold basket in half and align the top stitches. Locate the 2 stitches directly across from where the handle chain started. Sl st into those 2 stitches.
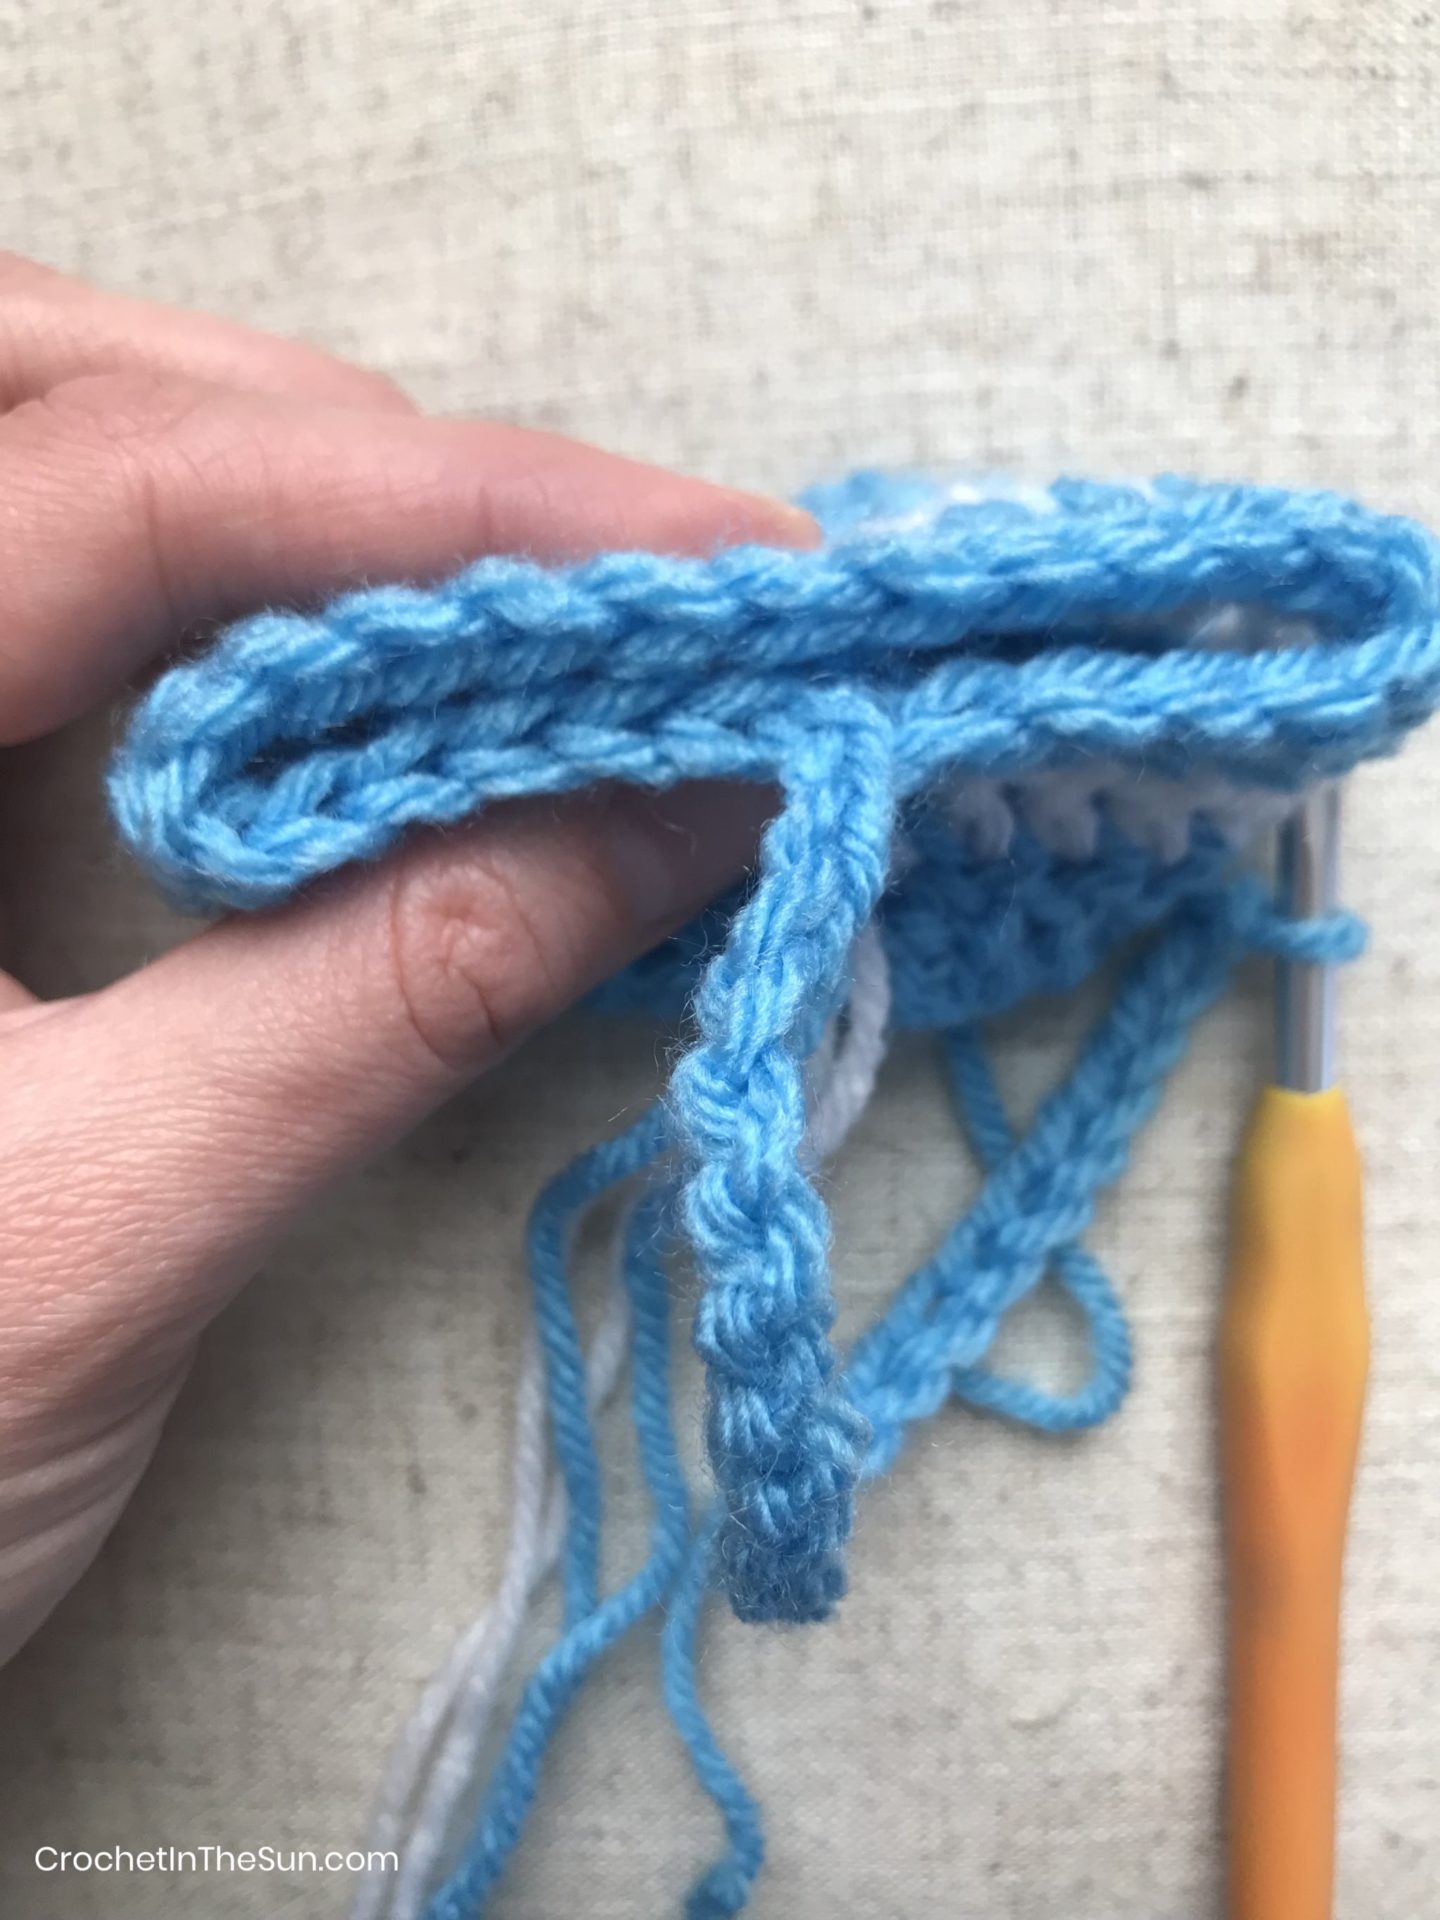
Working back to the other end of the handle, hdc in each chain.
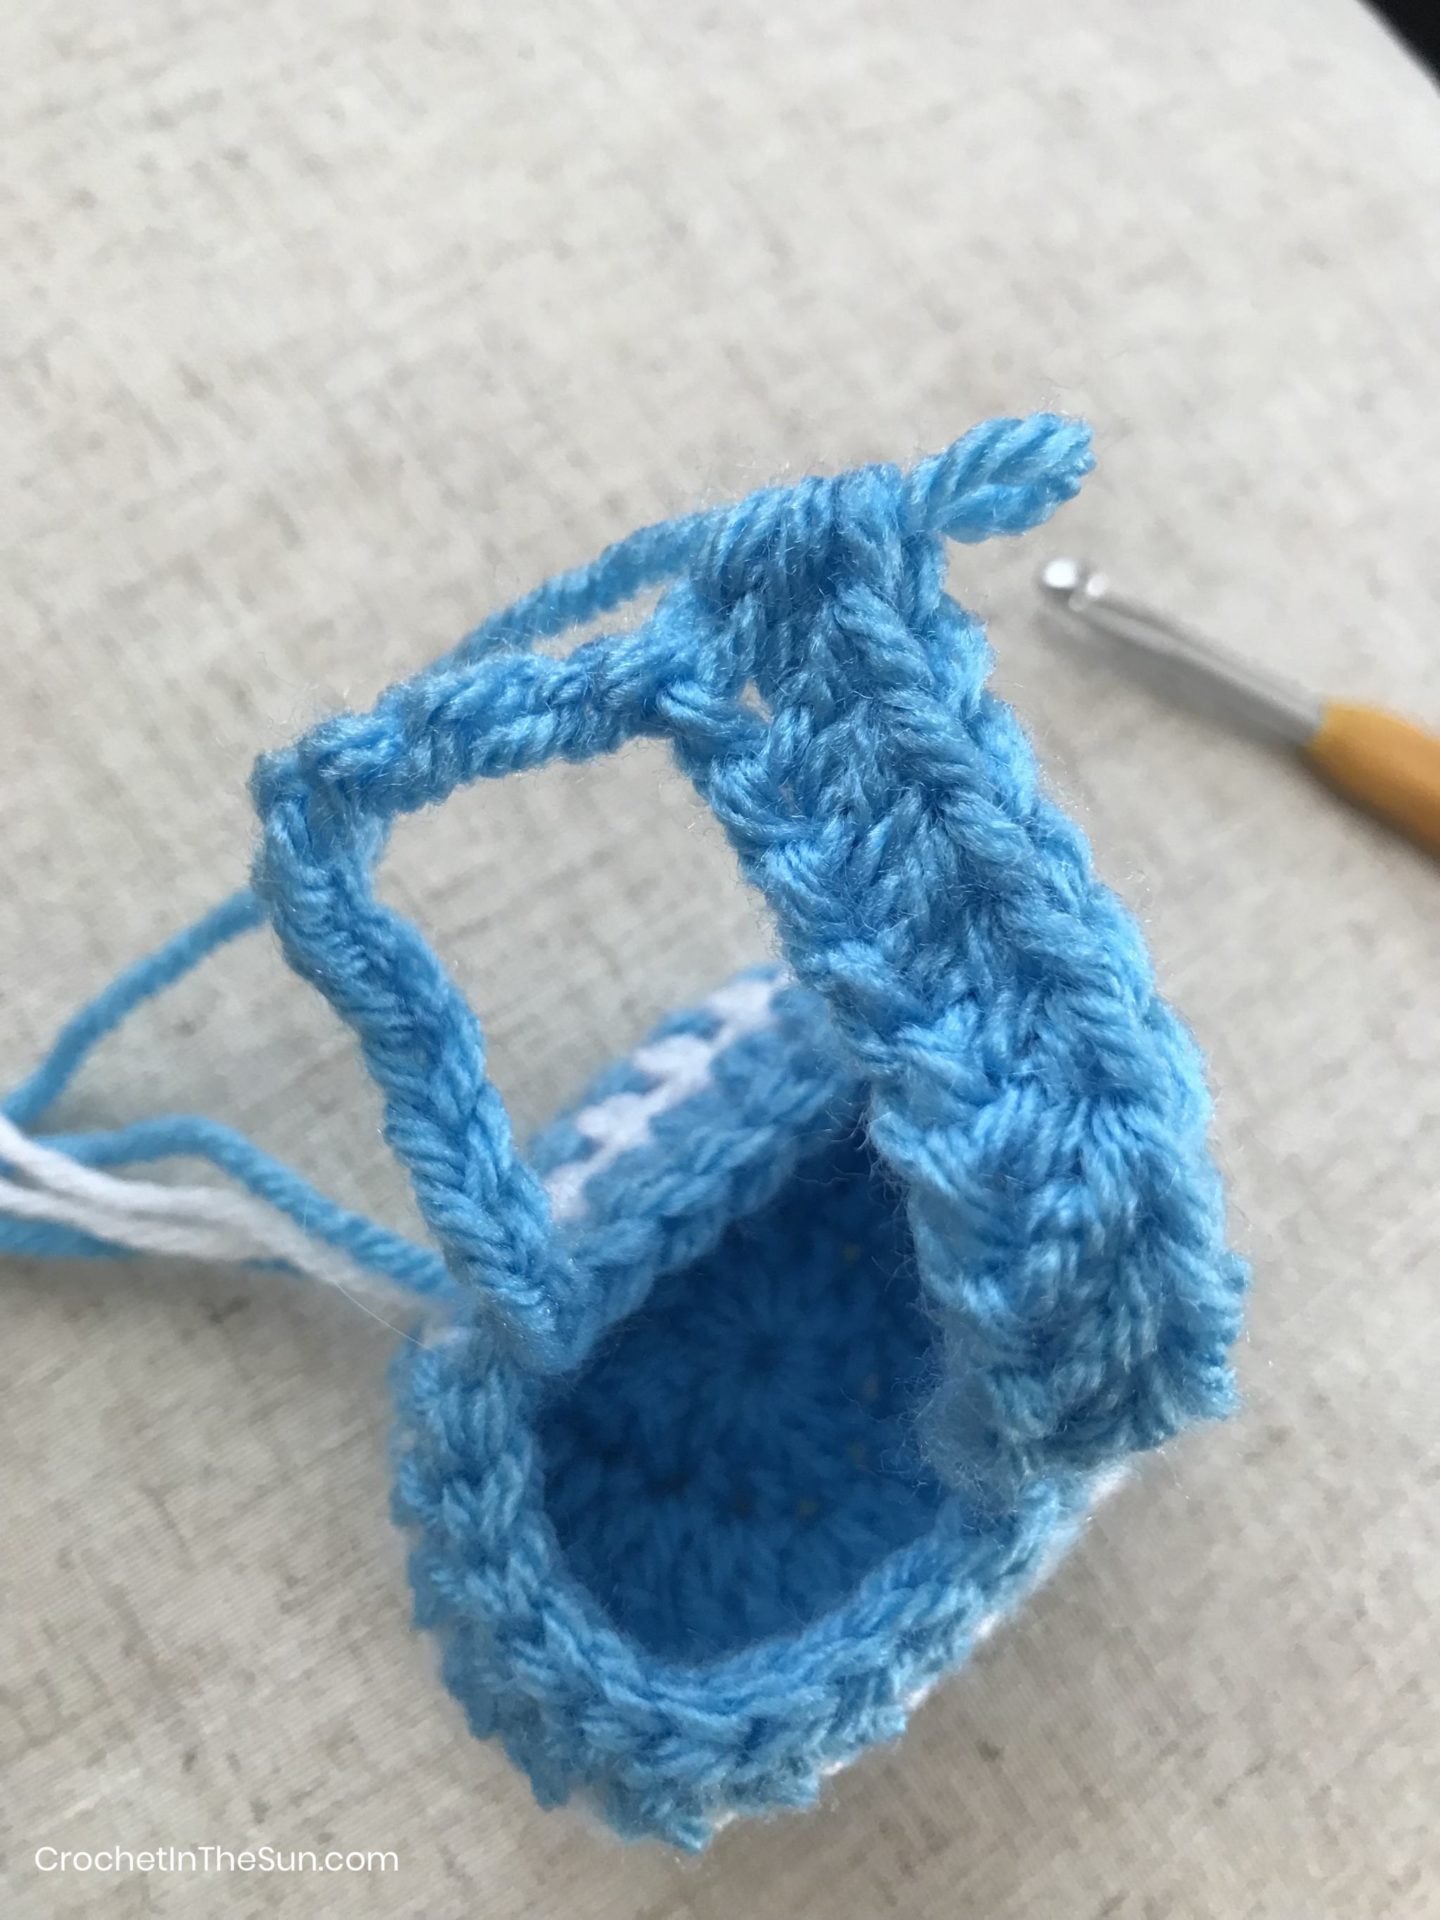
Sl st into the dc of the 5th round, next to where the chain handle started. Fasten off and weave in the ends.
Enjoy! Suggestion: Fill up your basket with some mini chocolate eggs or small stuffed animal!
Optional
Add a border! On your last row, you can:
- Add a smaller border by repeating: ch 3, 1dc in that first chain, skip 2 dc, sc in the next stitch)
- Add a shell stitch (5 dc in 1 stitch)
- Stitch a border of single crochets on top of the last border, either in the same yarn color or new color
Yarn details
Curious about the yarn I used? Here is the list if you’re interested:
Loops and Threads (in Arbor Rose and white), Peaches & Creme (in Seaside Stripes), Red Heart Stripes (in Fruity Stripe), Caron Simply Soft (in Sunshine)
Finished Easter Basket details

This bright beauty was made using Red Heart Stripes (in Fruity Stripe) for all rounds.
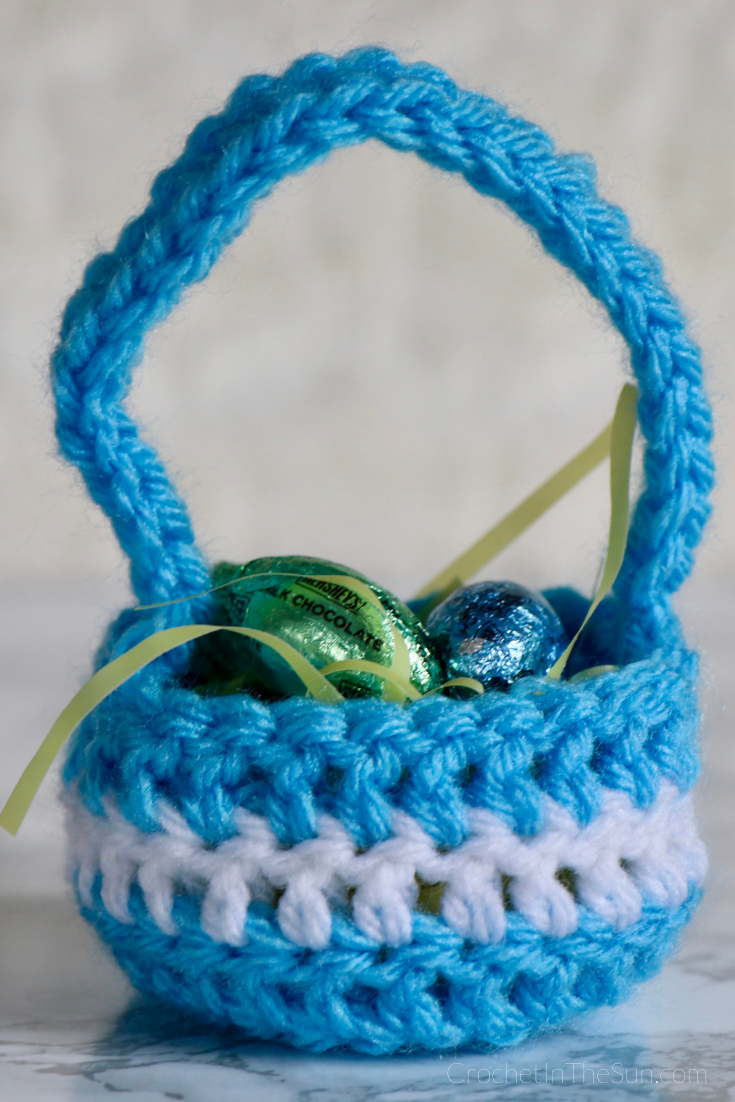
To make this design, use blue yarn for rounds 1-3 and 5 and use white yarn for round 4. The white yarn is Loops and Threads (in white). Sorry I don’t remember what brand the blue yarn is – this was from my stash years ago!
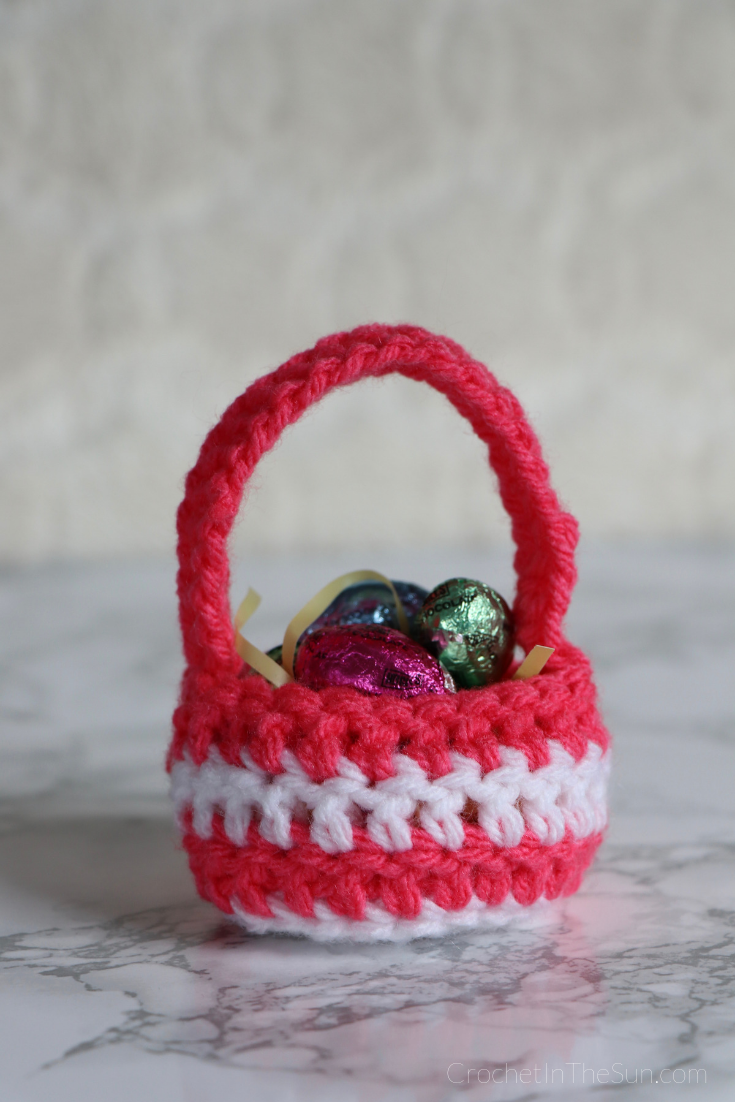
I used Loops and Threads in Arbor Rose and white here. To make this design, use White for rounds 1, 2, and 4 and Arbor Rose for rounds 3 and 5.
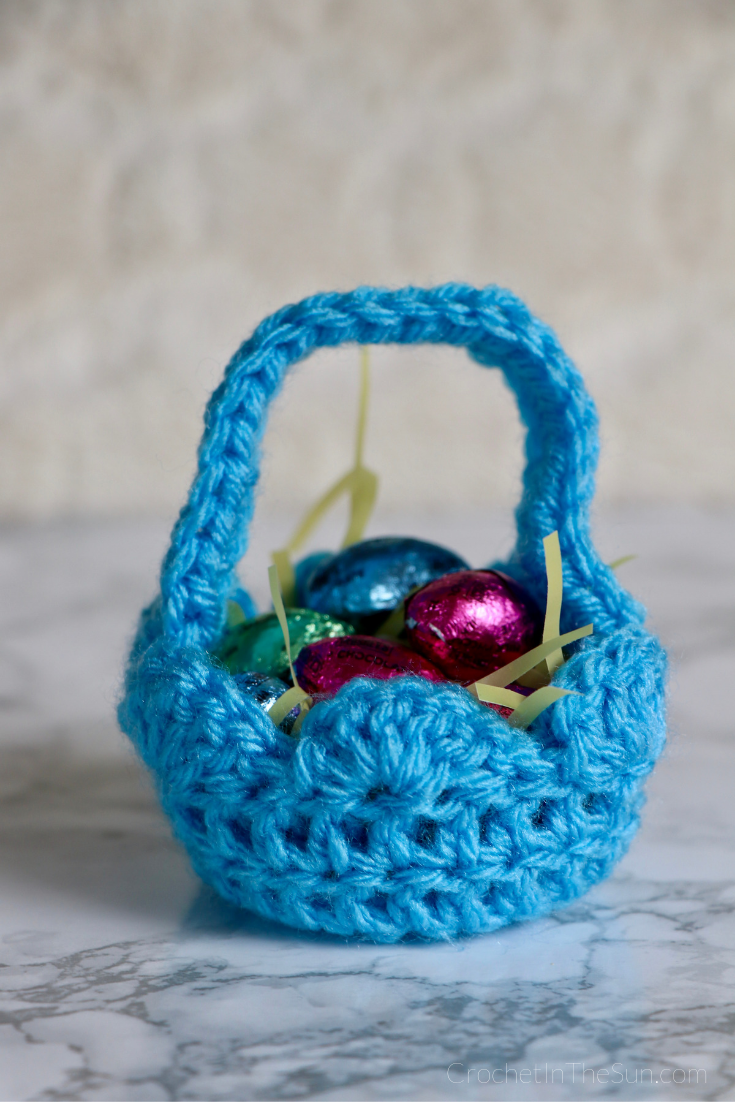
Who else loves the shell stitch border!? To add a shell stitch to your easter basket, do 5dc in 1 stitch. (Hint: this border is great for blankets too!)
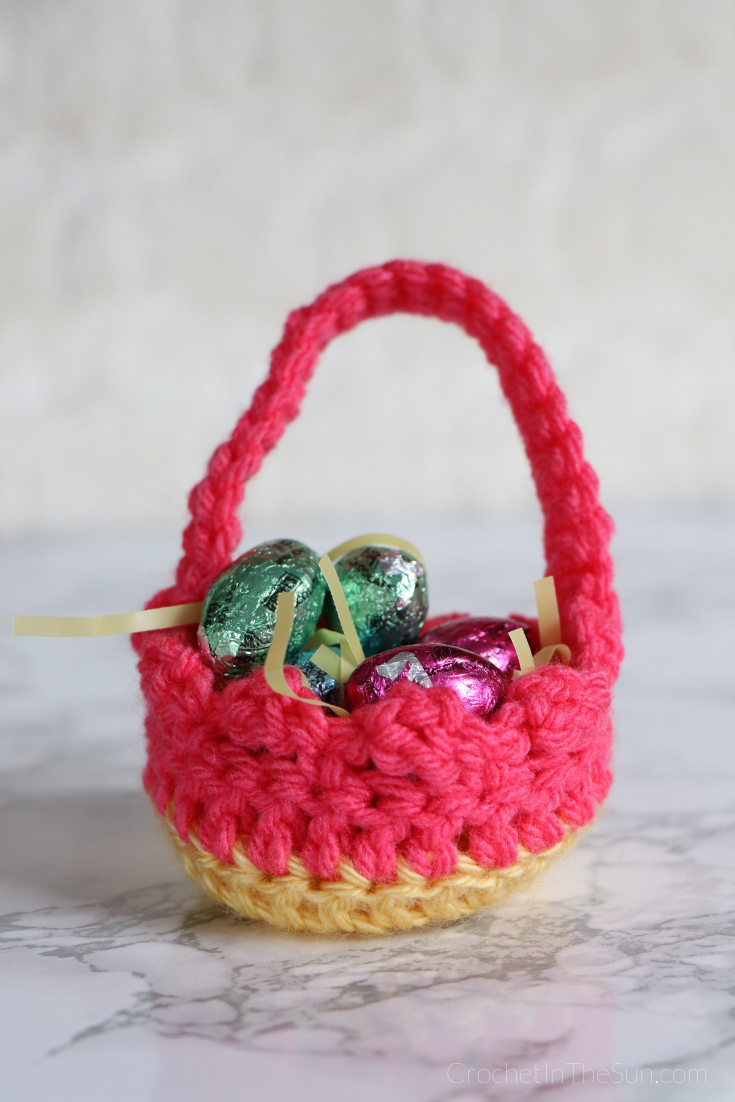
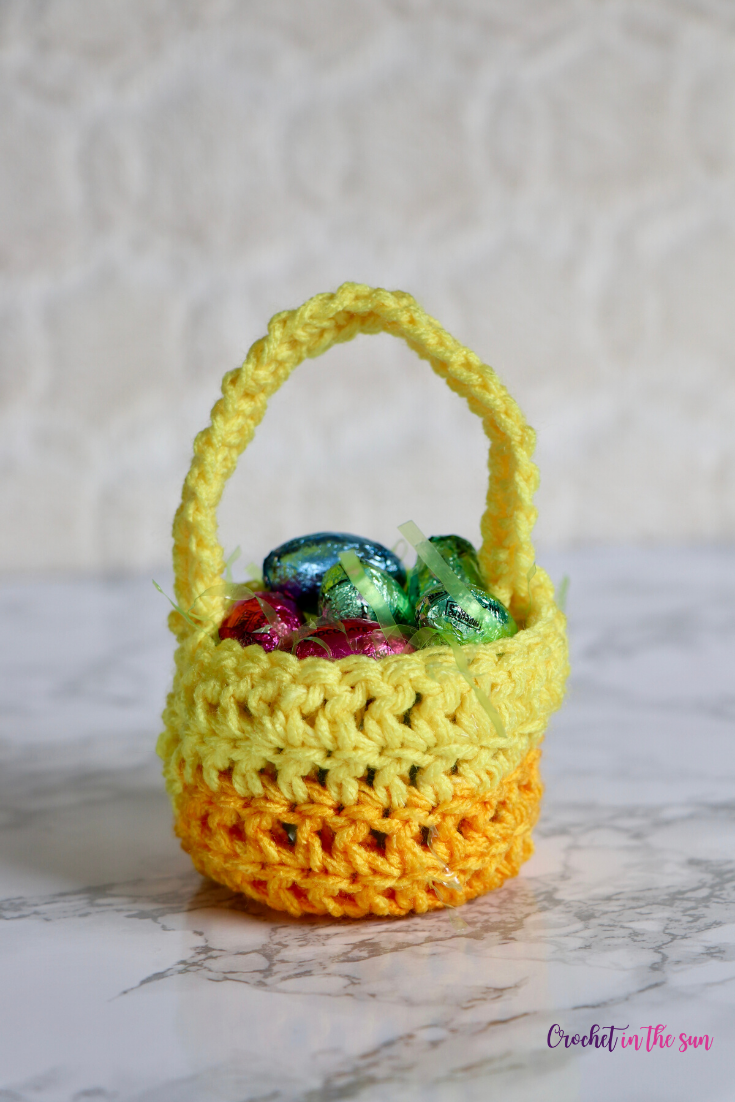
This bright one was made using Caron Simply Soft (in Sunshine) and Loops and Threads (in Arbor Rose). To add this border: repeat *ch 3, 1dc in that first chain, skip 2 stitches, sc in the next stitch.* Try it out! It’s a very versatile and cute border.
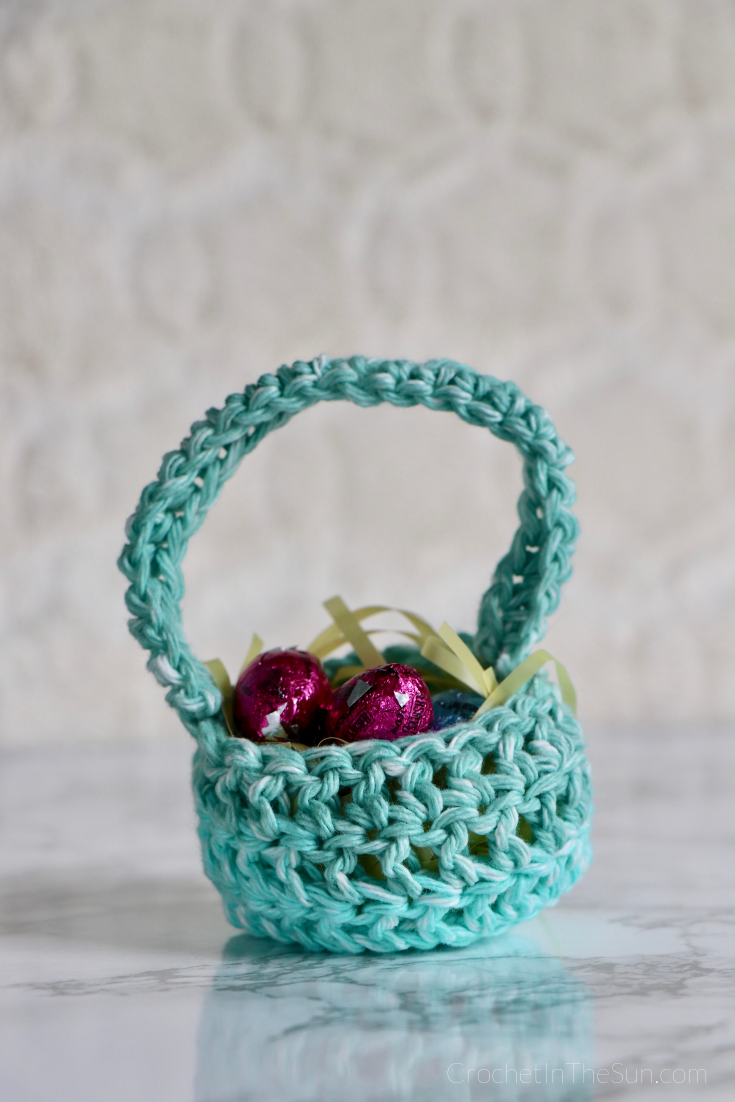
This easter basket was made using Peaches & Creme Cotton yarn in Seaside Stripes. Very simple but I LOVE the color!
Other useful crochet references
- Crochet hook size conversion chart
- Yarn weight conversion chart
- Ultimate Beginner’s Guide to Crochet
Pin for later
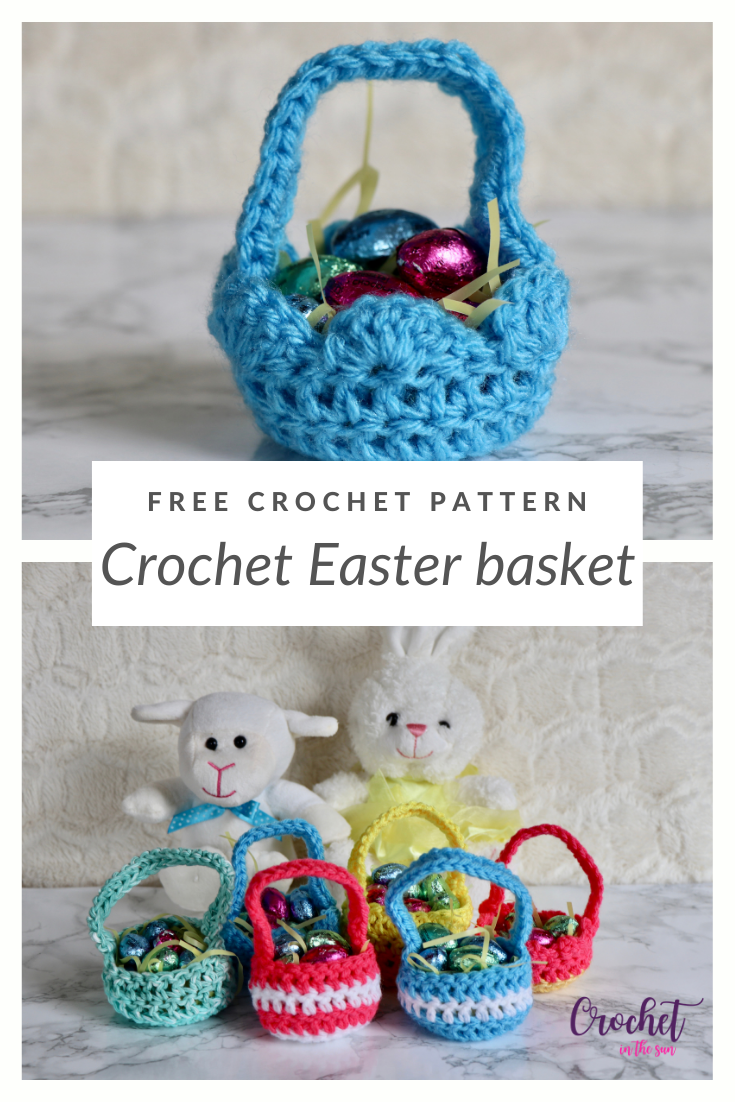
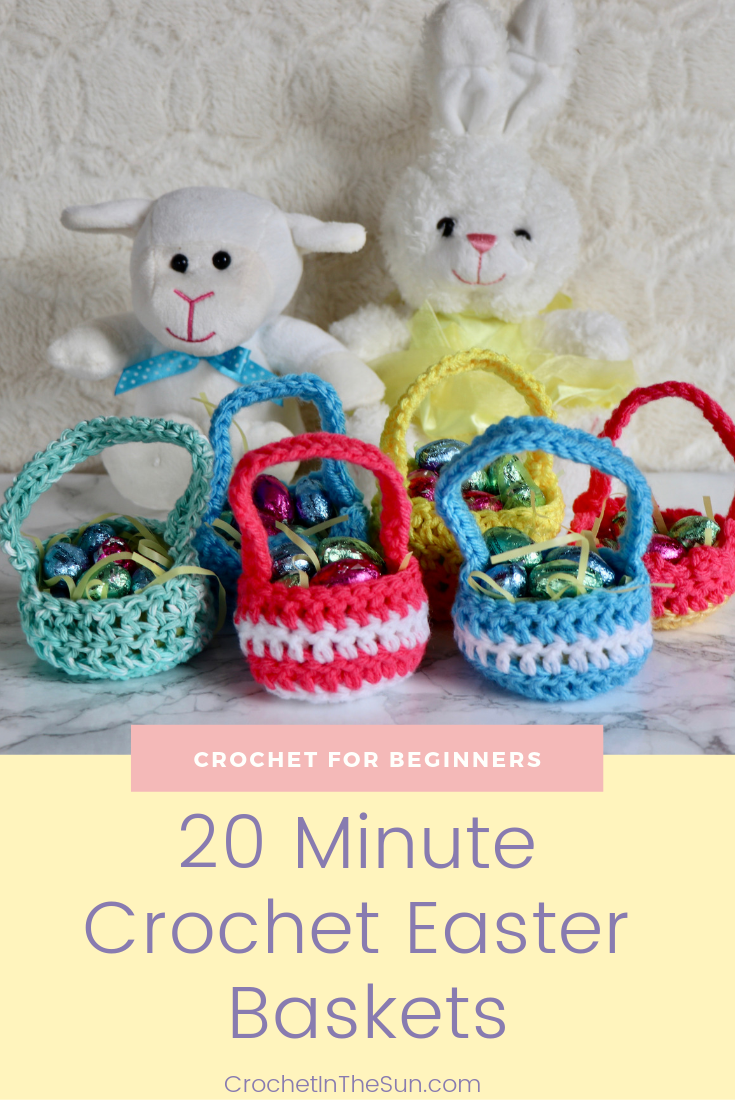
I couldn’t choose between these 2 cute photos! Pin your favorite, or pin both!
Thanks for following along, I hope you enjoyed making these Easter baskets.
If you make one (or more!) and share on social media, go ahead and tag @crochetinthesun. I would love to see them! Also, please link back to my pattern/blog and provide credit for the pattern.
Plus, I would love to share your creation with the crochet community so we can see these beautiful baskets come to life. 🙂
Happy crocheting,
Jennifer
Fantastic pattern!!! Thank you for sharing this. It was well written and easy to do! I made one tonight as a Christmas gift for my great nephew. If I can do this anyone can!
Thanks Shellie!! I’m so happy you like it 🙂
– Jen
Made 12 for Easter…love the pattern…it’s easy and can use alot of variation of colors.
Wish I could attach a photo of them
HAPPY EASTER 🐣
I love this little basket! Was looking for something to make for my grandson’s Prek class for Easter. These were a hit! I made them also for the Sunday School kids at our church and also a few for some special people. They were easy and fun. Thank you. Kim B.