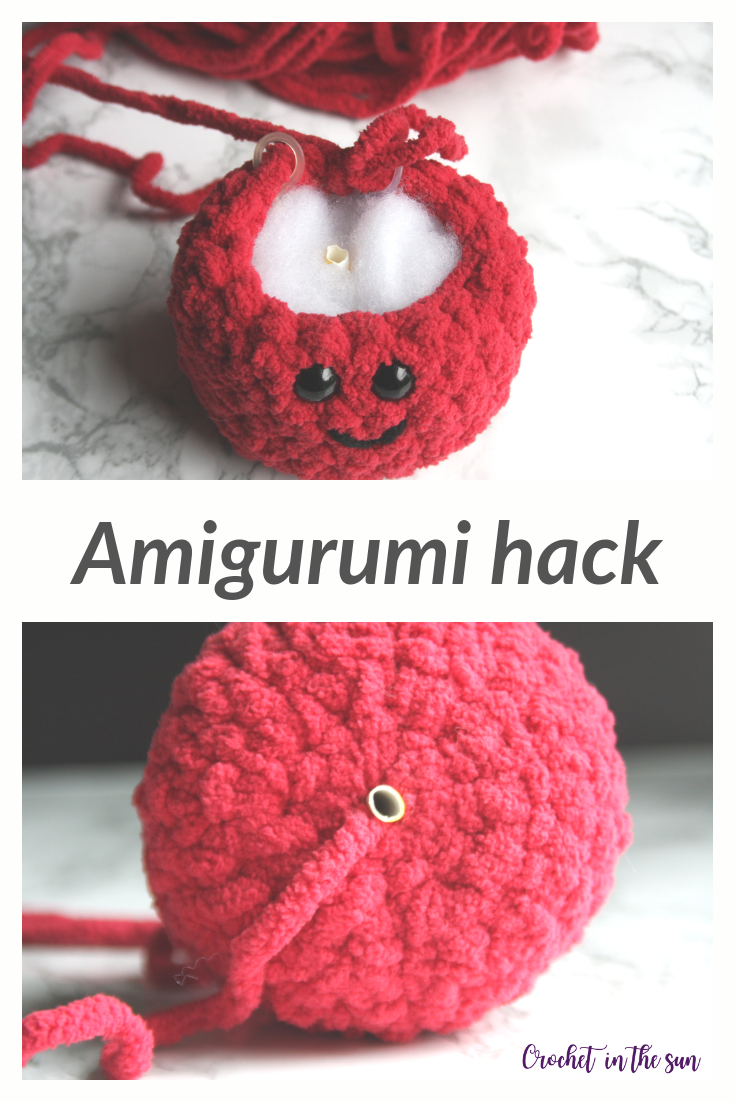
Okay, my (crochet) world has been rocked! I wanted to shout this amigurumi tip from the rooftop to help my fellow crochet friends. However, I thought writing a blog post might be a bit more effective 🙂 Here’s a tip that will forever make your amigurumi projects much easier!
The problem
Have you worked on an amigurumi pattern that requires you to send your needle through the already-stuffed project, only to learn that poly-fill stuffing is a LOT more dense than you may have thought?! Ahh!!
This happened with my Crochet apple project. Once you finish working the body of the apple, the pattern tells you to send the needle through the stuffed apple so it comes out of the bottom of the apple. This is done to create a little indent at the top of the apple.
Oh my goodness, I was working up a sweat trying to get the yarn needle through the stuffing. I wriggled the needle around to try different angles, tried to separate the stuffing a bit… I even got super resourceful, and used a (clean) sock to help push the needle through (the sock was a cushion, allowing me to push the needle even harder). Did that work? No…. It put a hole in the sock!! So obviously I was pushing hard enough, but it wasn’t doing the trick.
The solution (light bulb moment)
Then my genius husband walked into the room, saw my struggle, and offered a simple yet brilliant idea…USE A STRAW! He suggested I use a straw as a a tunnel through the stuffing, so the needle could easily find its way to the other side. Of course!!! Thanks babe 😉
I grabbed a paper straw from my party supply bin and got working.
Supplies
- Paper straw (or plastic straw)
- Scissors (how cute are these?)
- The end tail of your working yarn. This shows Bernat Blanket Brights in Race Car Red

Disclaimer: Before you go out and buy a pack of straws, please check your drawers, as you may have some laying around!! If you’re like me, you might have a bag of plastic utensils and straws saved from take-out meals. So check that first. I try to be kind to the environment, but re-usable straws unfortunately won’t work for this! Therefore try and see what you have before buying more disposable straws. The earth will thank you 🙂
Directions
- Cut the straw to be roughly the same height as your finished project. For my apple, that was ~2 inches.

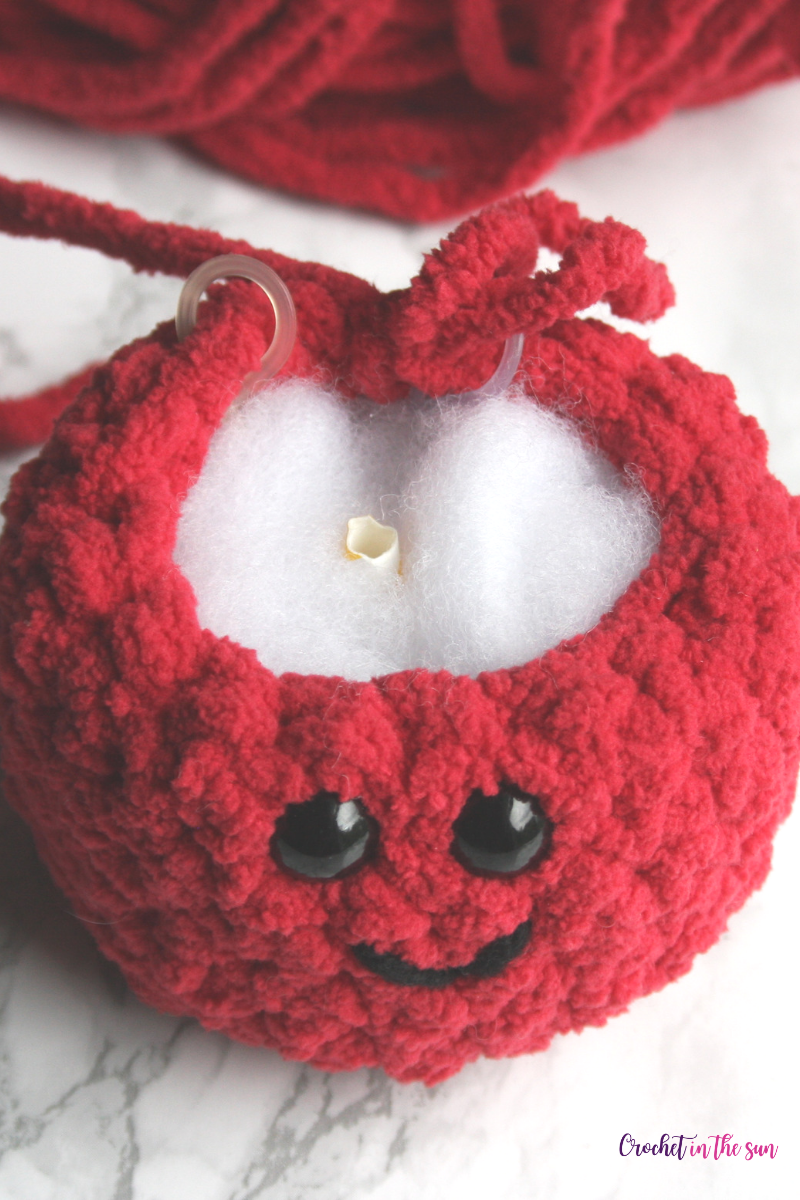
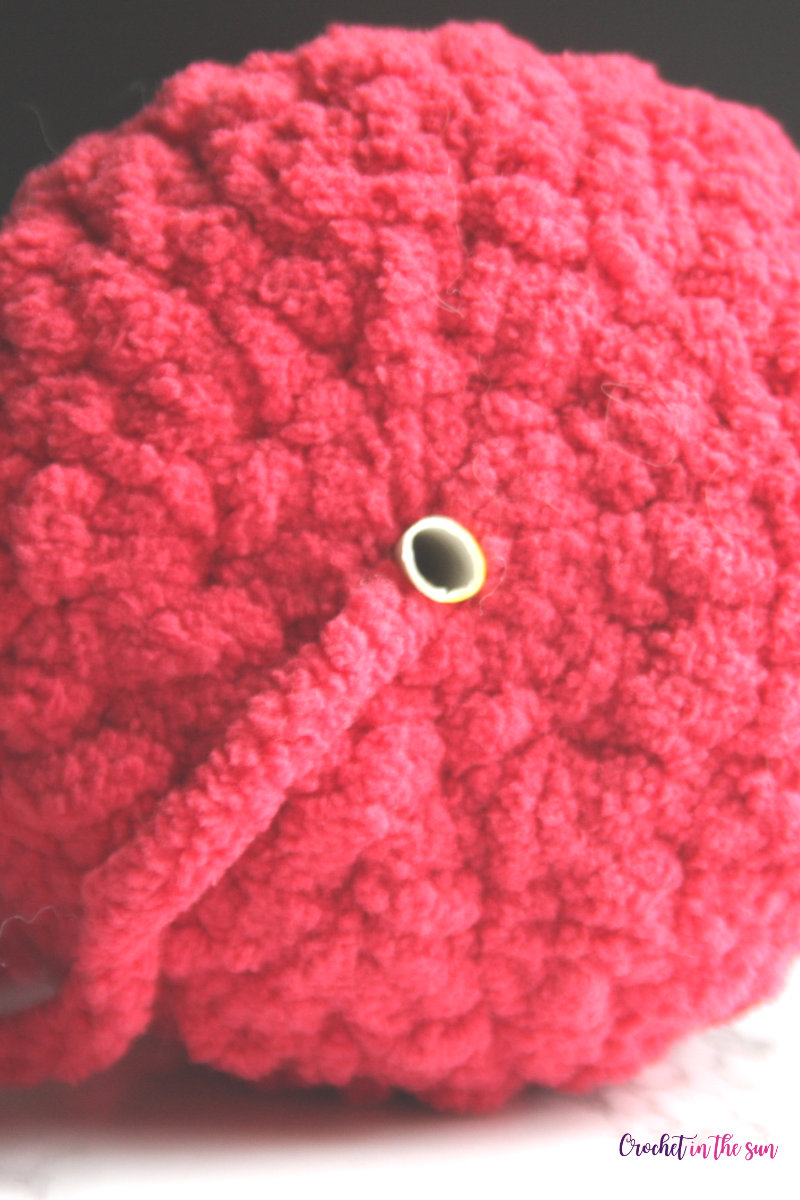
- When you begin to stuff your amigurumi with poly-fill, put the straw in the center. You will have to hold it in place, stuffing around it. I also learned that sticking the straw through the hole at the bottom (where you will most likely have a magic circle) will help stabilize the straw, so it won’t move as much when you are stuffing.

- When its time to put the last layer of stuffing in and close up the top of your amigurmi, make sure you can still feel the top of the straw so you know it hasn’t completely fallen to the side.

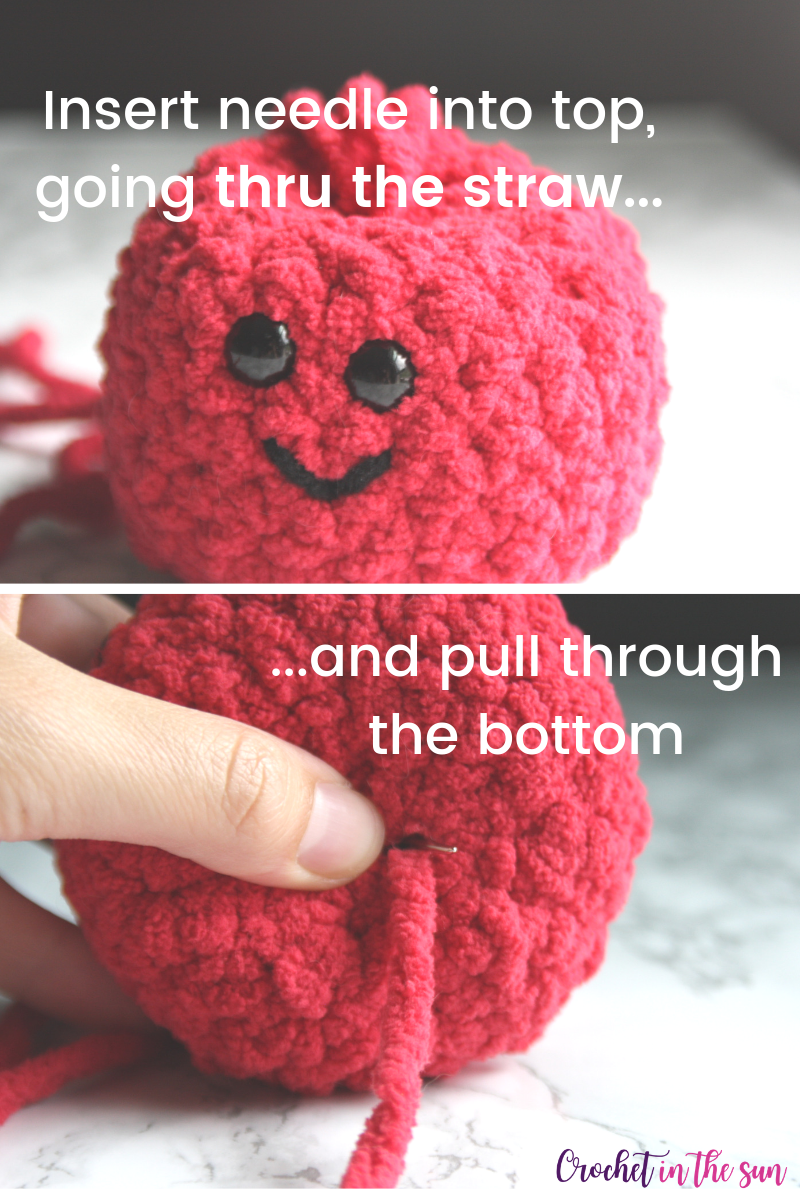
- Finally, insert your needle through the top of your amigurumi and into the straw (this may take a couple tries). Push the needle until it comes the other end, peaking through the straw. Grab the needle and pull it through. Yahoo!!!!
- From there, weave in your ends to secure unless your patterns suggests otherwise.
Thanks for following along. I really hope this amigurumi tip helps you as much as it helped me!!
Pin for later

Happy crocheting,
Jen

That is a 👍👍 idea , I had the same problem as your…some time I used an forceps to help, beside the needle broke too
I’m so happy this helped! 🙂