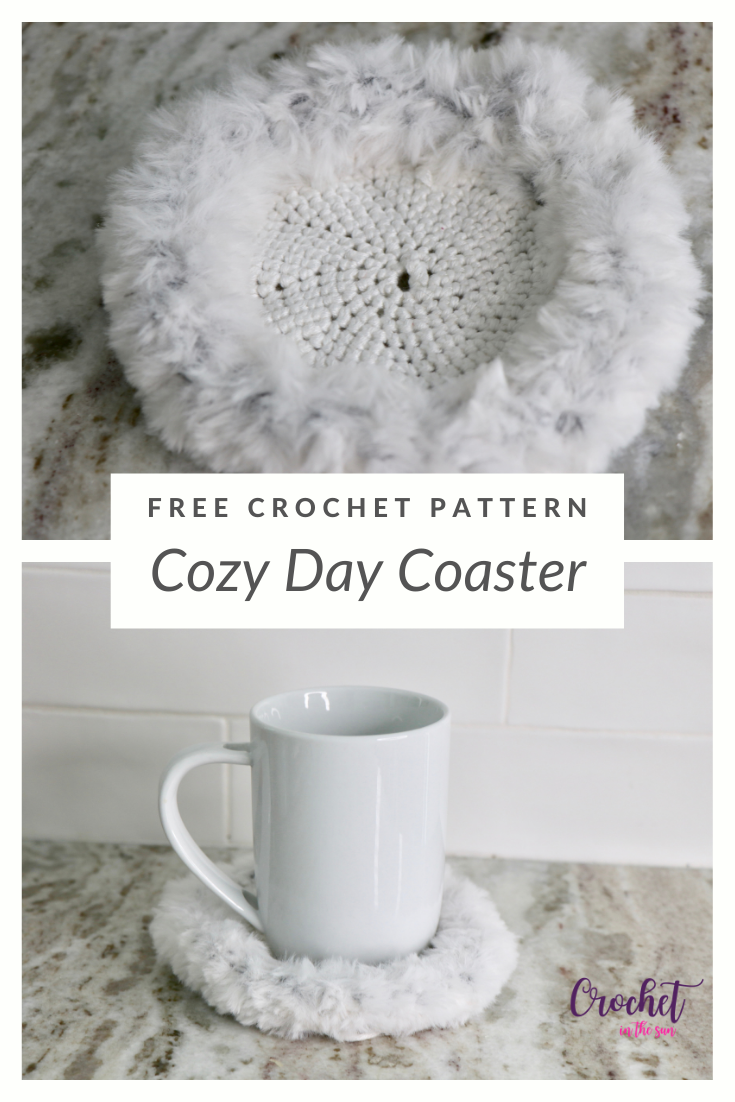
Looking for a crochet pattern that is super easy, quick, but also super functional? Say hello to the Cozy Day crochet coaster pattern! You can whip up a coaster in 30 minutes, so you can easily finish your project in one sitting. Grab some yarn and lets get coastin! (ohhh bad mom joke).
Skill Level
Easy
If you don’t know how to crochet, or maybe just want to brush up on the basics, we have a great resource for you!
Hop over to the Ultimate Beginner’s Guide to Crochet. This breaks down the basics of what you need to learn, in what order, and link you directly to some great resources! And best of all, it’s free! Enjoy 🙂
Materials
- Lion Brand Truboo yarn (or any light-3 / 8 ply / DK yarn)
- Lion Brand Go For Faux Thick & Quick (I used Chinchilla colorway)
- 4mm hook (US G-6). Above is the one I used from my Clover hook set
- 10mm hook (US N-15). This is used for the border only
- Yarn needle and scissors
Stitches (US Terms)
- chain (ch)
- slip stitch (sl st)
- single crochet (sc)
If needed, refer to my Beginner’s Guide to crochet. Those stitch tutorials will walk you through how to complete the above stitches. If you need to convert from US to UK terms, have a look at this chart.
Finished measurement
6 inches in diameter (not blocked) including the faux fur border
Useful crochet resources
- Crochet hook size conversion chart
- Yarn weight conversion chart
- Stitch conversation chart (US vs UK)
- Ultimate Beginner’s Guide to Crochet
Pattern Notes
- This is a circle with no joins or chains after each round. Rather it’s a spiral, so use a stitch marker to keep track of the rounds. Keep the stitch marker in the last stitch of each round, and keep replacing it as you work through the rounds.
- If you’re having a hard time identifying the stitches in the coaster, turn your work on its side and look at the v’s in the top. Sometimes it’s easier to see ‘tops’ of the stitches, rather than looking for the stitches themselves.
- To make the coaster smaller, stop after the desired round.
- To make the coaster bigger, keep following the pattern e.g. round 10 would be *2sc in st, sc in the next 8 st*. It keeps increasing in that consistent pattern
- Which side? After you finish the coaster, flip it upside down! You’ll notice a pretty ‘wave’ effect. You can choose which side you like facing up before you start the border.
- This pattern doesn’t call for color changes, but if you wanted to, you would change colors in the last <yarn over, pull through> during the last sc in the round.
Pattern
- Get the inexpensive ad-free PDF printable from my Etsy Shop
- Pin this pattern to your Pinterest Boards
- Add this project to your Ravelry queue
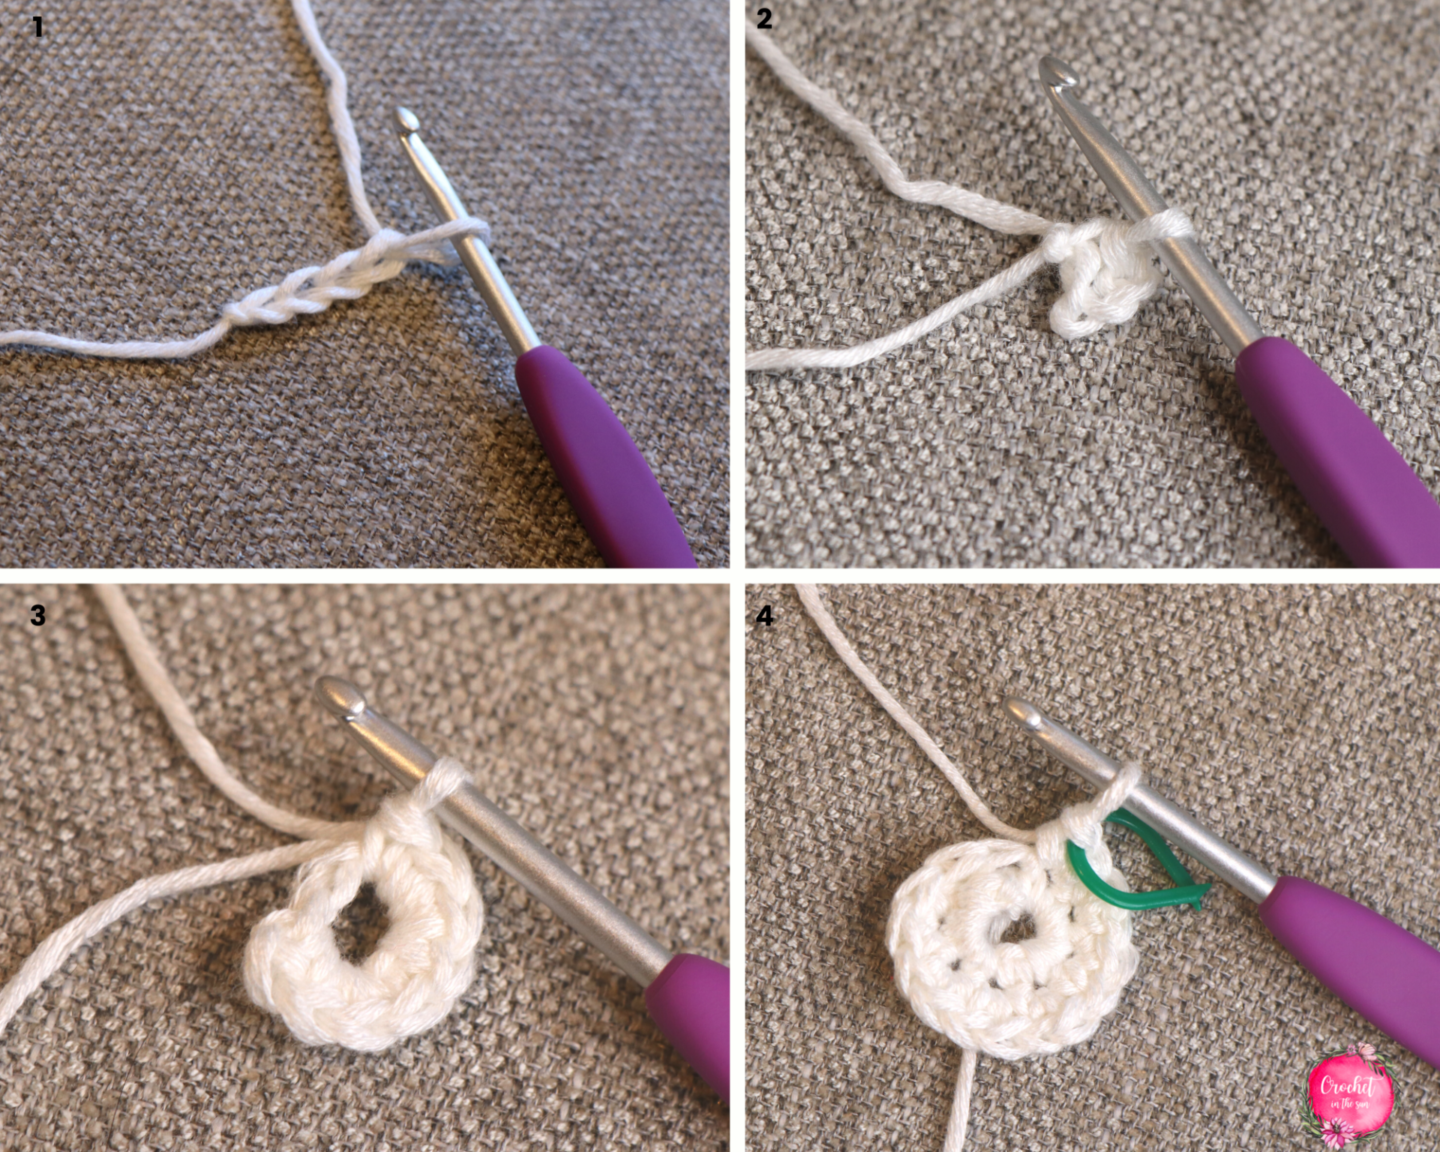
- To start: Chain 4, sl st to first chain
- Round 1: ch1, sc 8 into the hole created. Add stitch marker into the last sc made so you can easily keep track of the rounds!
- Round 2: 2sc in each sc (16). Remember, DON’T chain up. Pssst, make sure you remove the stitch marker as you go and replace it back into the last sc of the round.
- Round 3: repeat *2sc in st, sc in the next st* (24)
- Round 4: repeat *2sc in st, sc in the next 2 st* (32)
- Round 5: repeat *2sc in st, sc in the next 3 st * (40)
- Round 6: repeat *2sc in st, sc in the next 4 st* (48)
- Round 7: repeat *2sc in st, sc in the next 5 st* (56)
- Round 8: repeat *2sc in st, sc in the next 6 st* (64)
- Round 9: repeat *2sc in st, sc in the next 7 st* (72).
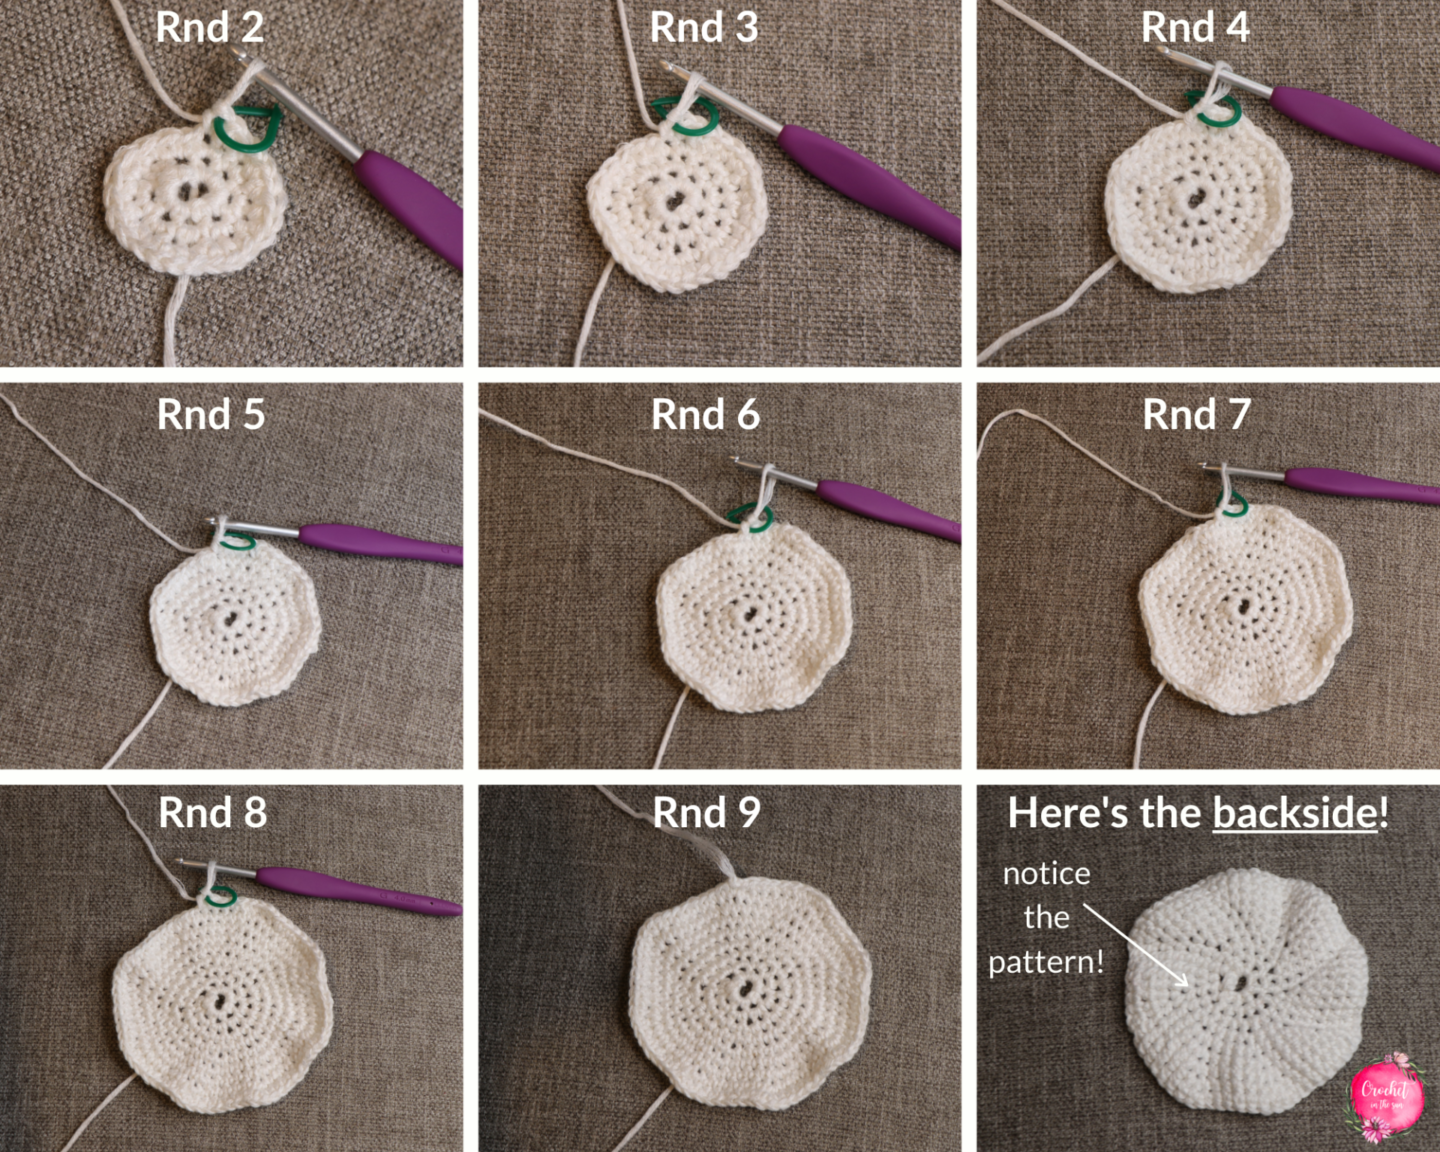
- To finish without a border: sl st (slip stitch) into the next 1-2 stitches to even out the edge. Fasten off and weave in the ends.
- To get ready for the “go for faux” border, don’t fasten off…
Border
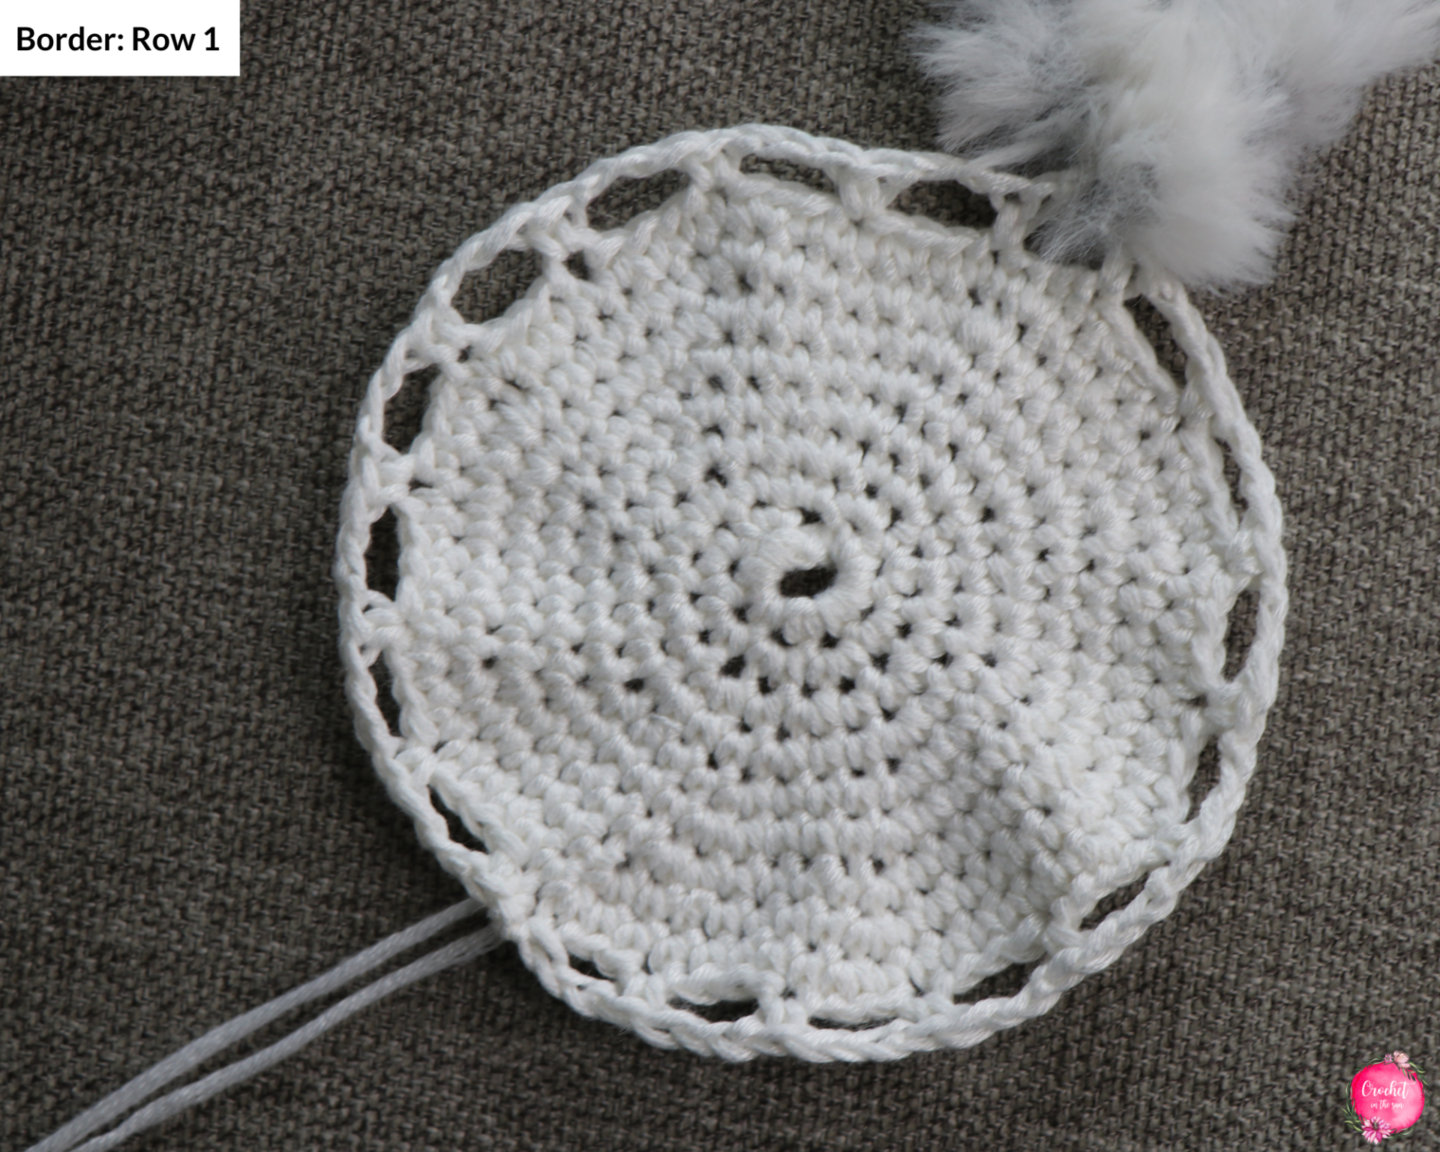
Since the Go For Faux is a jumbo yarn, we need to make a much bigger space where we can work the upcoming stitches. To do this, we will work a version of (chain 3 + sc) repeats all around to give us a big ‘ch3sp’ or chain 3 space.
- Border Row 1: (chain 3, skip 3 st, sc into next st). Repeat this all around. Sl st to 1st st of the row. Fasten off and weave in the ends.
- Reminder, before you move on, check out both sides of the coaster to see which side you want to be facing up. (Each side has a distinct pattern!) You’ll want to work the border with the desired side facing up, because the border ends up creating a little “nest” for the coaster.
- Border Row 2: Attach the jumbo border yarn in any ch3 space (see tip below). (sc into ch3sp, ch1). Repeat all the way around. Sl st into 1st stitch of row.
- Tip: To attach yarn, use hook to pull through any ch3sp and tie a knot. Pull up a loop (which means, insert hook into ch3sp, yarn over, and pull through.
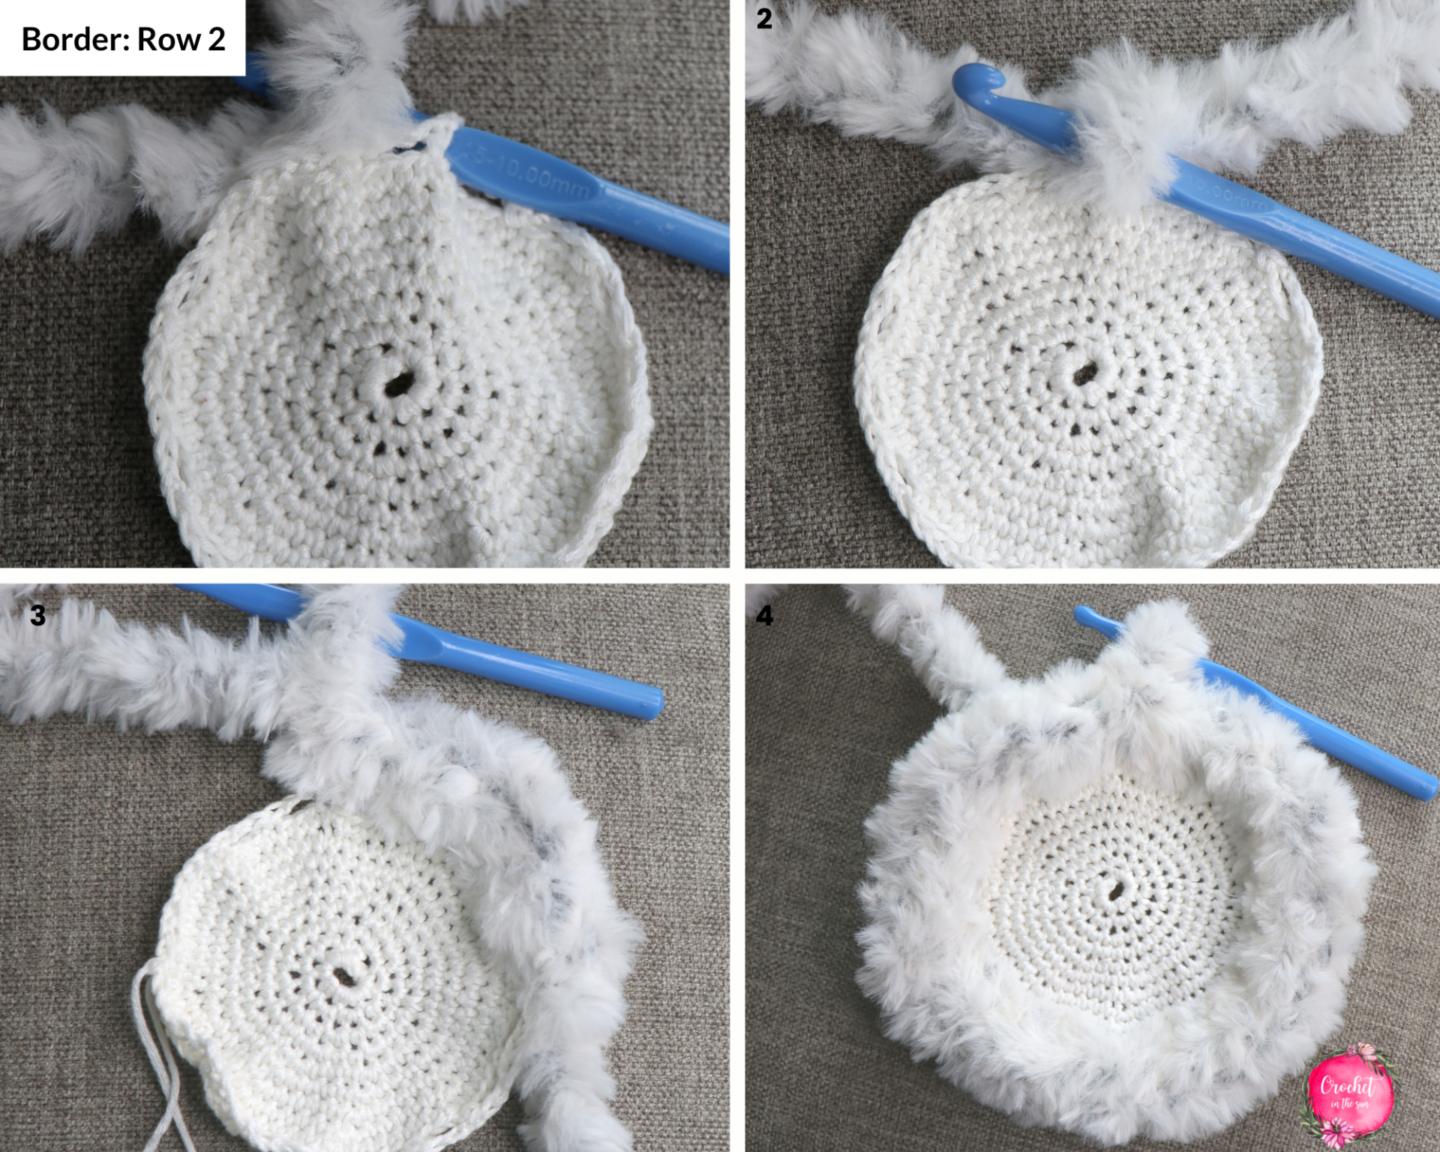
- Fasten off. To weave in the ends, since this yarn is so big, I used my hook to pull the yarn through to the backside for a couple stitches, rather than the typical weaving the yarn through multiple stitches. I did this because it wouldn’t unevenly “fluff” up the border quite as much.
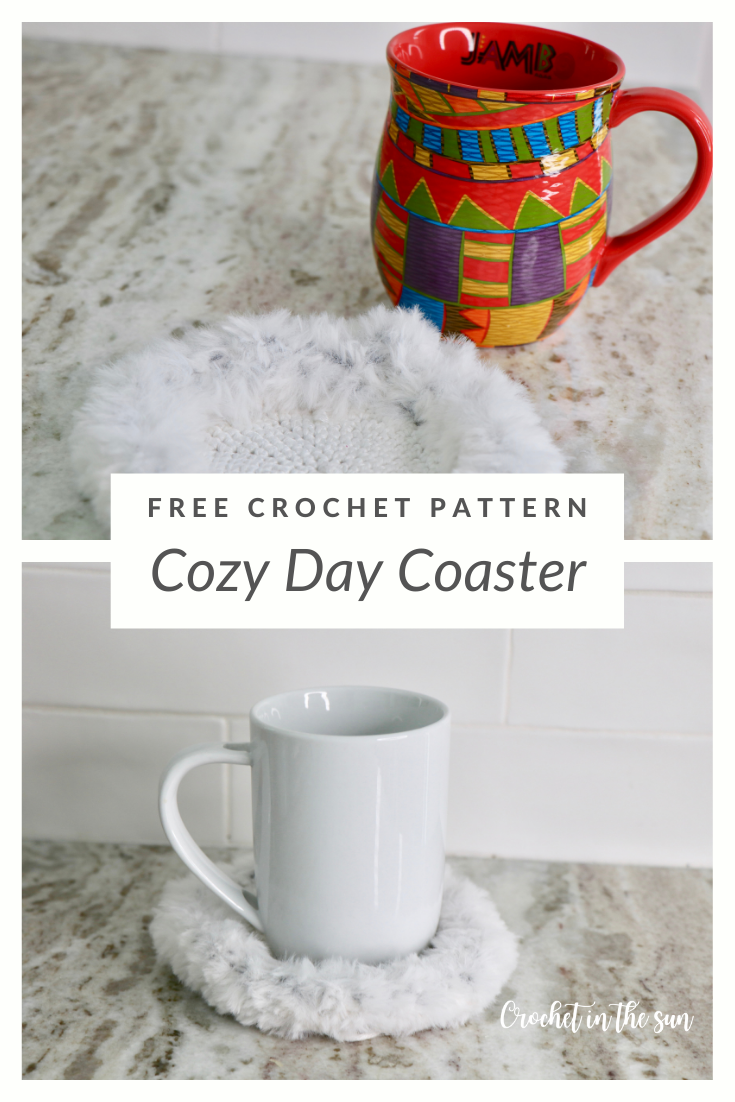
That’s it. You’re done! Isn’t that a quick and beautiful crochet project! 🙂
Thanks for following along, I hope you enjoyed making the Cozy Day coaster. If you make one (or more!) and share on social media, I would love to see them! Also, please link back to my blog and provide credit for the pattern. Also, tag @crochetinthesun so we can see these pretty coasters come to life. Plus, I would love to share your creation with the crochet community!
Happy crocheting,
Jennifer

Pin for later
Love making crochet coasters? Check out this Easy Crochet Coaster pattern
