
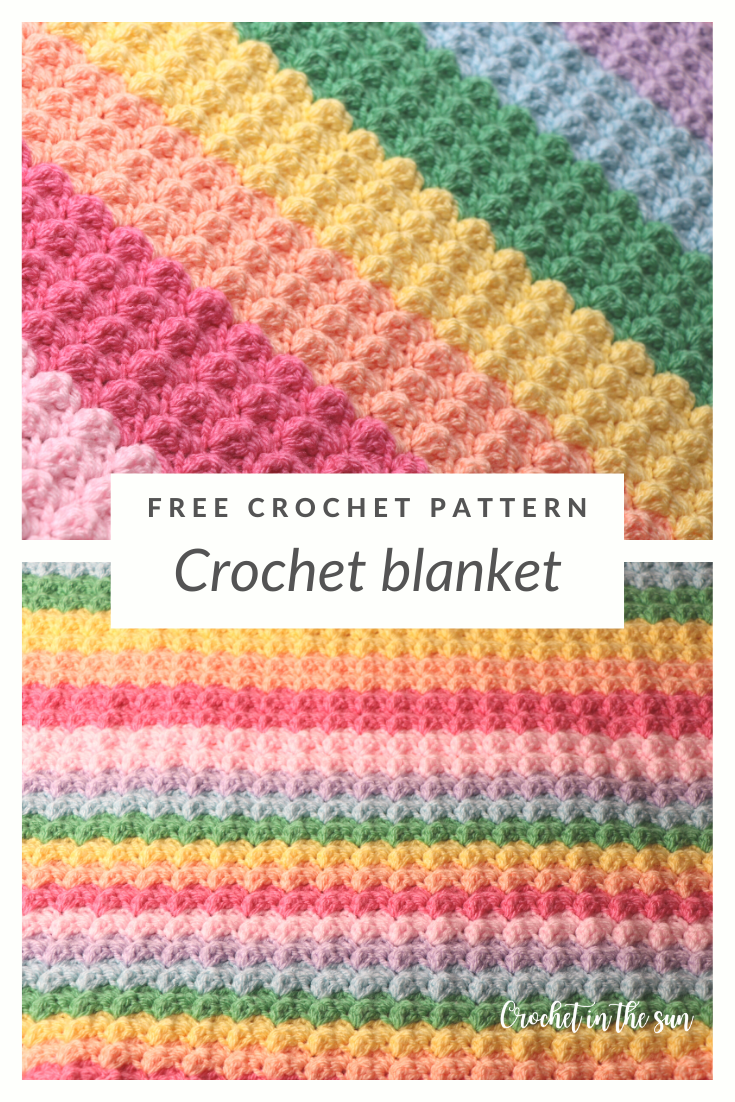
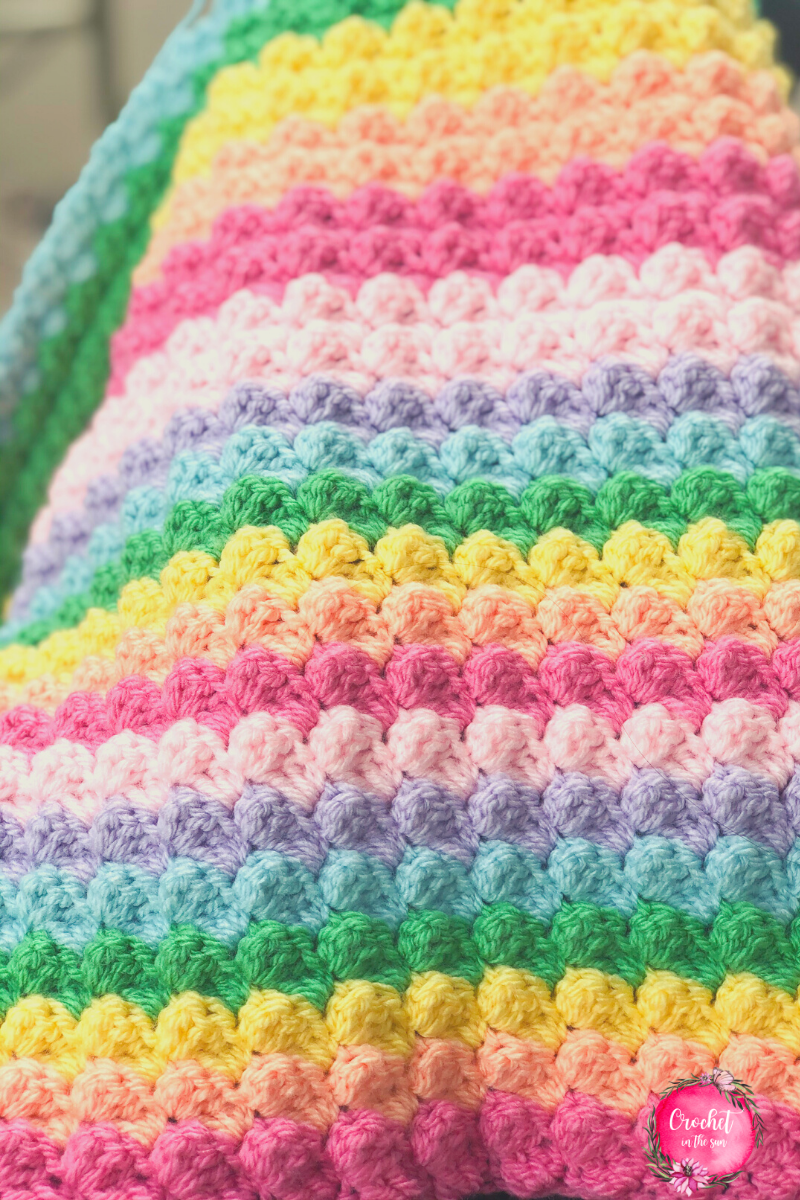
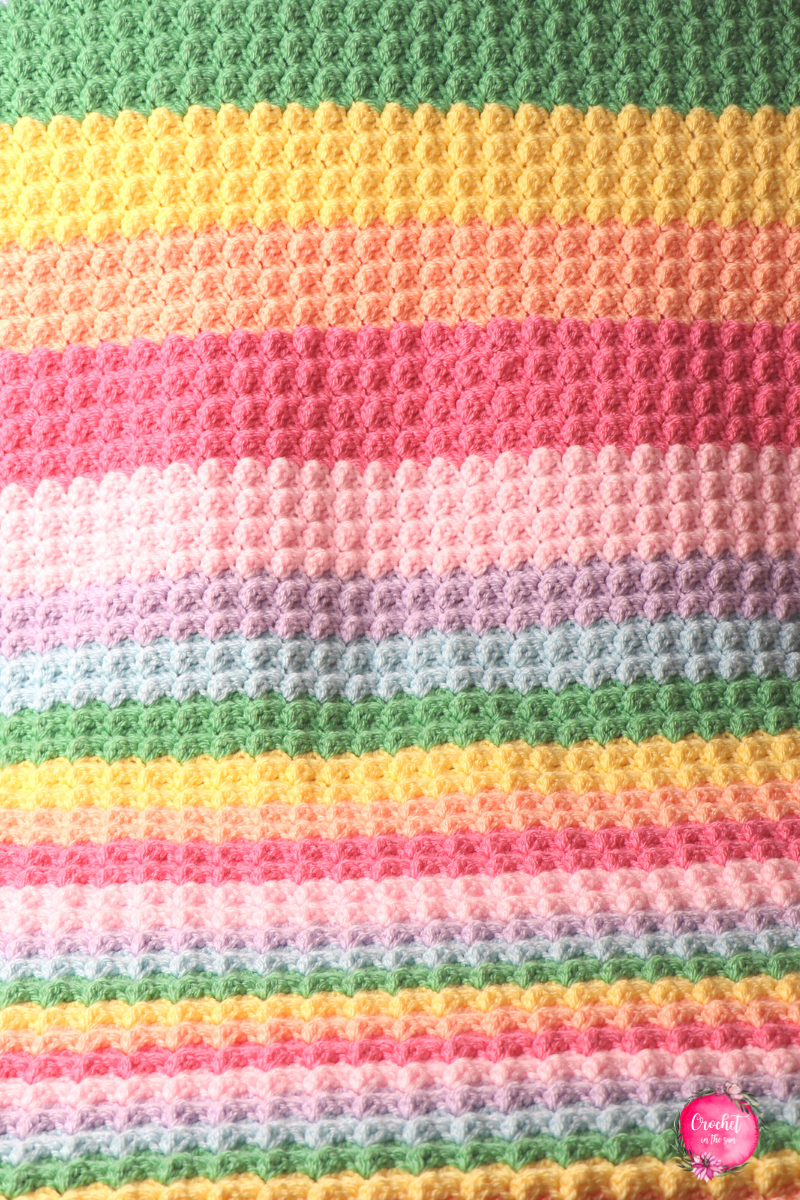
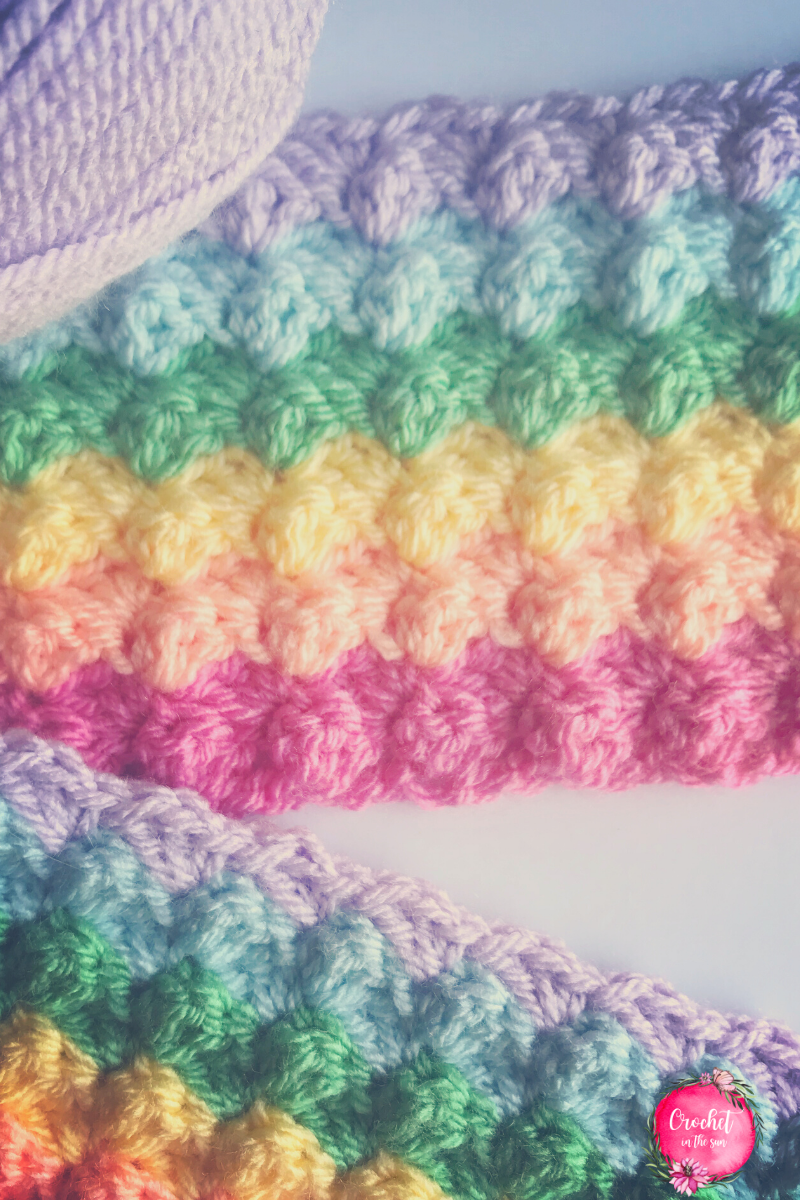
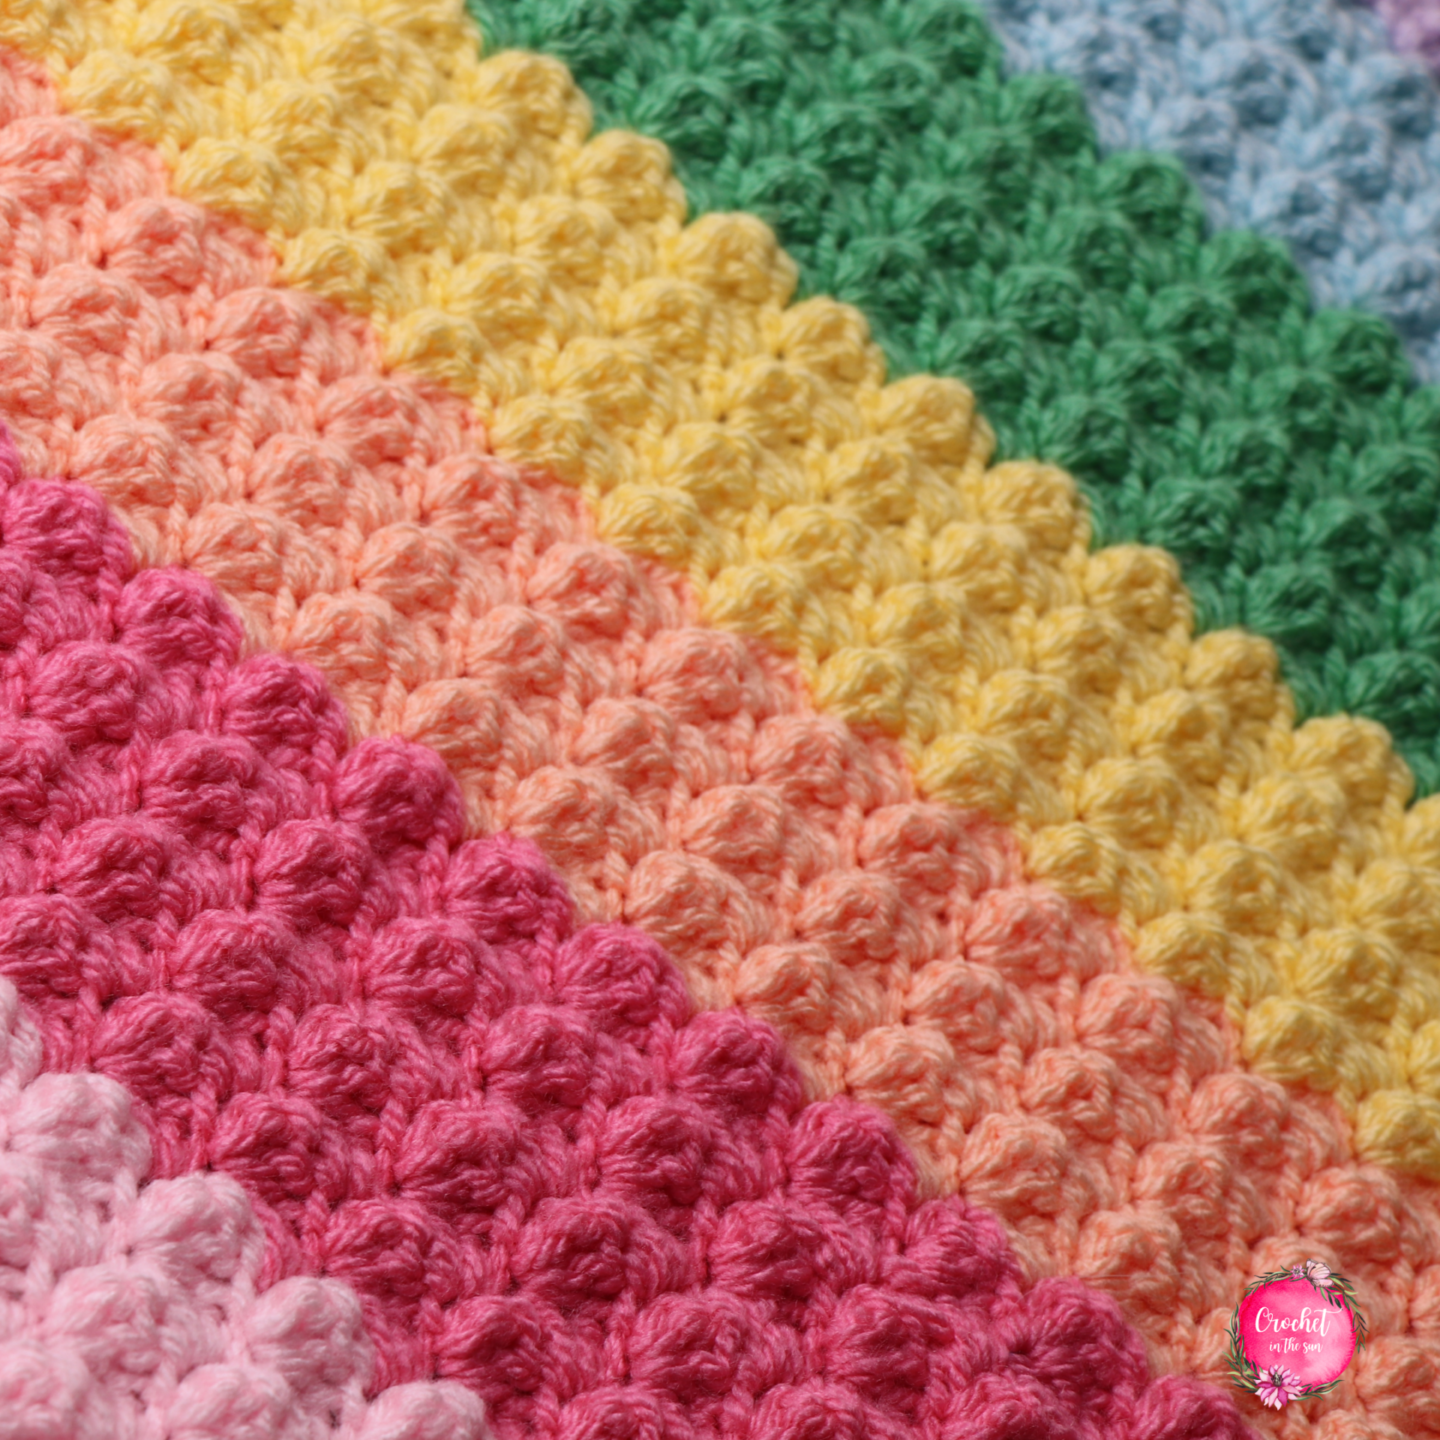
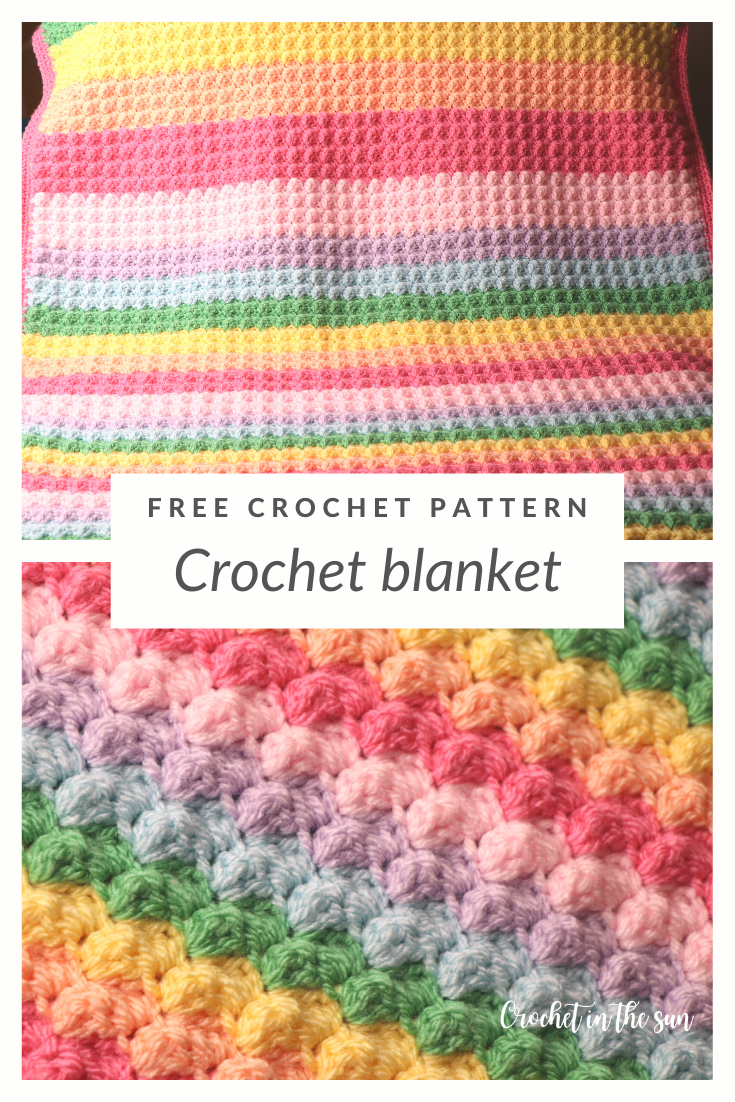
Yay for more rainbow crochet projects! This free and easy rainbow crochet blanket pattern is full of color, and the “clusters” add a great texture to the blanket. The Positive Vibes Rainbow was a big hit, and I hope you’ll love this colorful blanket too!
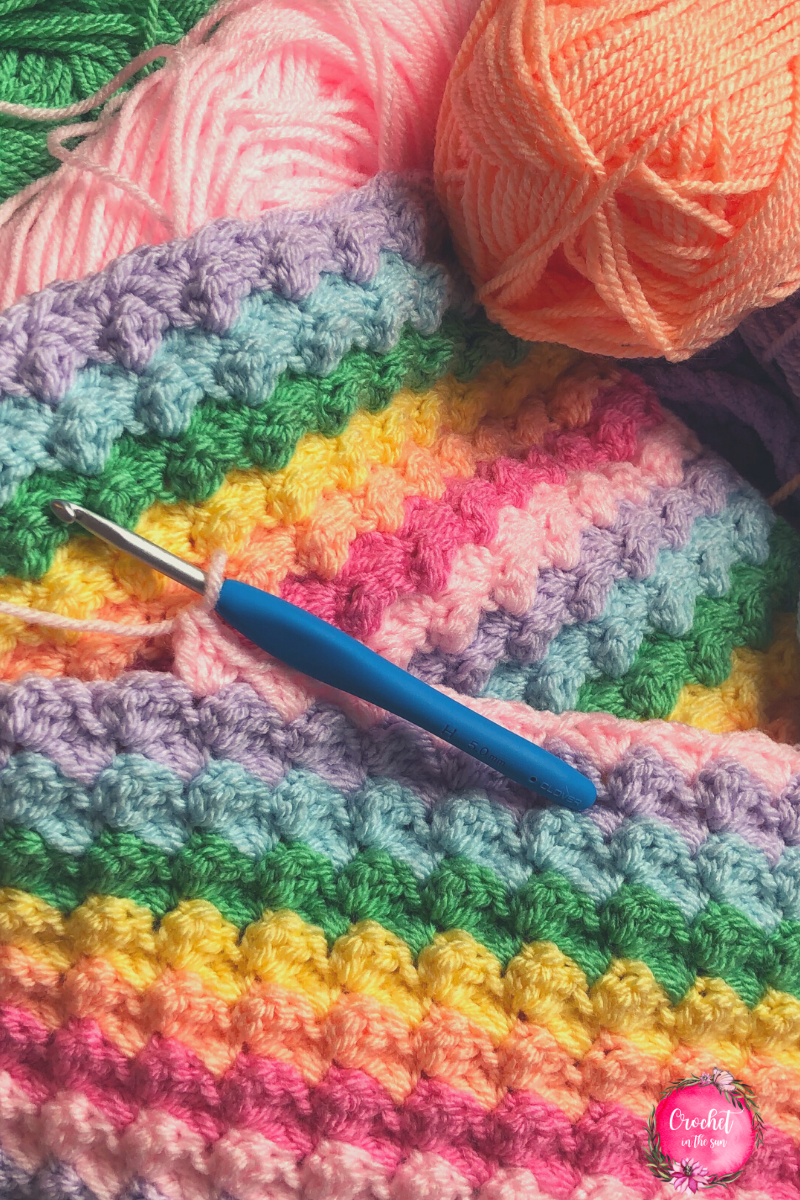
I’ve always been drawn to crochet blankets that feature all colors of the rainbow. It’s such bright and cheery vibe. I was lucky enough to receive a huge box full of Paintbox Simply Aran skeins in various colors for my birthday/Mother’s Day. After I opened the box of yarn, I told my husband and kids I knew exactly what I was going to make with it!
And so we have, the “Brighten My Day” blanket 🙂
Pattern features
This blanket has a gorgeous texture to it, and is reversible. You turn after each row, but there is no right side/wrong side.
Splash of color
Isn’t it so fun to plan out the colors for your projects?!
With this blanket, you might choose soft pastels, rich vibrant colors, or maybe you want to use just 1 color. The beauty of this – is there is no right or wrong answer. Go with your gut 🙂

Beginner friendly
This crochet blanket is great for beginners because the entire pattern is an easy 1-row repeat. It’s definitely a project you can put down and come back to without worrying where you left off or what count you’re on.
I do love intricate projects that require lots of counting, but it’s always nice to have a go-to project on standby that you can work on when you’re watching tv, chatting, or maybe just when you only have a couple minutes to work on a row or 2.
Skill level
Easy
Note: If you don’t know how to crochet, or maybe just want to brush up on the basics, we have a great resource for you!
Hop over to the Ultimate Beginner’s Guide to Crochet. This breaks down the basics of what you need to learn, in what order, and link you directly to some great resources! And best of all, it’s free! Enjoy 🙂
Yarn
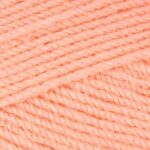
All colors are Paintbox Simply Aran, except the last color is Red Heart Yarn.
All of the yarn used here can be picked up online at Lovecrafts:

You will need 1 skein of each color, except Bubblegum Pink – you will need 2 skeins because the border is worked in that color.
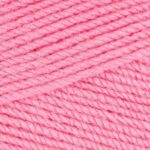

- Bubblegum Pink
- Peach Orange
- Daffodil Yellow
- Spearmint Green
- Washed Teal
- Dusty Rose
- Red Heart Super Saver in Baby Pink
Materials


- 5mm crochet hook (US H-8). Above is the one I used from my Clover hook set
- Tapestry needle (a blunt needle)
- Scissors
Stitches (US terms)
- double crochet (dc)
- single crochet (sc)
- chain (ch)
- slip stitch (sl st)
If needed, refer to my Beginner’s Guide to crochet. Those stitch tutorials will walk you through how to complete the above stitches. If you need to convert from US to UK terms, have a look at this chart.
Gauge
4 x 4 inches = 5 sets of (sc, 2dc) across x 12 rows tall
Finished measurement
32 inches wide x 38 inches tall (not blocked)
Useful crochet resources
- Crochet hook size conversion chart
- Yarn weight conversion chart
- Ultimate Beginner’s Guide to Crochet
Pattern Notes
- If you want to make the blanket narrower or wider, adjust the starting chain count. Just make sure your starting chain is a <multiple of 3> + 2. (e.g. 6+2, 9+2, 12+2, 15+2). In case you’re wondering why:
- Multiple of 3: This is because the stitch repeat covers 3 chains. You skip 2 chains + work your (sc, 2dc) into 1 chain.
- Plus 2: We skip 1 chain and work our first set of stitches into the 2nd chain at the very beginning of row 2. That accounts for 2 chains.
- Color changes occur as you finish an even row.
- Change colors as you finish the last sc of the row. Alternatively, you can fasten off and pull through in the old color, then attach the new color by tying the yarn around the stitch you will be working on.
Changing colors in crochet
In general, when you want to change colors in crochet, the instructions are:
On your last stitch of the current row, complete all the steps until the very last yarn over. When you are about to yarn over and pull through for the last time, yarn over and pull through with the NEW color yarn. You then have the new color on your hook.
Once you yarn over and pull through with the new yarn, drop the old yarn. Turn your work and begin working on the next row. Alternatively, you can fasten off and pull through in the old color, then attach the new color by tying the yarn around the stitch you will be working on.
In this blanket specifically, the last stitch of each row is always that last single crochet (sc).
Carrying your yarn
Depending on how often you change colors in this blanket, consider carrying your yarn up the side.
When I say carry your yarn, this means rather than fasten off (cut your yarn) after each color change, just let the old color fall to the side and pick up the new color. That old yarn will remain on the side until you’re ready to carry that color up the side again to start another row in that color. (Yes, the yarn can get a bit tangled if you have many colors, but it’s not so bad).
Tip: When you carry your yarn up, make sure you don’t pull it too tight, else the blanket will pucker. On the flip side, don’t leave too much slack as it might bulge a bit when you work the border over it.
Alternatively, if you don’t want to carry your yarn, you can always cut your yarn and weave in the ends. Whatever works best for you!
Pattern
- Get the inexpensive ad-free PDF printable from my Etsy Shop
- Pin this pattern to your Pinterest Boards
- Add this project to your Ravelry queue
- Buy directly below using Shopify
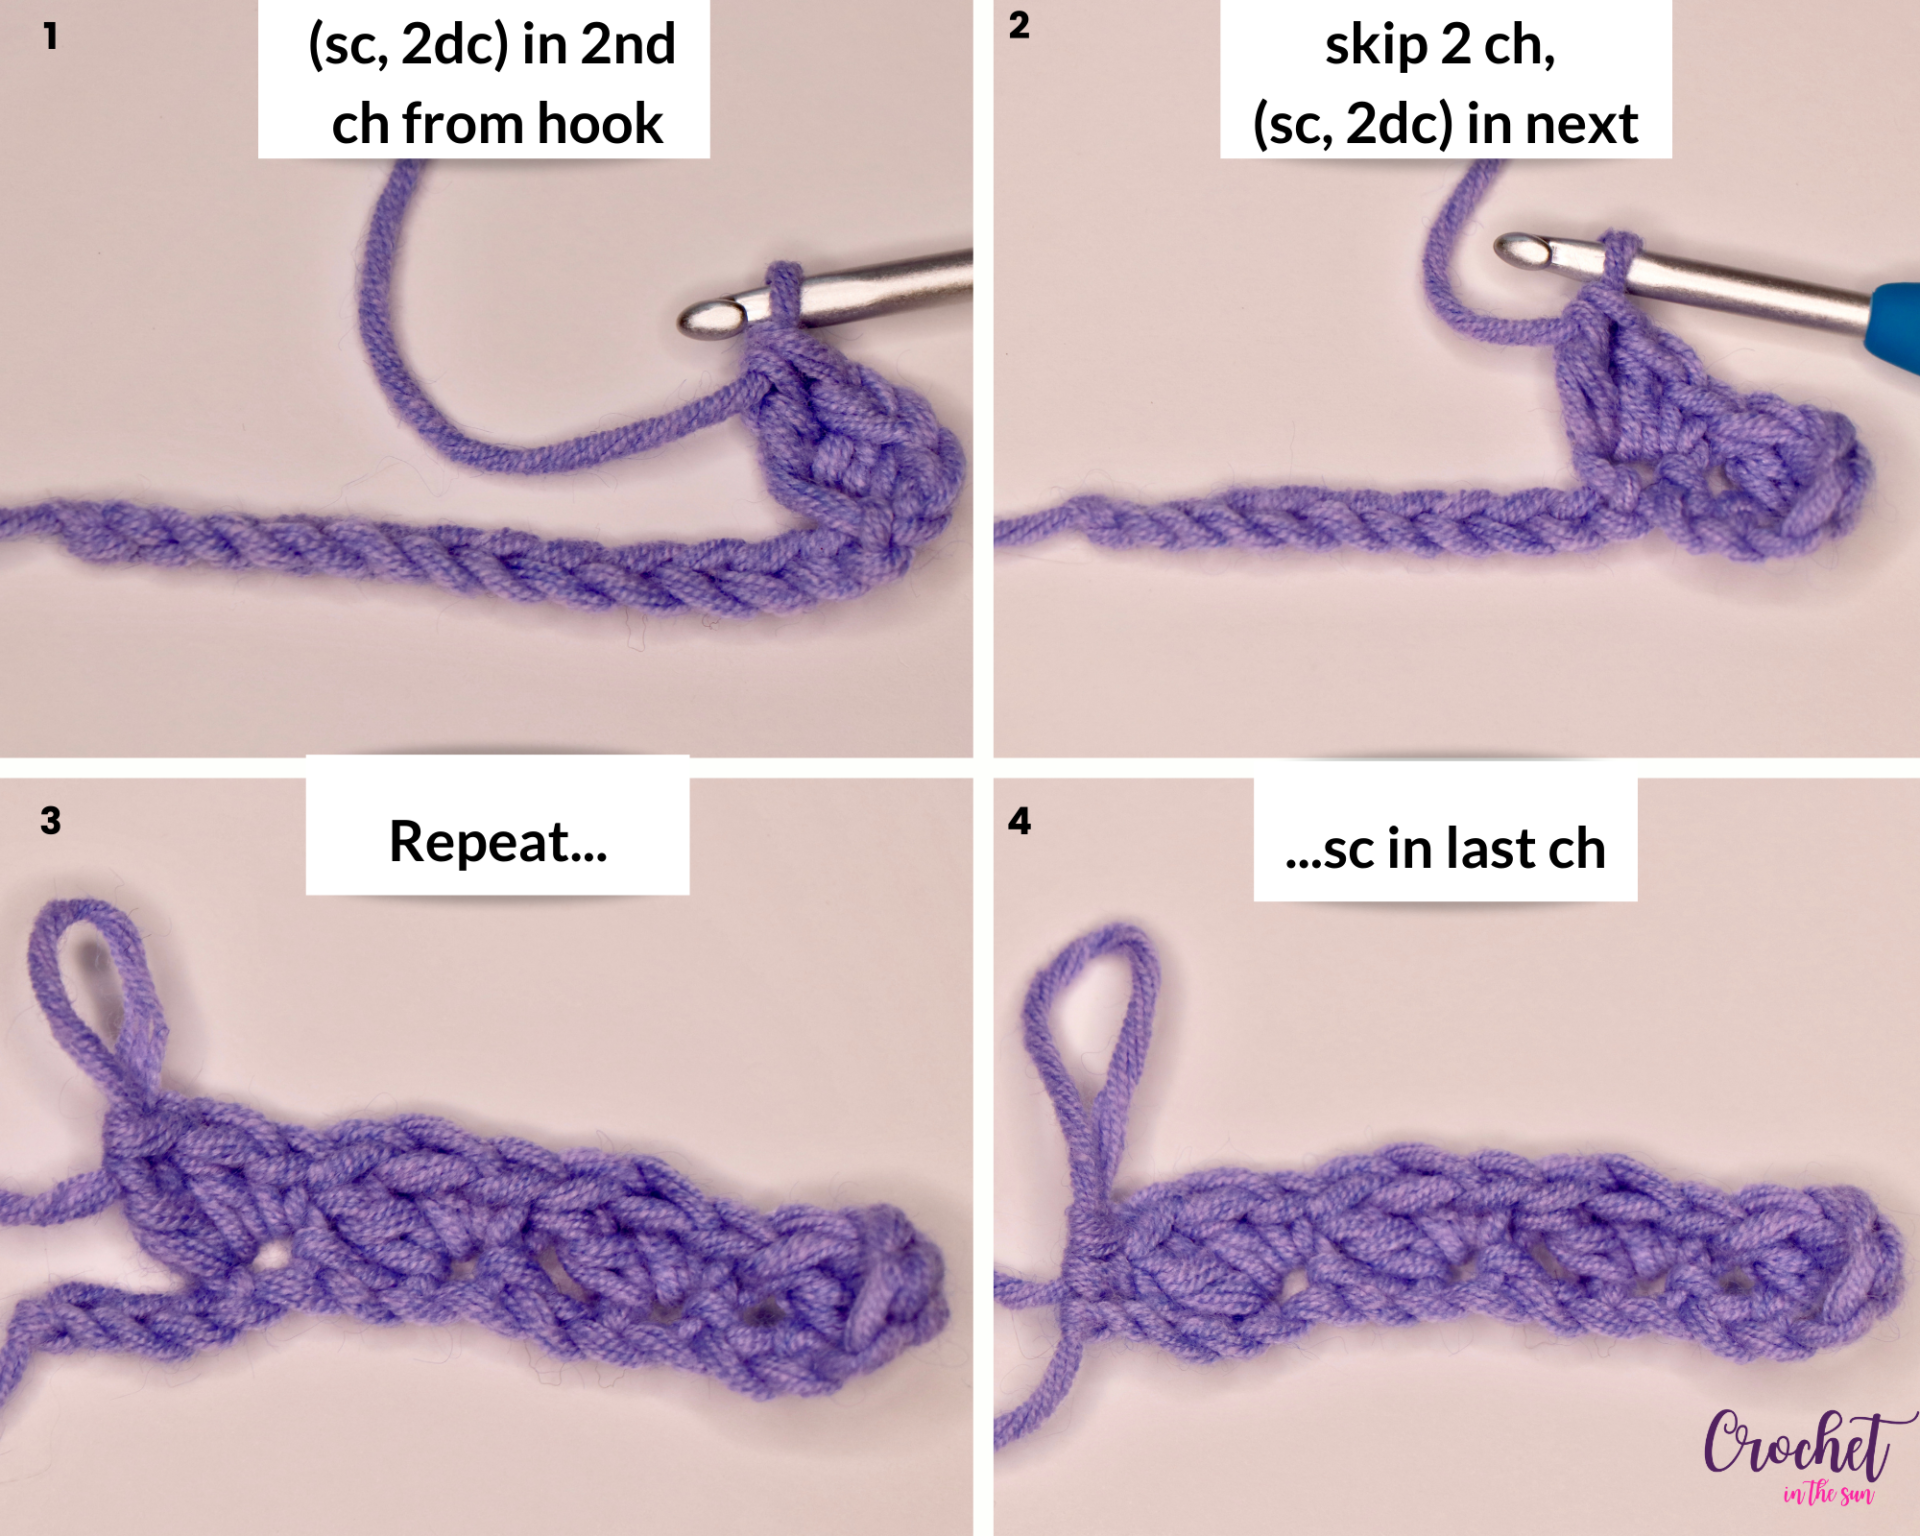
To start: Chain 122. See pattern notes to make the blanket narrower or wider
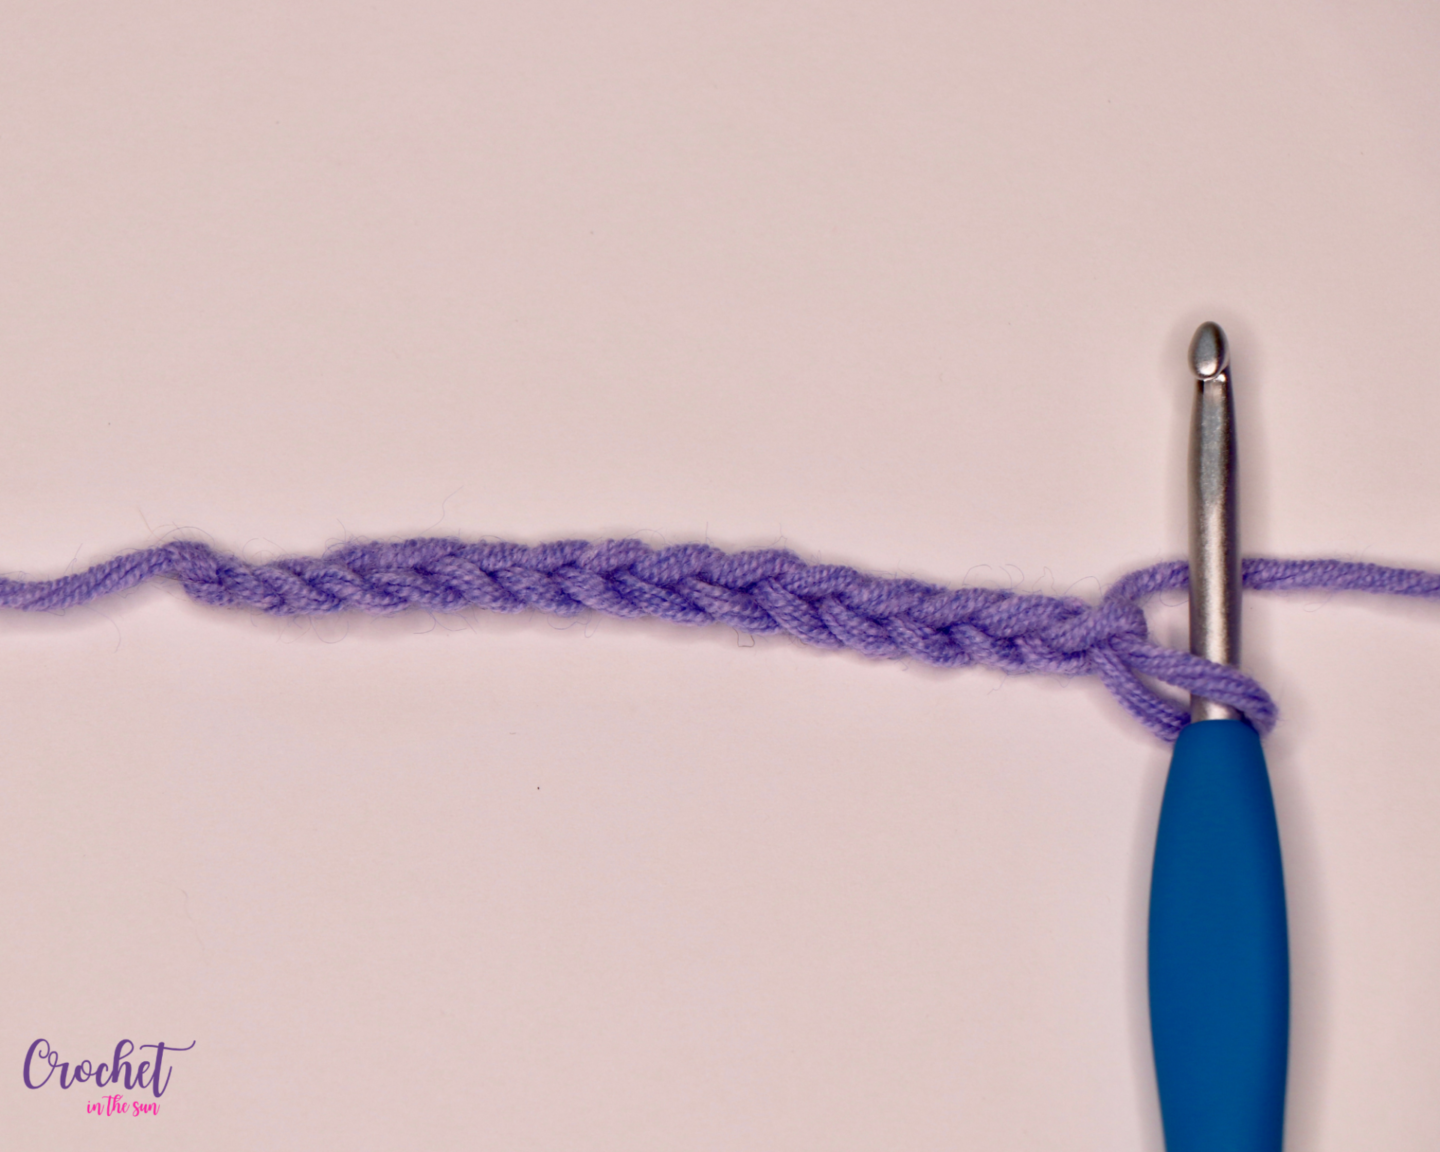
Row 1: Work a (Sc, 2dc) in 2nd chain from hook. *Skip 2 chains, (sc, 2dc) in the next chain. Repeat from * across, until you have 3 chains left. 1 Sc in the last chain.
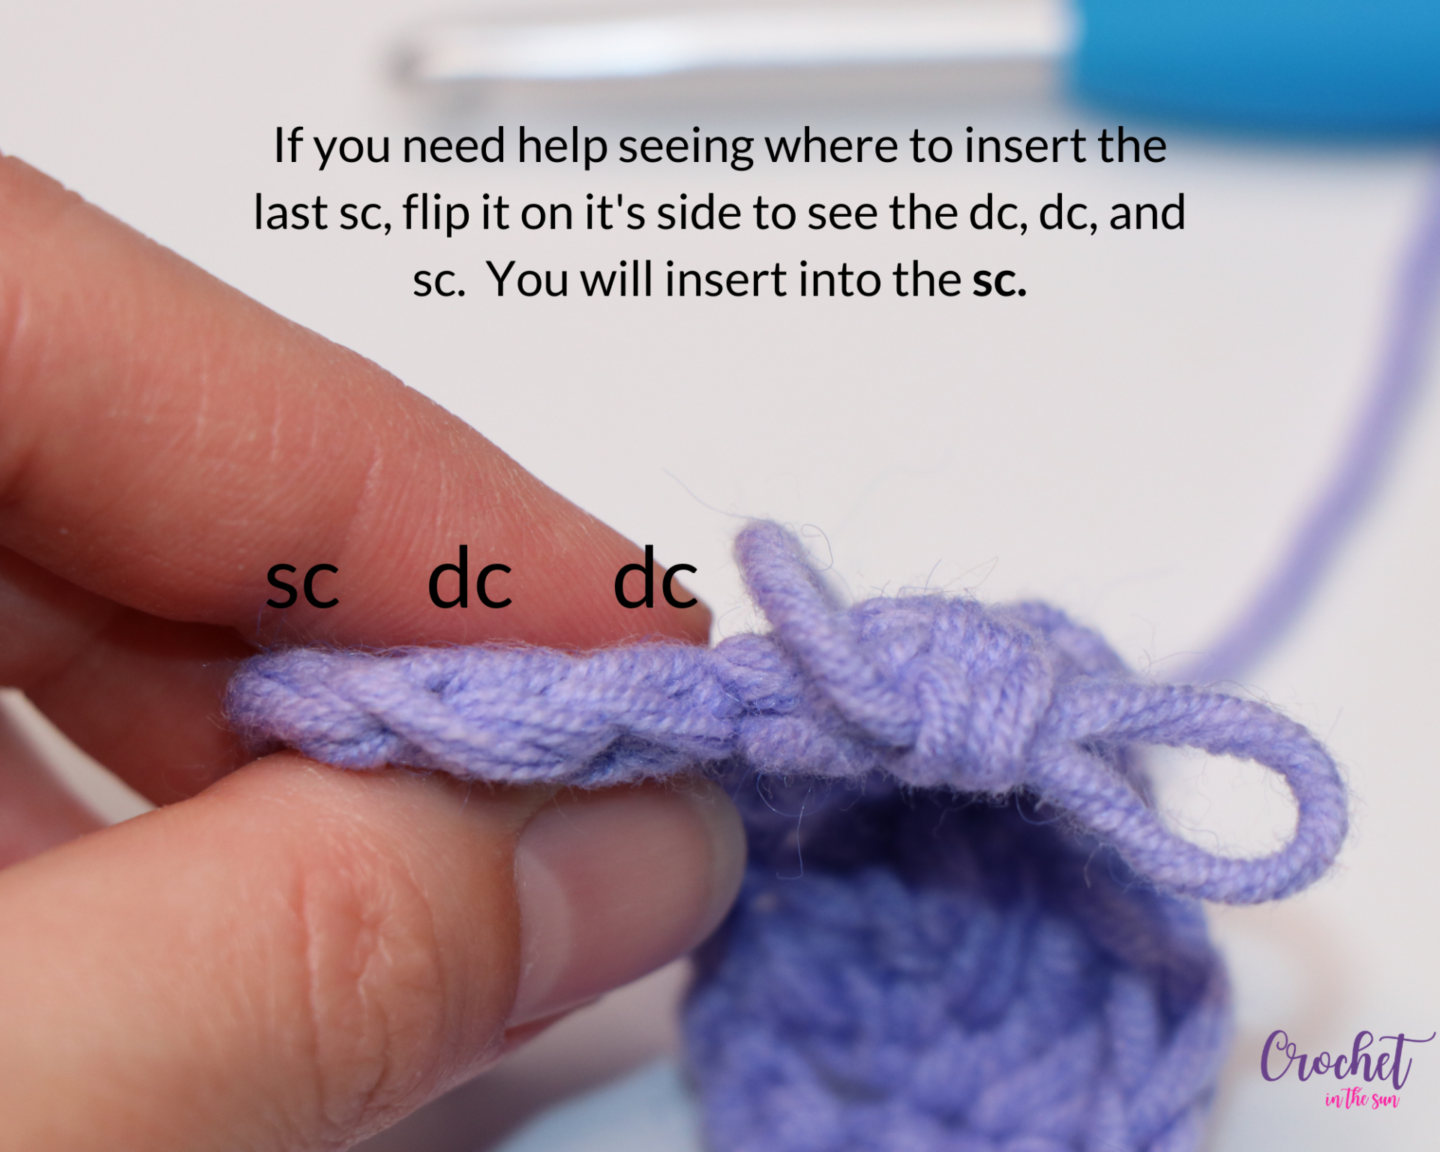
Row 2: Turn, ch1, (sc, 2dc) in the first stitch (that’s the last sc of the previous row). *Skip the 2 dc from previous row and work your (sc, 2dc) into the sc from previous row. Repeat from * across, until you have 3 stitches left. Skip the 2 dc and work 1sc into the sc from the previous row.
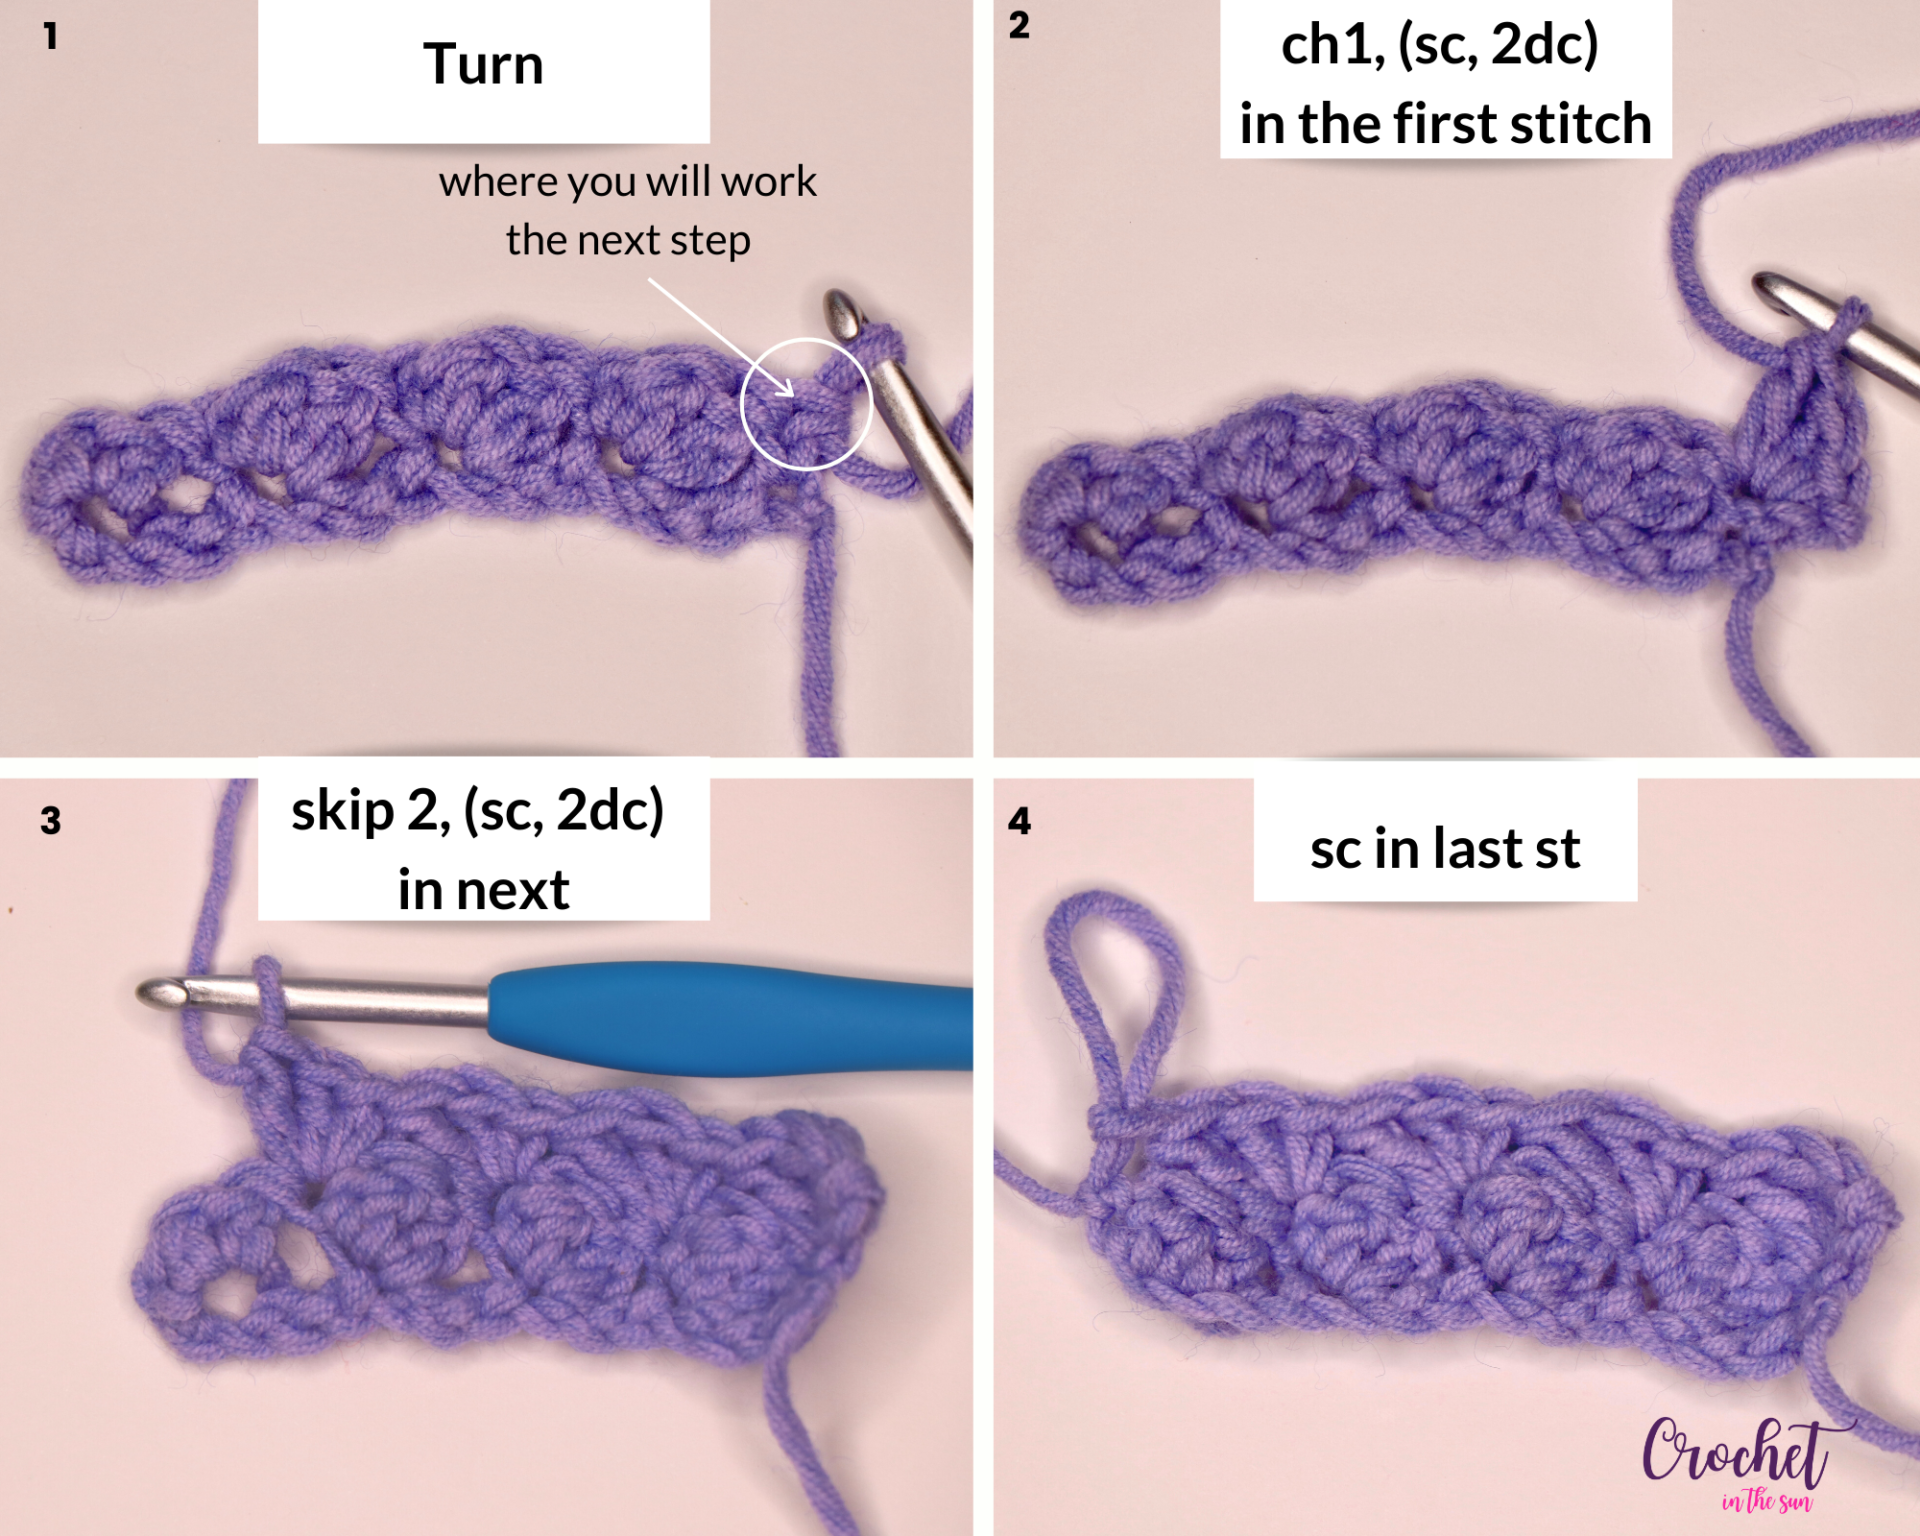
Here’s a photo to help in case you’re having trouble figuring out where to work the last sc of each row.
Or, a more condensed version of the repeat directions is below:
Turn, ch1, (sc, 2dc) in the first st. *Skip 2 st, (sc, 2dc) in the next st.* Repeat from * across. When you have 3 stitches eft, skip 2 st and sc into the last st.
Repeat Row 2 until your blanket is the desired height. That’s it!! Super easy right!?
Looking for more crochet patterns? Have a look at my Crochet Pattern Bundle on Etsy. It includes some of my best sellers along with other new patterns!
Color change info
This blanket goes through 3 sequences of color changes:
Sequence #1: Change colors every 2 rows until you get through each color twice.
Sequence #2: Change colors every 4 rows until you get through each color once.
Seq #3: Change colors every 8 rows until you get through each color once.
If you want to keep your blanket symmetrical, follow the pattern:
Sequence (Seq) 1, Seq 2, Seq 3, Seq 2, Seq 1.
However, I’d love to see any variations where you mix and match the sequence order and frequency. 🙂
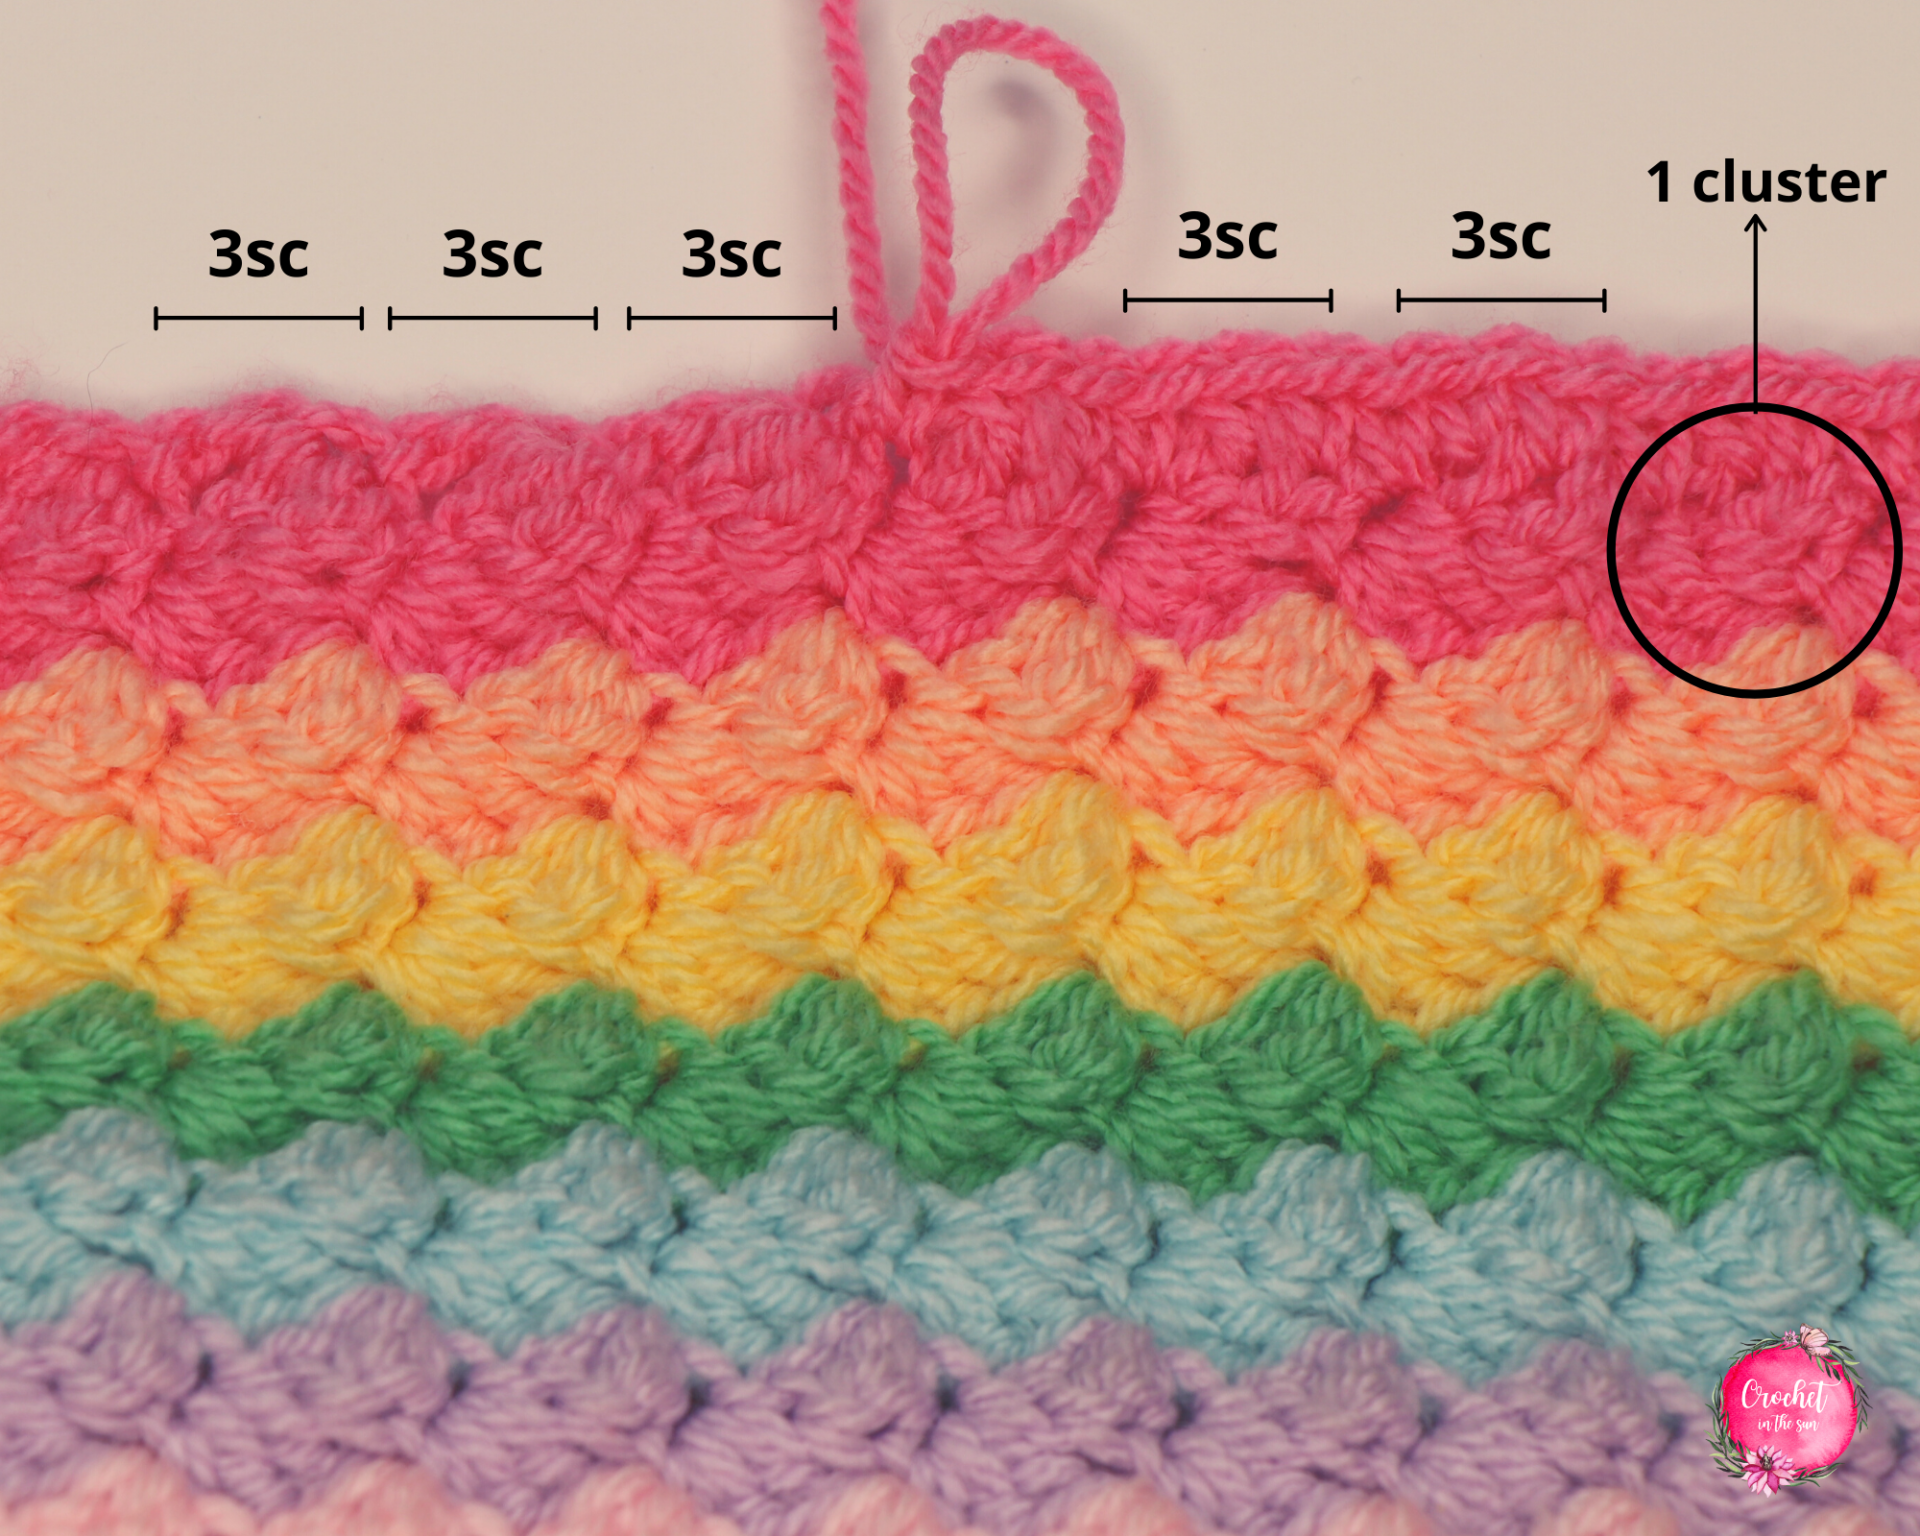
Border
The basic instructions for the border: You will work 3 rows of single crochet’s around all sides, with 3 sc’s in each corner. When you finish one row, slip stitch to the first stitch of that row and chain 1. Once you complete the last row, simply fasten off and weave in your ends.
Border – Row 1 details:
First, attach your yarn.
- If the border will be completed in the same color as your last row, chain 1 and start working your single crochets per below.
- If you are using a different color, attach your yarn to one of the corners (it doesn’t matter which corner). Chain 1 and 3sc in the corner. Then work your sc’s per below.
On the 2 border sides running up and down, work 2 sc per “cluster row”. You can work more stitches or fewer stitches as needed to ensure the border doesn’t pucker (too many stitches) or feel pulled tight (too little stitches). So just make sure the stitches are evenly spaced. Use the photo below as a guide.
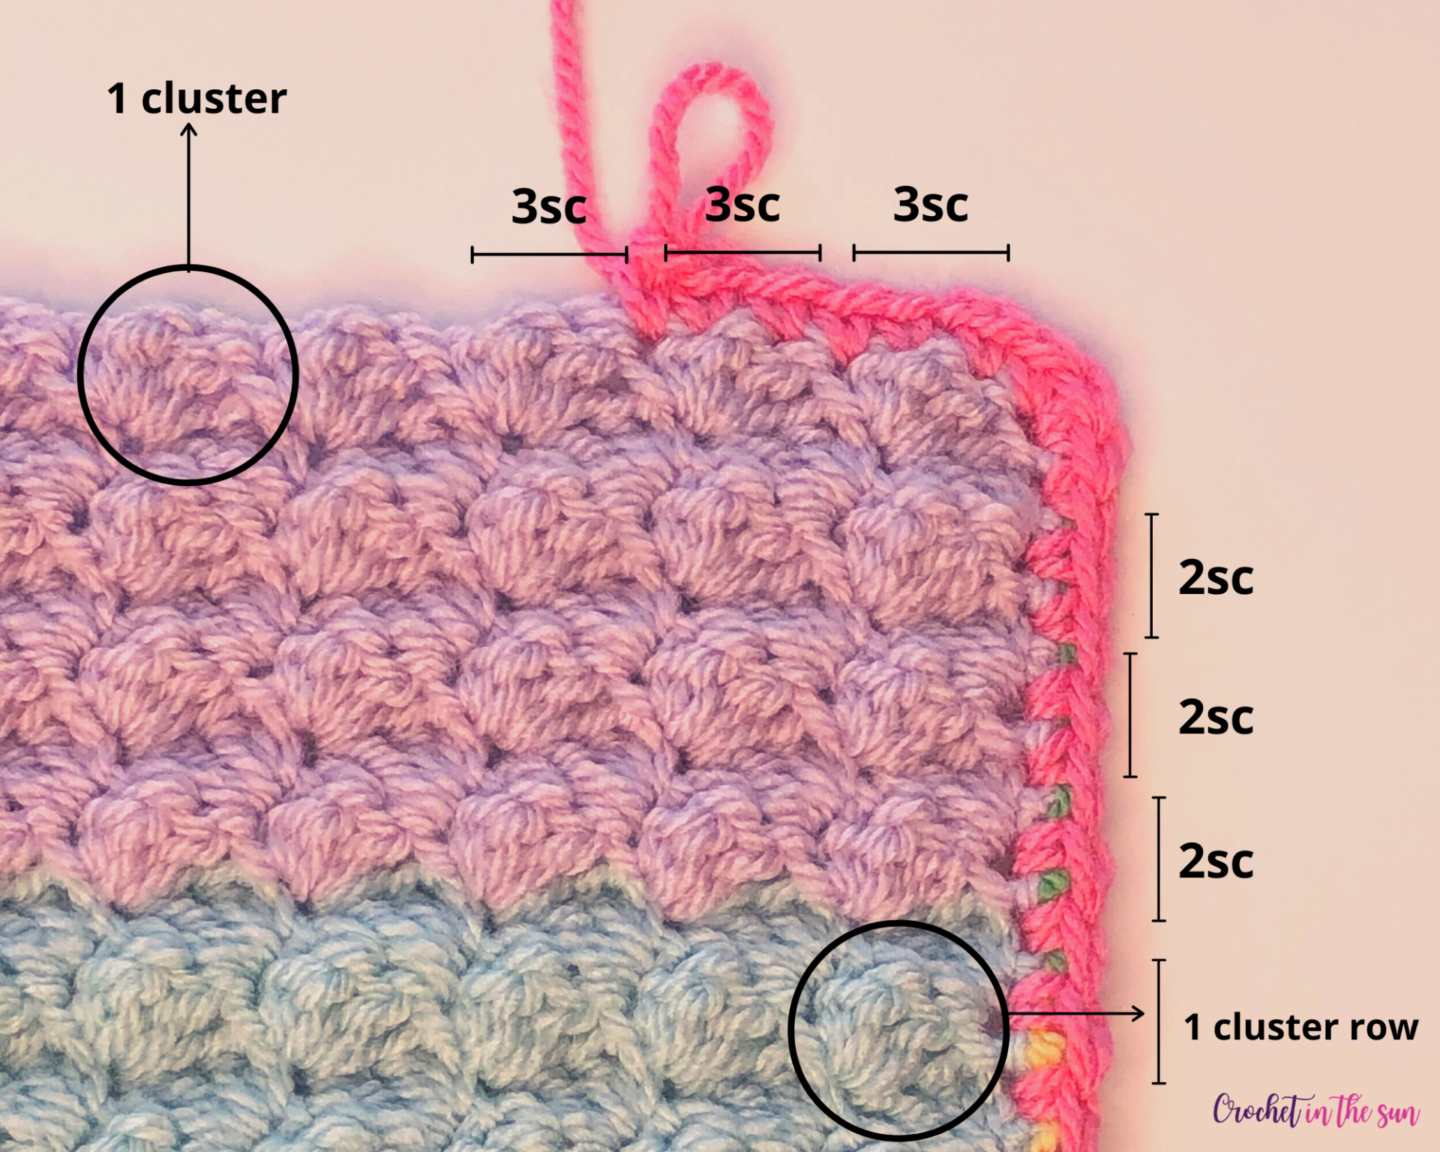
On the 2 border sides running the width of the blanket, work 3 sc’s into each cluster. Use the photos above and below for guidance.
Below, the border color is the same as the first row, so it’s a bit hard to see, however the stitches and “cluster” have been outlined.
Once you finish your 1st row of sc’s, sl st to the first st of the row and chain 1.
Border – Row 2 details
Work 1 sc into each sc, working 3 sc’s into each corner. Sl st to the first st of Row 2, chain 1.
Border – Row 3 details
Work 1 sc into each sc, working 3 sc’s into each corner. Sl st to the first st of Row 3. Fasten off and weave in your ends. You’re done! 🙂
Thanks for following along, I hope you enjoyed making the Brighten My Day blanket. If you make one and share on social media, I would love to see them! Also, please link back to my blog and provide credit for the pattern. Also, tag @crochetinthesun so we can see these pretty blankets come to life. Plus, I would love to share your creation with the crochet community!
Happy crocheting,
Jennifer
Pin for later


Would like to have the pattern on just one page or two. Site too busy and ended up paying for the pattern just to move on. I will enjoy making but what I printed is 8 pages is there a button to just print one page???? or send me just the pattern….lkirkpatricktx@gmail.com
thank you it is a beautiful pattern
Linda
Author
Hi Linda! I’m happy you like the pattern 🙂 When you download the PDF files off Etsy, there is a “pattern only” file and “detailed write up” file. The ‘pattern only’ will not have the photos and extra notes, so it will be shorter than the other PDF – that one is 4 pages. Try that!